Personal Projects

So I decided to take Banshee and Hellhound for snow runs today, both ended miserably (as I’d predicted). The only good thing that came out of it was that I saw one of the tyres had de-glued itself from the rim on Banshee. Good thing I didn’t find out at speed in the dry :sweat_smile: .

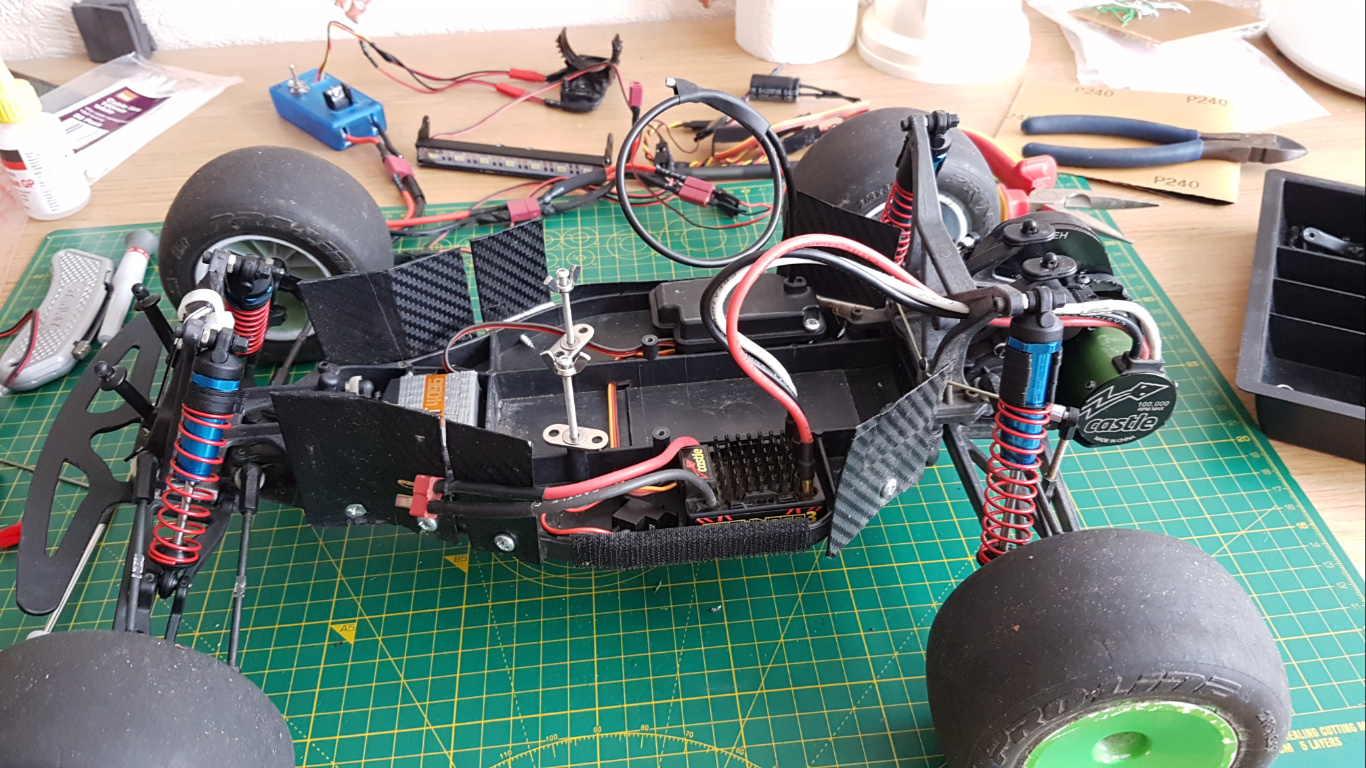
Also I never thought I’d see Banshee so simple again (I only put in the bare minimum it needed to run just for today).
image

Here are a couple of gifs of the fastest I managed to make each car go.

Sorry about the length, I had a file size limit. Also the weird vibrations are coming from the de-glued tyre in the first one.

Hellhound didn’t do much better than Banshee.

4 Likes

Looks like it was fun.

The driving wasn’t, I spent more time carrying them than driving them.

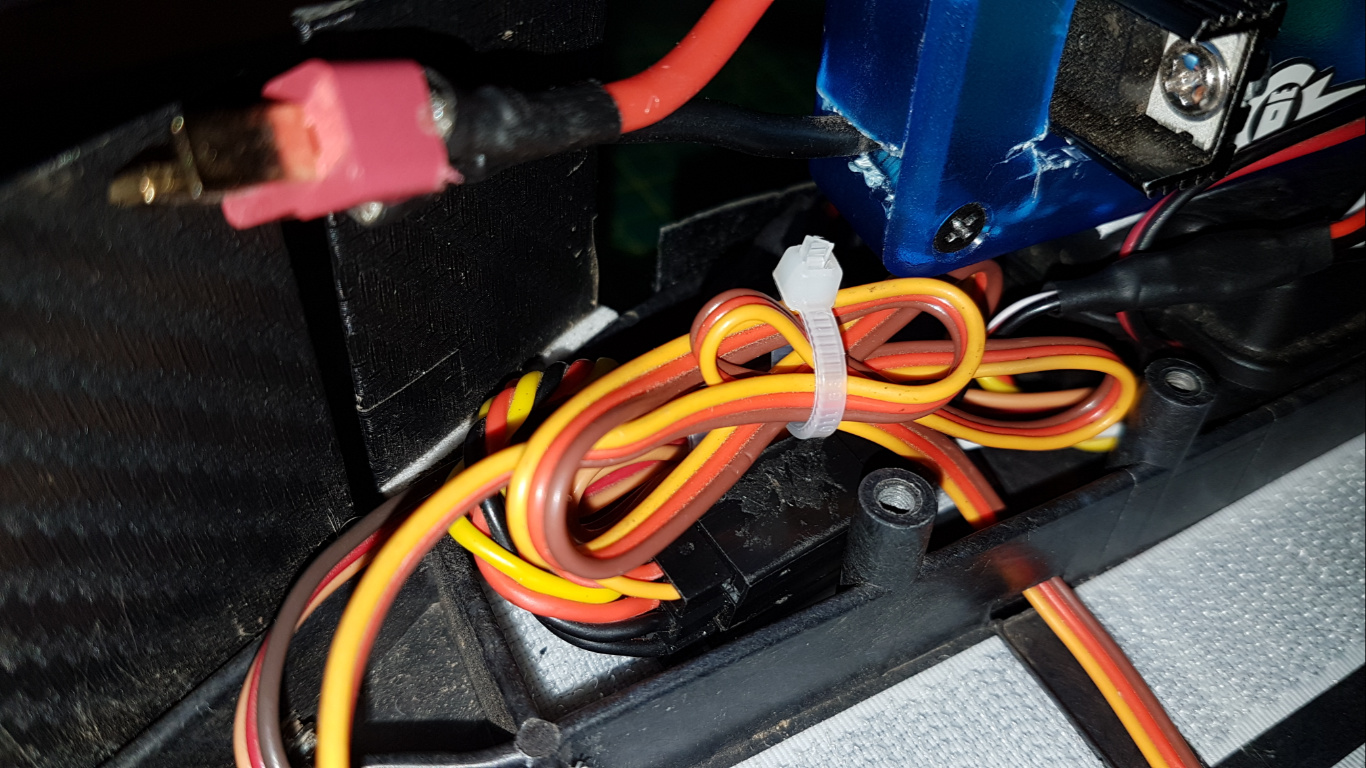
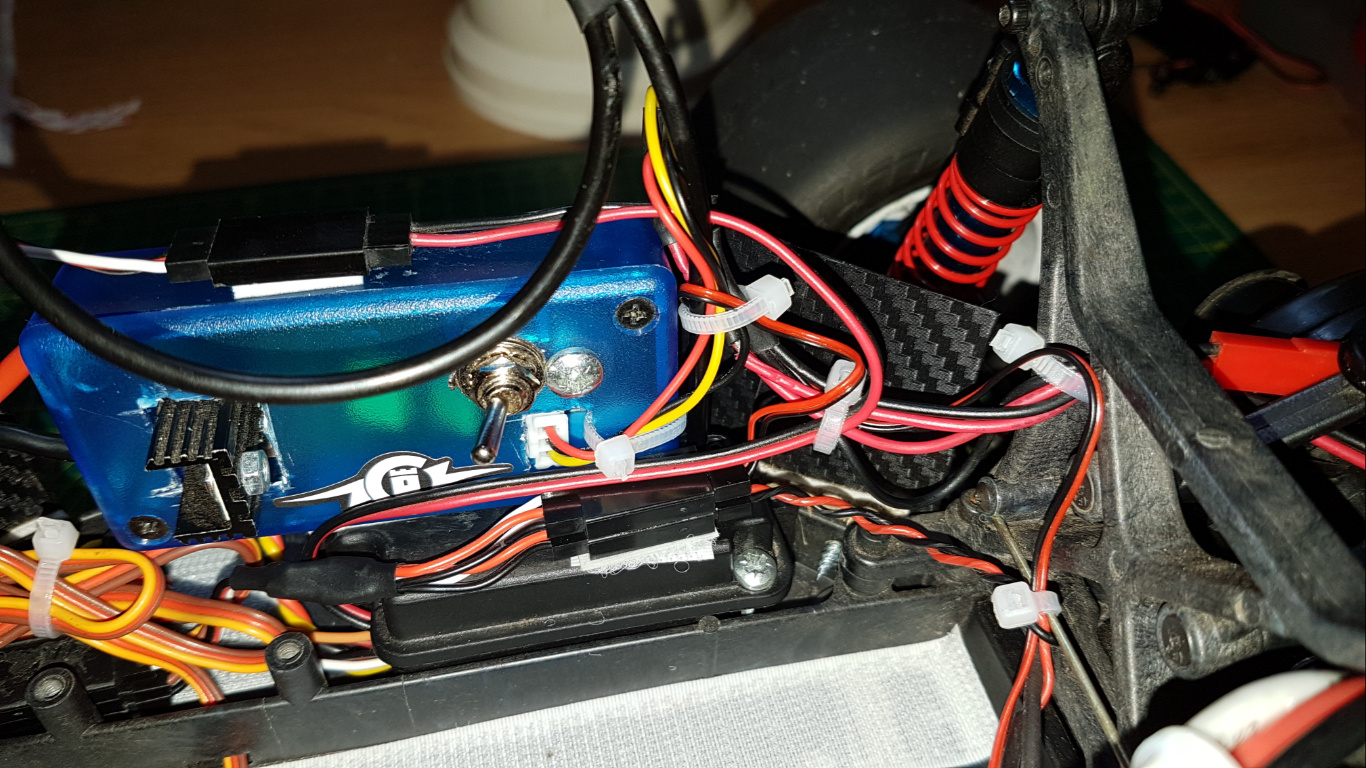
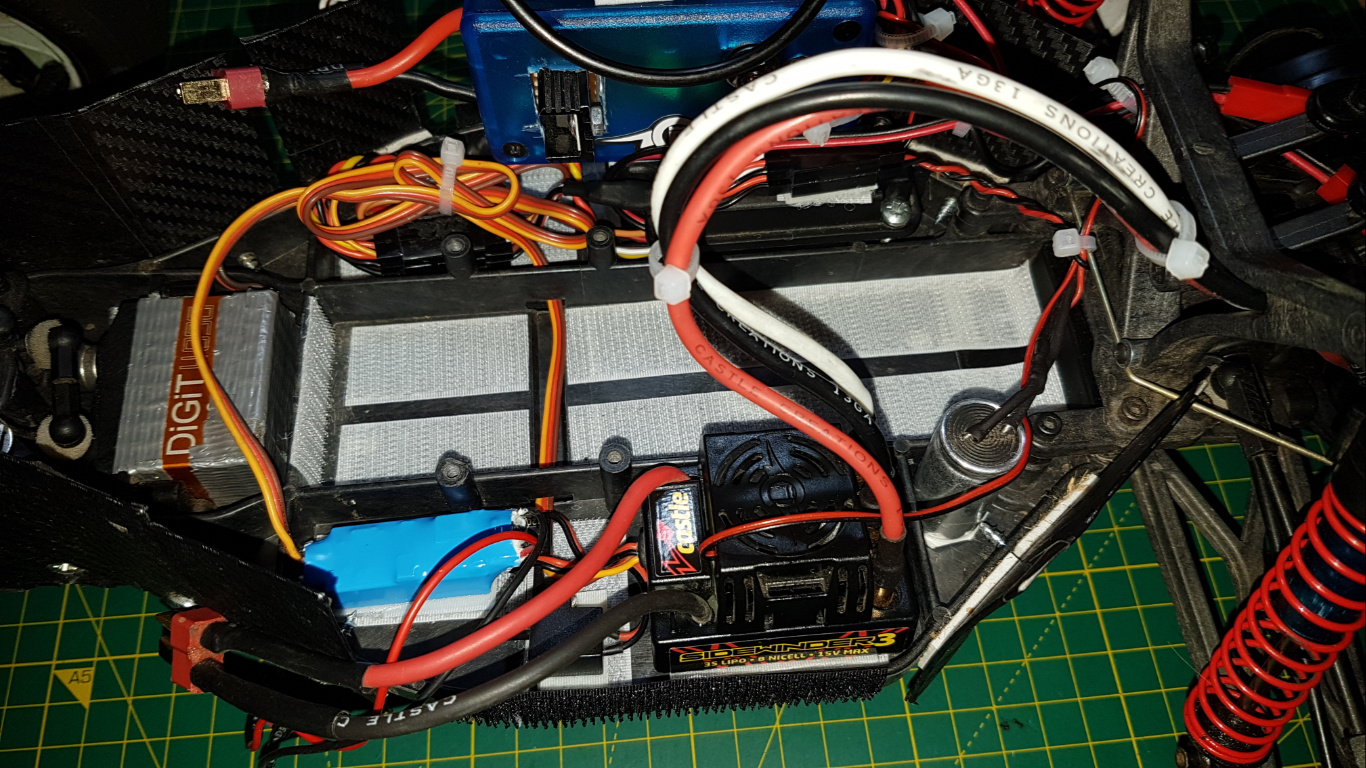
My velcro tape came in today so I decided to reinstall all of the electronics today. I still have zero idea how I managed to do it the first time, it was harder than brain surgery. Anyway, the velcro worked on almost all surfaces, I had to use double sided tape again for the receiver capacitor and my voltage regulator circuit because it was more secure. I’m still waiting for the LEDs to come in.

This is after I finished placing all the small wires, I hadn’t placed the 2 deans Y leads yet:

image
image
image

Back to normal:
image

The worst part of all of this is that I’m going to have to undo a big chunk of all my wire placements somewhere just after new year’s day because I’m planning to get a new transmitter and receiver. And the receiver is buried in the black box beneath my voltage regulator. And in that black box there is another mess of wires. :sob:

Kill me now :expressionless: :boom::gun:

3 Likes

Great work! :smile: :muscle:
Uumm…undo again…just wish you good luck and stay strong! :muscle: you can do it! :sun_with_face:

1 Like

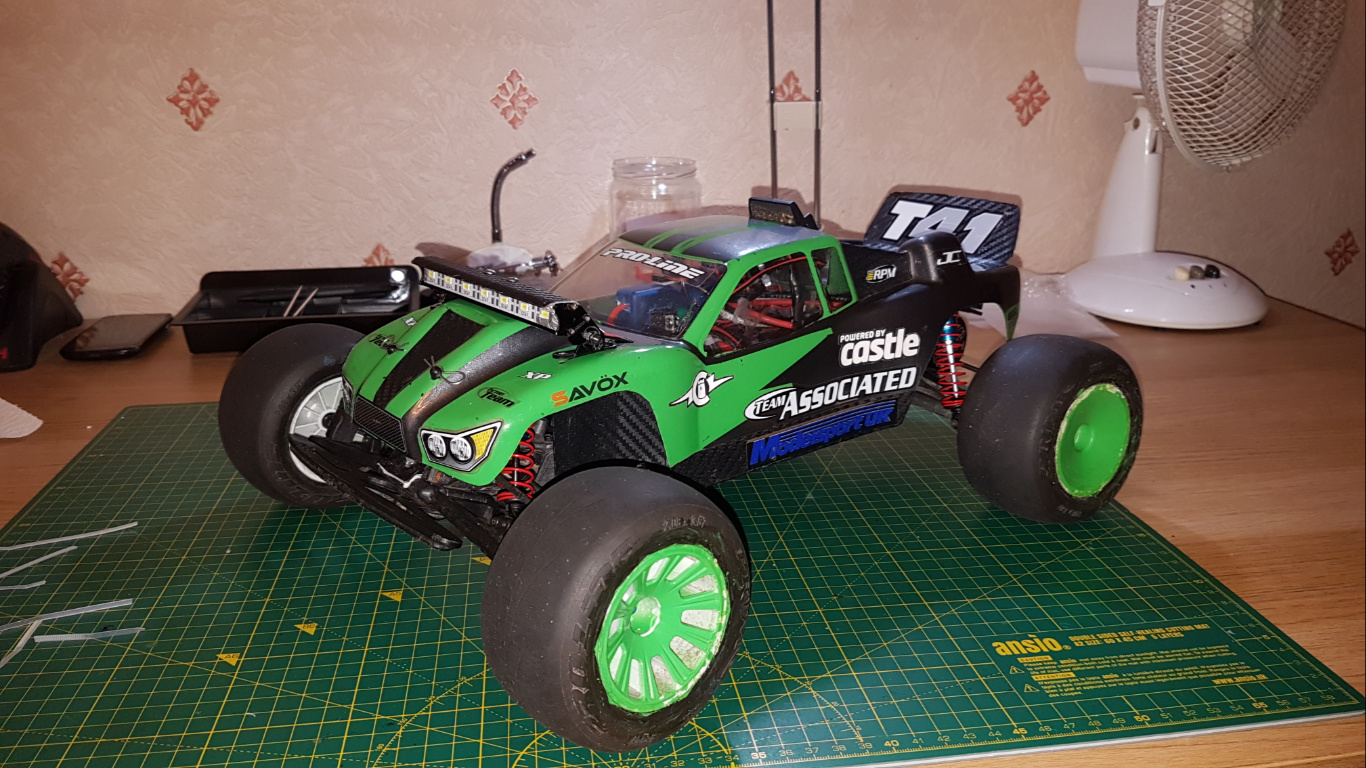
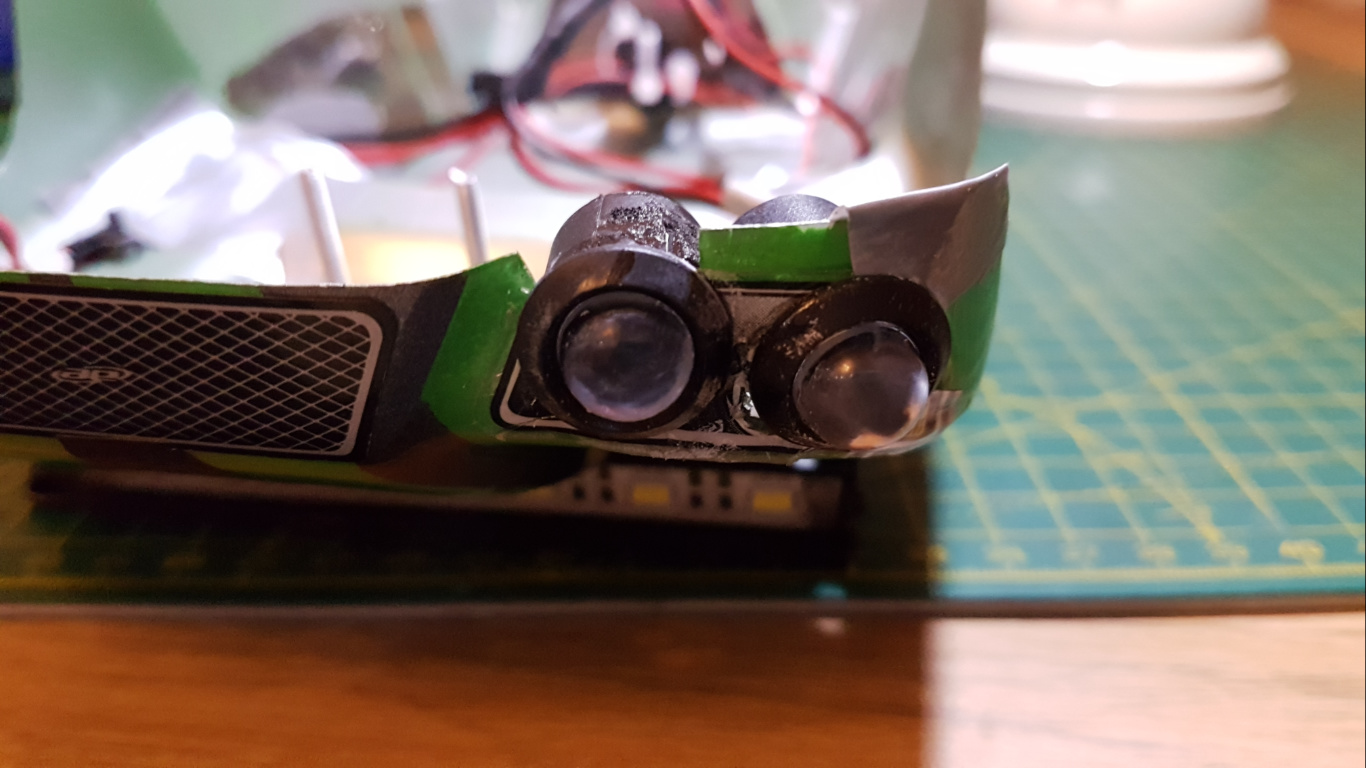
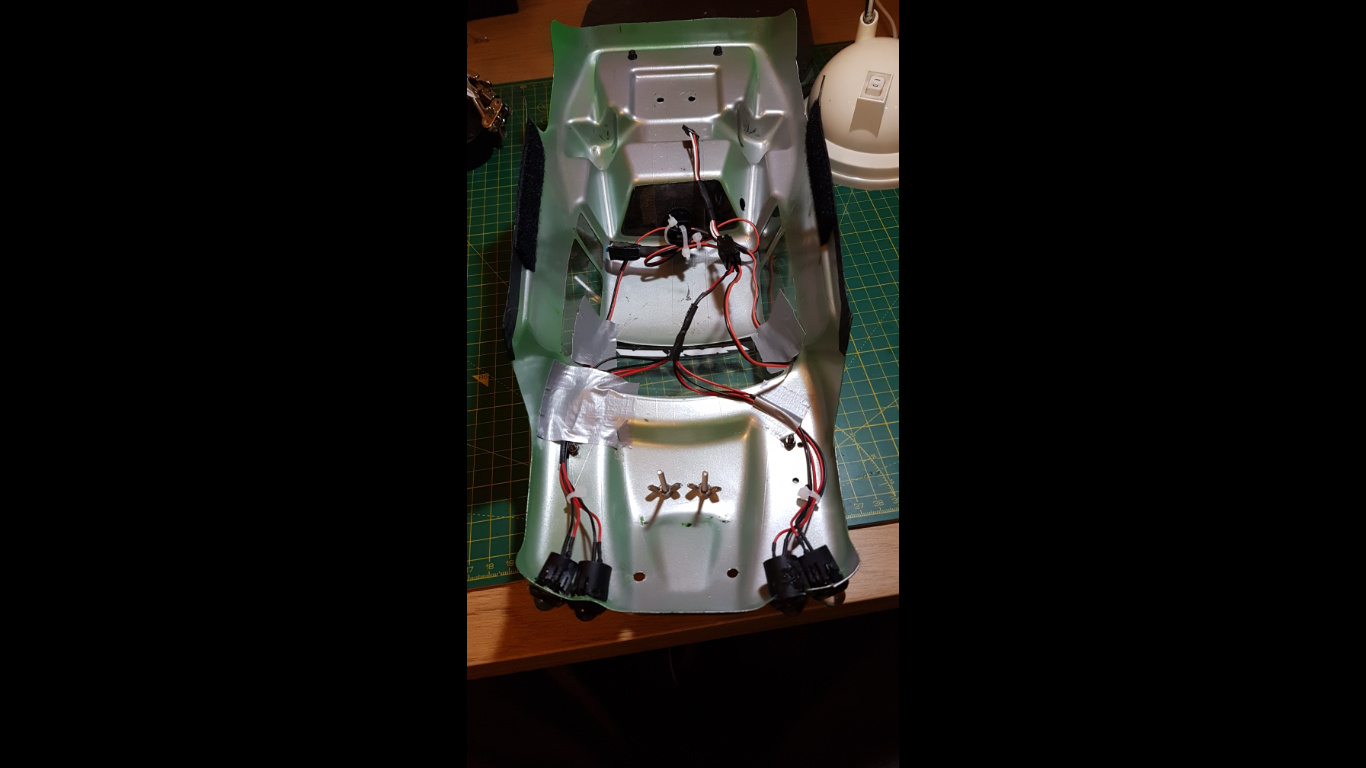
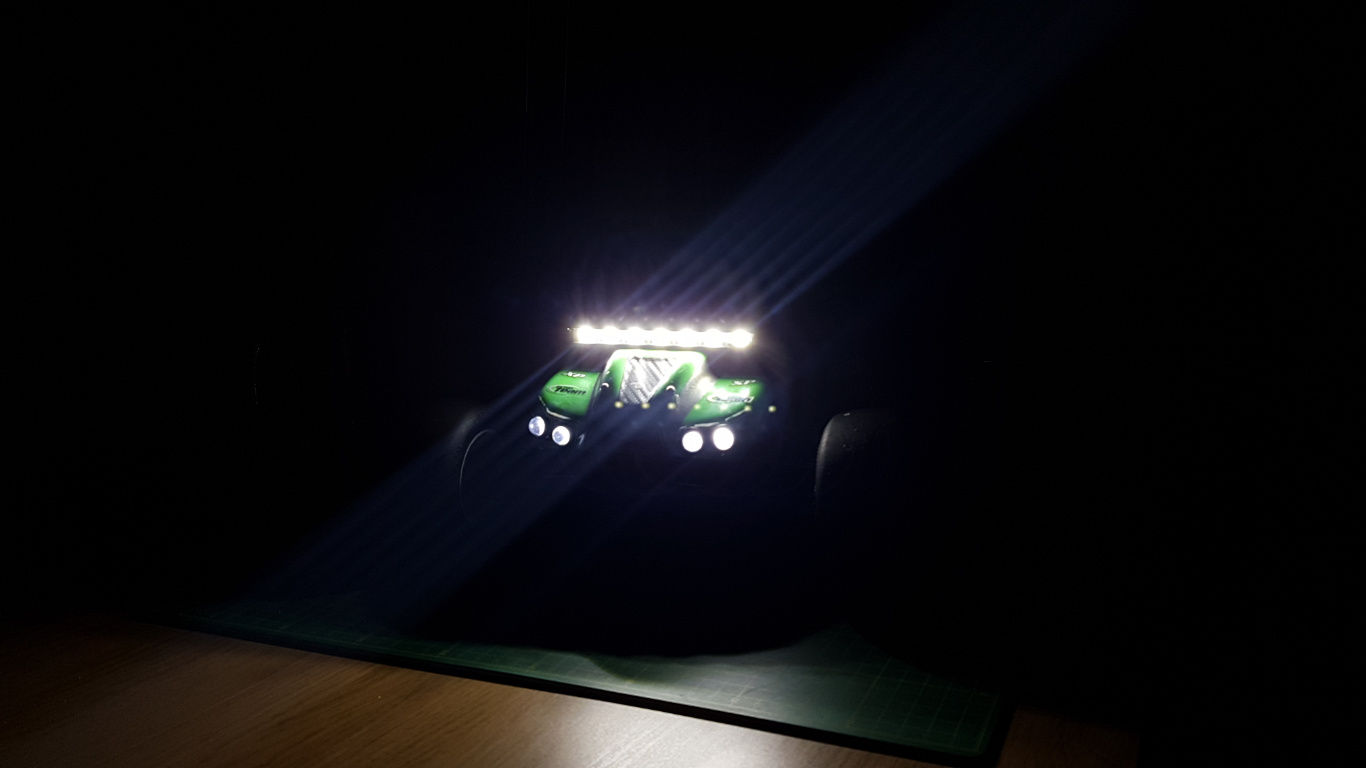
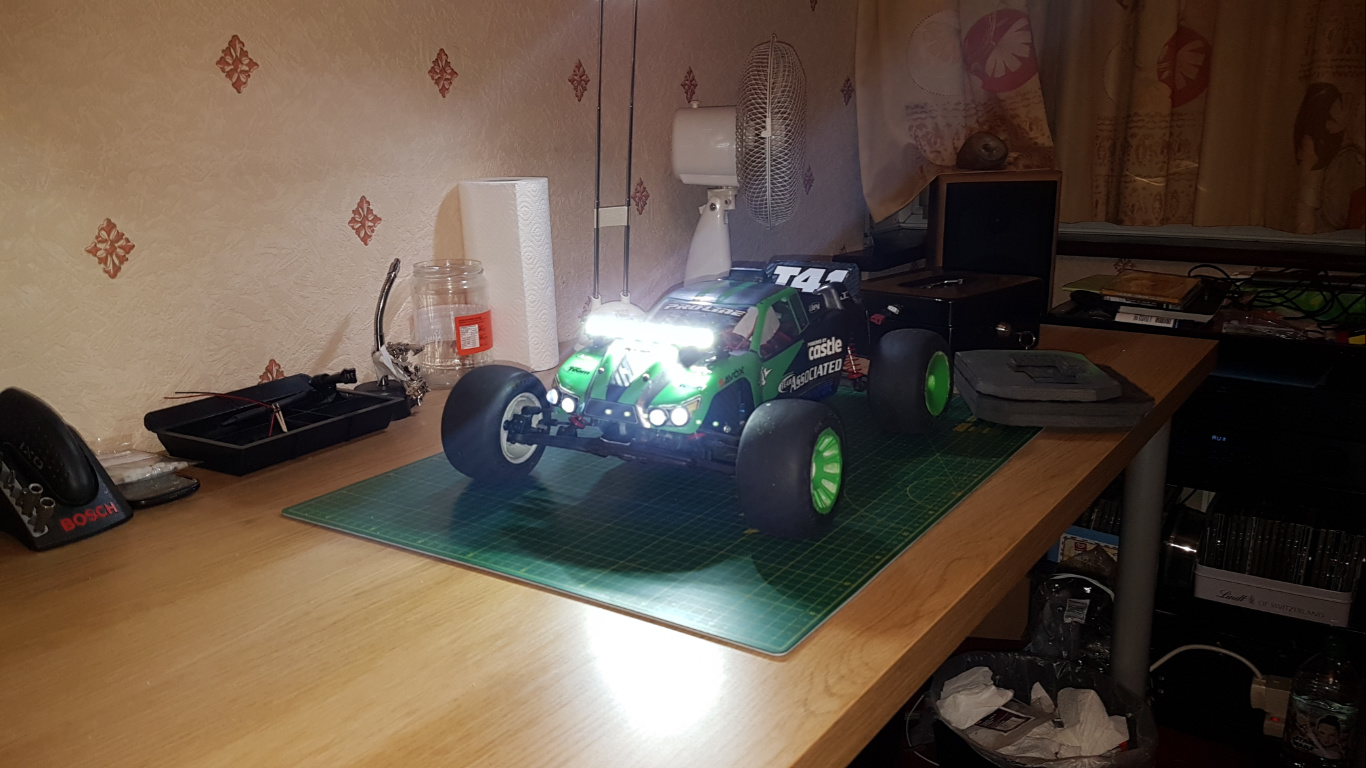
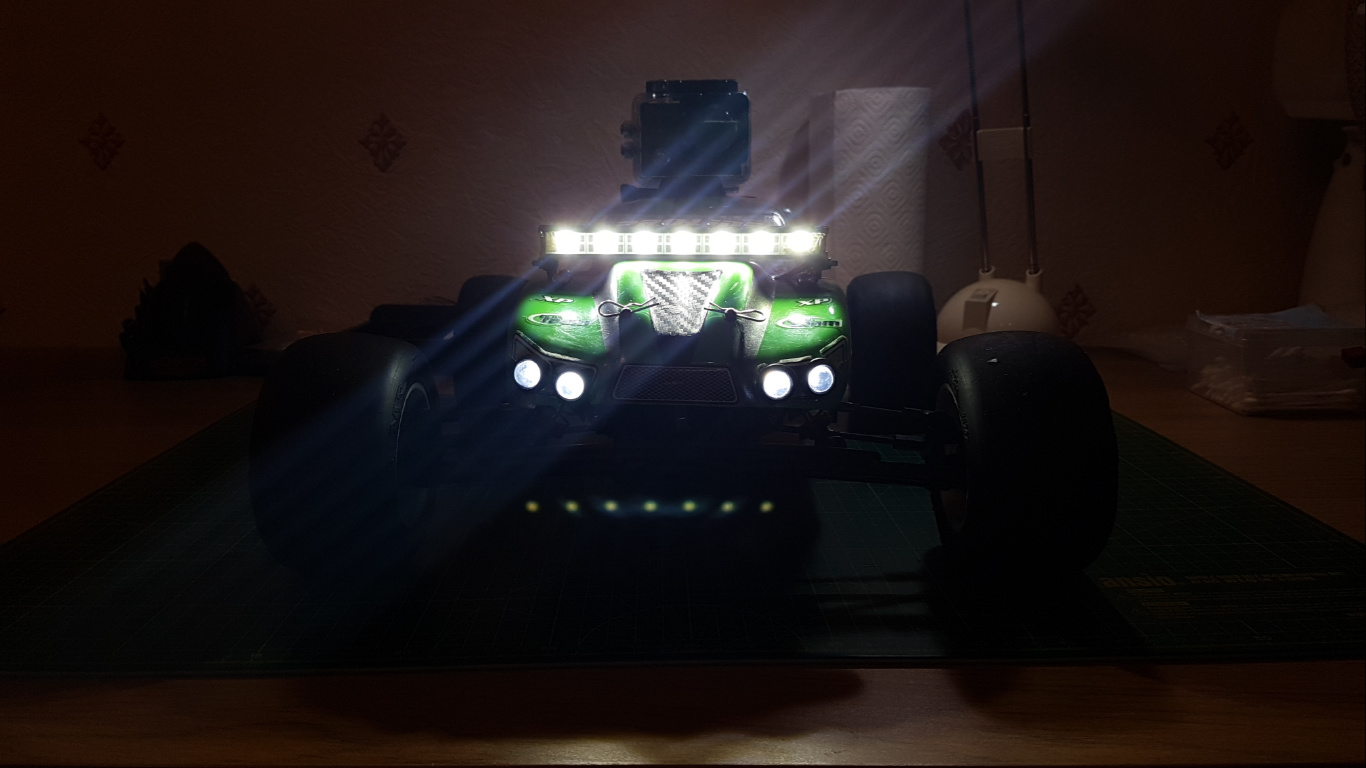
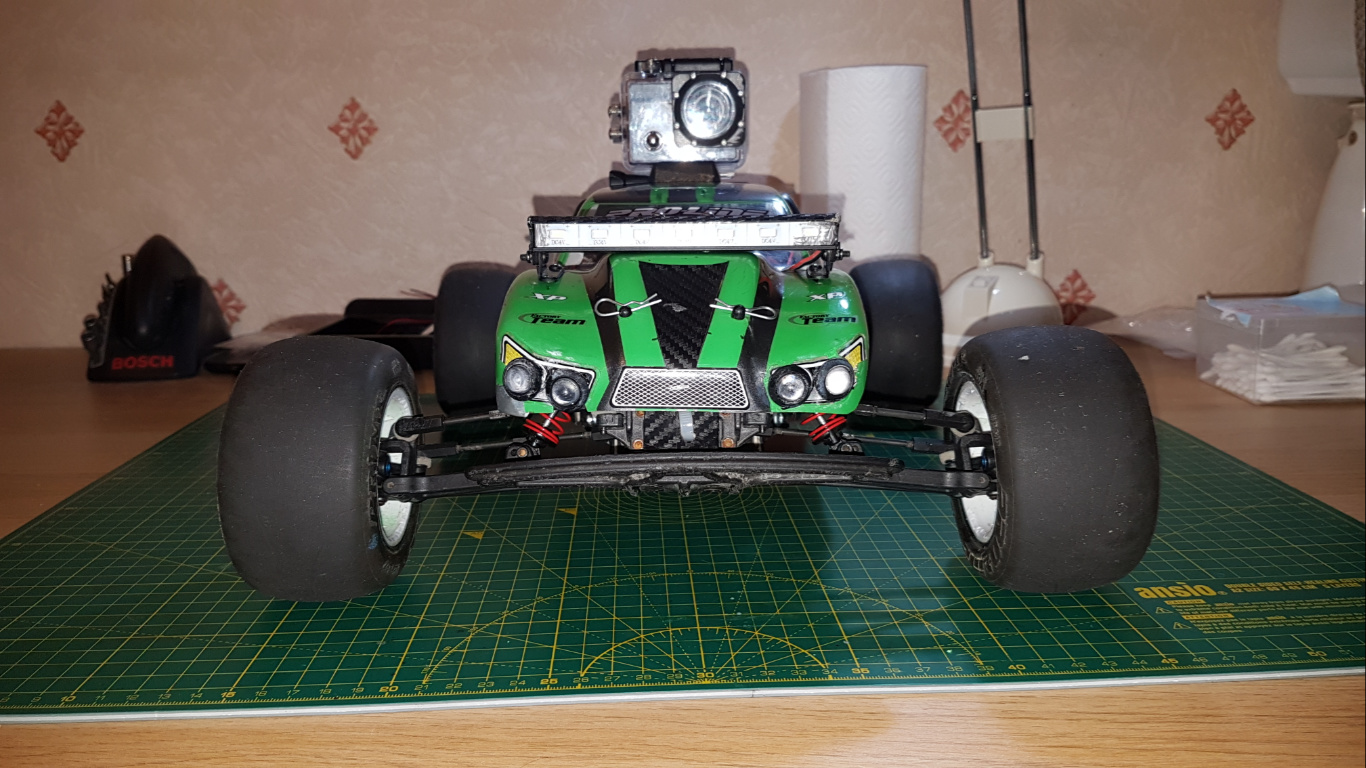
My LEDs came today. Installation was pretty hard, I ended up accidentally damaging the body. Either way, I got them on and I think they look ok, they’re not as strong as the bar but they work. Also the wire length count is now at a whopping 12.73m! I only need to buy a new Tx/Rx combo for the Post Mod V6 stage to be fully complete.

image
image
image
image
image
image

Ignore the superglue marks and the asymmetric positioning in the last one :sweat_smile: :stuck_out_tongue:

2 Likes

If you’re not here from the OP you can ignore this post, I needed to make space in the OP

Note : PLEASE DO NOT EDIT THIS POST, IT IS ONLY A WIKI SO THAT THE EDIT TIME DOESN’T EXPIRE.

-RC or R/C : Radio or Remote Controlled

-RTR: Ready To Run, a car that is ready to go out of the box, it might need batteries and a charger.

-ARTR: Almost Ready To Run, a car that is usually ready for the most part apart from needing something like a transmitter and receiver of your choice.

-Kit: A car that comes in pieces that you have to build and provide electronics for.

-Motor: Turns electrical energy into rotational kinetic energy. It makes the car move.

-ESC: Electronic speed control, the main circuitry responsible for running the car, especially the motor.

-Brushed: A type of motor, very cheap but getting dated and not good for high performance purposes.

-Brushless: A newer type of motor, more expensive but better than brushed in almost every way.

-Turns: The amount of physical turns of wire a motor has inside, more turns = more torque and better acceleration, less turns = less torque but more speed.

-KV: The amount of RPM (revolutions per minute) a motor can produce when 1V (volt) of electricity is put across it.

-Servo: A motor and series of gears with limited travel (~180 degrees) used for steering.

-Transmitter: The remote control for the car, sends a signal to the receiver in the car.

-Receiver: Takes the signal from the transmitter and sends it to the servo and ESC.

-Cell: I haven’t got a good definition for this but 2 or more cells make a battery. LiPo cells are typically 3.7V (volts) and NiMh cells are 1.2V (volts).

-Battery: A collection of cells, the power source of the car.

-LiPo: Lithium Polymer, a type of battery chemistry, used widely in technology today.

-NiMh: Nickel Metal Hydride, a dated type of battery chemistry, good for RC beginners.

-Capacity: How much electricity a battery can store, usually measured in mAh or Ah.

-mAh or Ah: milliamp hours or amp hours, denotes how many amps or milliamps a battery can provide for an hour. 1000mA = 1A. 1mA DOES NOT equal 1MA. m means milli (one thousandth), M means Mega (one million). So 1mA is one thousandth of an amp, 1MA is one million amps.

-C: Stands for ‘capacity’, denotes how many times its capacity in current a battery can provide. C is usually used on LiPos and you have to be careful with this reading as there isn’t a standard for it and some batteries are more accurate than others. Also some manufacturers list continuous C while others list burst C. Burst is usually double the continuous. For example a 30C continuous , 3000mAh battery should be able to provide 90,000mA or 90A continuously and double that in bursts.

-S: Stands for ‘series’ , denotes how the internal cells of a battery are wired, series wiring increases voltage. For example 2S means 2 cells in series which for a LiPo means 7.4V. But the capacity remains the same.

-P: Stands for ‘parallel’ , denotes the other way a battery can be wired, this increases capacity but keeps voltage the same. So if you had two 1000mAh cells and wired them in parallel (2P) you would have 2000mAh but only 3.7V if they were LiPos. In RC the P value doesn’t really matter that much.

-Ratio: The difference in size between an output and input gear. E.g. A 2.5 ratio means that the output is 2.5 times bigger than the input, that means that the output will spin 2.5 times slower than the input. A 0.5 ratio means the output is half the size of the input and will spin twice as fast.

-External ratio: The ratio between the spur and pinion gear. Both the spur and pinion can be changed with different sizes to change the ratio.

-Internal ratio: The ratio between the diff and top shaft. This ratio cannot be changed like the external.

-FDR: Final Drive Ratio, the ratio of the entire transmission, can be calculated by multiplying the internal and external ratios.

-Pinion gear: The input gear on the motor shaft, it meshes with the spur and is usually a lot smaller than the spur.

-Spur gear: The second gear in the external ratio. It is mounted on the top shaft and is held in place by the slipper clutch.

-Slipper clutch: A pair of pads that clamp the spur and slip when too much power is applied, this prevents transmission damage. Unlike a clutch in a real car it does not detach when the car is moving as the car does not change gear.

-Top shaft: The first gear of the internal gear ratio, usually the smallest of the 3 gears. The spur is mounted on the top shaft.

-Idler gear: Generally a gear used when you want the input and output gears to be rotating in the same direction. In this case it is the top shaft and diff. The idler is usually the second largest.

-Diff or Differential: A series of gears housed within one gear, in short it allows the wheels to turn at different speeds when going around a bend. This is the last gear of the internal ratio and the whole transmission. It is also the biggest of the internal ratio.

-Mesh: The term used to describe the contact between the teeth of two gears. E.g. “My spur and pinion have a good mesh”. Badly meshed gears often mean they damage each other.

-Shocks: The shock absorbers, not much to say here, they do what it says on the tin. They’re the part of the suspension that looks like a spring wrapped around a tube.

-Toe: The angle of the tyres of the car when looked at from above. Toe in is when the fronts of the tyres are pointed towards the inside of the car. Toe out is when they point out. Neutral or no toe is when they are parallel to the length of the car.

-Camber: The angle of the tyres when looked at from the front or the rear. Negative camber is when the tops of the tyres are tilted inwards, positive camber is when they are tilted outwards. Neutral or no camber is when the tyres are parallel to the height of the car.

-Tyre compound: The type of rubber that the tyres are made of. Proline (a tyre brand) use the M notation followed by a number for their tarmac tyres. For example, M2 is medium, M4 is supersoft. They have other notations for other surfaces but I don’t use those tyres.

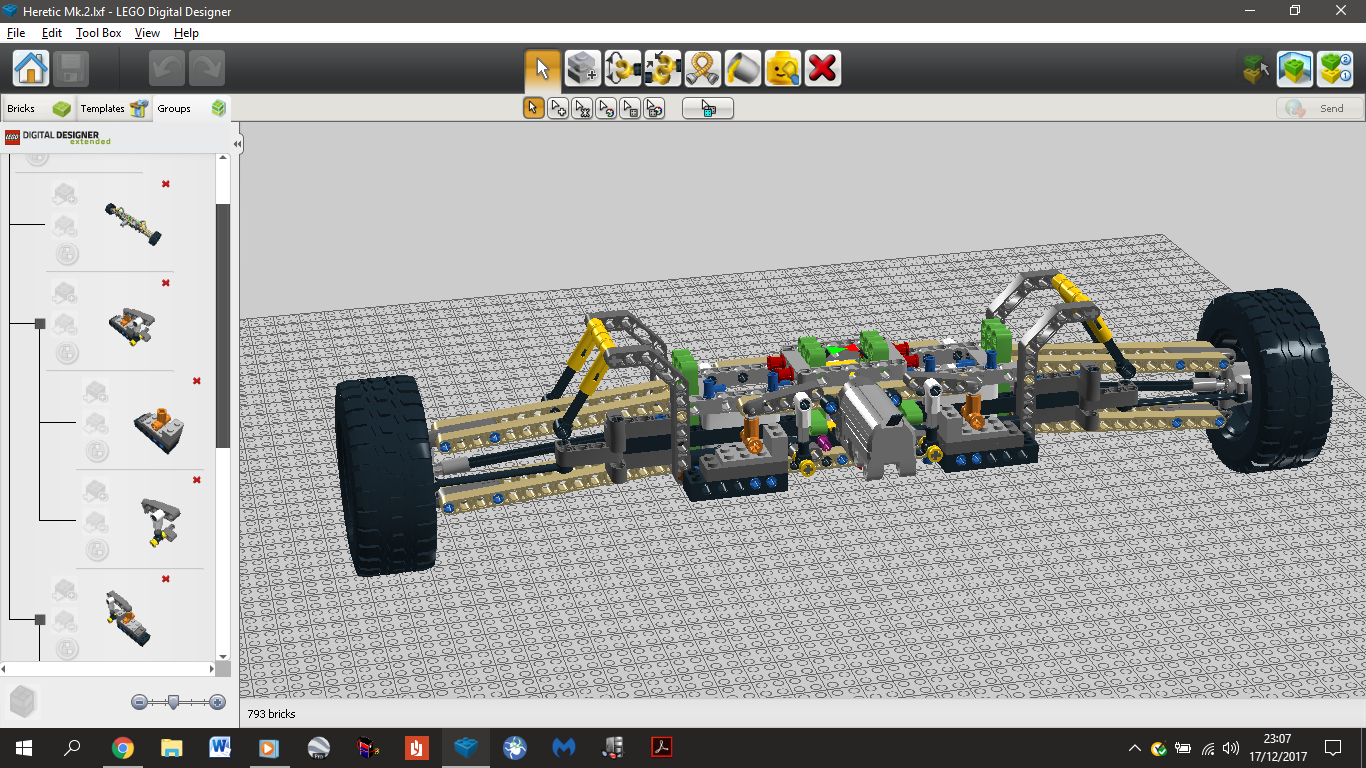
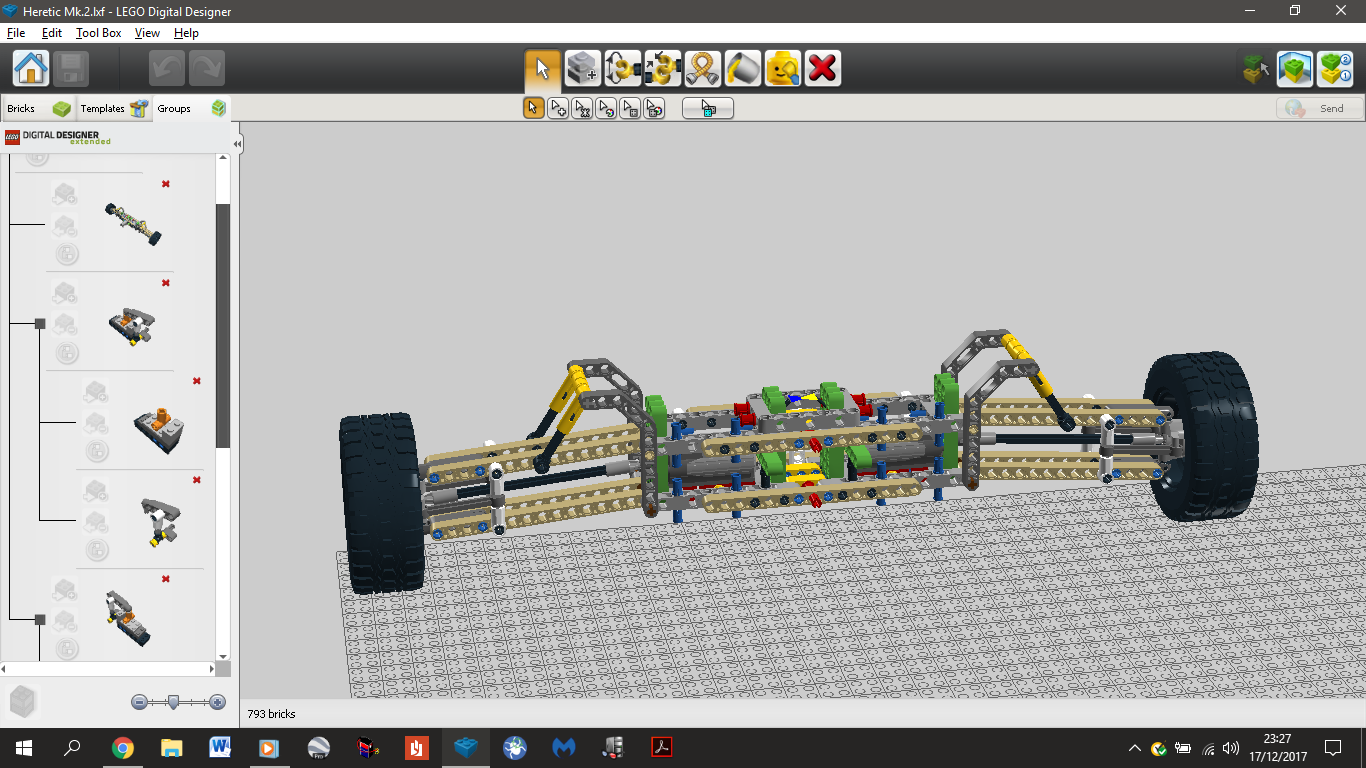
So in my recent period of extreme boredom I have decided to start developing another Lego car project, however, this time my focus won’t be an RC but instead I’ll trying to make some sort of active 4WD with 4 motors. I might consider an RC aspect if and when I’m happy with the rest of the car. The project will probably be called Heretic Mk.2 because I will be using Banshee’s 3S brick to power it if I ever end up building it.

Oh and @framos1792 I haven’t forgotten about your robotic arm idea, I’ve tried exploring it but I can’t think of a realistically feasible design that doesn’t use a minimum of half a dozen motors. Also I’m not sure if I mentioned this before, but @rickvanmeijel and @AJ_7 unfortunately I won’t be making a physical version of Trail of Death because after the apocalyptic fail that was Desperation I realised that TOD would actually be even worse, because it’s essentially the same chassis except it’s heavier and uses an extra motor which will drink even more juice from the batteries than 2 motors.

3 Likes

It’s all good! Thanks for making the plan/blueprint for it though. @rickvanmeijel and I can use it to make our own and cause destruction!

Looking forward to your new creation

2 Likes

If you want I can email you the design file for TOD.

1 Like

That would be great! I probably won’t be able to make it myself, but it will be great to see it. Thank you! (you already have my email)

I made an error, it doesn’t use an extra motor, just one that is bigger, and also 2 battery boxes which make it heavier. So it pretty much equals Desperation in that sense. Also I’ll send you the instruction file along with a notes file. I wouldn’t recommend following the instruction file because it is rubbish, it usually tells you to build a part and then insert pieces in a completely enclosed area; however, it has a component list at the end. Also the design isn’t brilliant and can do with quite a bit of modding.

1 Like

236 steps! I said it before, just brilliant! You really should try to design stuff for lego! Fun job doing what you like. @rickvanmeijel it’s time to save up! We can go half and half on the price of the lego pieces we don’t have, and build our very own Trail of Death :joy: .

1 Like

Don’t worry that’s alright haha. Just continue with this new project, I’m sure it will be just as awesome.

I’m afraid I don’t have the budget for this either. :smile:

2 Likes

Yeah I can’t imagine it being less involved lol let’s call it a theoretical project haha

1 Like

I myself probably don’t have some of the pieces needed, the price will likely be way too high for what it is.

1 Like

I love your untiring ingenuity - thats an awesome gift- and thanx for the updated explanations above ( the glossary) :+1:t2::sunny:

1 Like

The glossary isn’t updated, I just moved it out of the OP to make space.

Sit rep for today:

I’ve designed the front and rear of Heretic Mk.2, hopefully the active 4WD will work in the real world. I couldn’t think of anything special so all it is is 2 switches that turn off the motors on the inside of the car depending whether it is turning left or right. This way it sort of simulates an open differential. Now I just need to design the chassis. Also I’ve decided to make it an RC too. Hopefully this time 4 motors and a real RC battery will make it move at a decent pace.

The front looked at from behind (if that makes sense):
image

I had to make makeshift switches out of lego because the actual switch piece wasn’t in the parts database. But in essence it is just a 3 way switch (on/off/on) that is moved between on and off by the steering rack and is then returned to on by a horizontal shock absorber. It’s very tricky to see in the diagram so here is a simplified demo where my finger represents the steering rack pushing the switch.

The back looked at from the front:
image

I used the same parts as in the front except here I took out the servo, steering rack and switches.

4 Likes

If you’re not here from the OP you can ignore this post

Note: PLEASE DO NOT EDIT THIS POST, IT IS ONLY A WIKI SO THAT THE EDIT TIME DOESN’T EXPIRE.

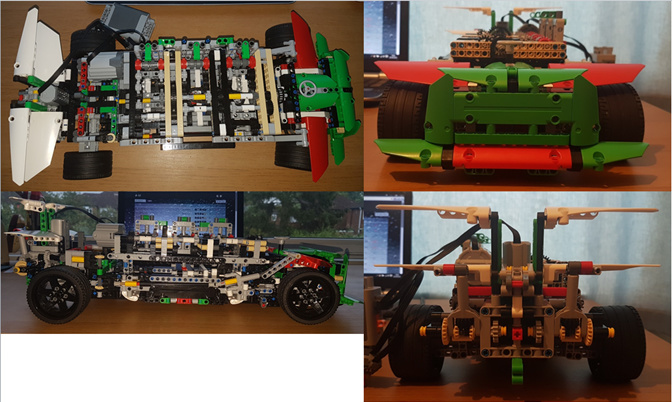
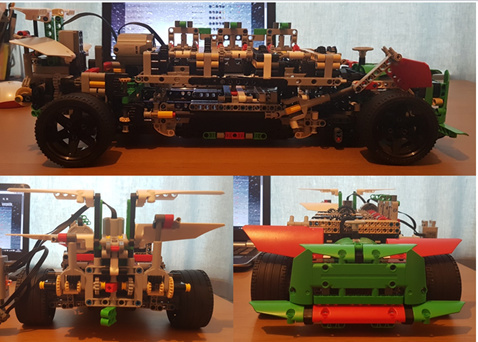
This was my first and is so far my only major Lego project that has existed physically. The first thing you’ll notice is that it doesn’t look much like a car; that’s because, I wanted it to be a showcase of the mechanisms (and I was too lazy to make a body). But as it turned out it was pretty rubbish as I forgot to account for the scaling of everything and had to bodge it together. :joy:

Info:
-Total parts: 1383
-Technic Parts: 1379
-Electronic parts: 4 (a battery box, 1 medium motor, 1 XL motor and a switch)
-Total price: ~£275 (inc electronics which were about £25 alone)
-Price per piece: ~£0.20 (20p)

Gear ratios (gearbox only):

1st gear: 2.25
2nd gear: 1.5
3rd gear: 1.25
4th gear: 1
5th gear: 0.75
6th gear: 0.5

Pics:

Different views:

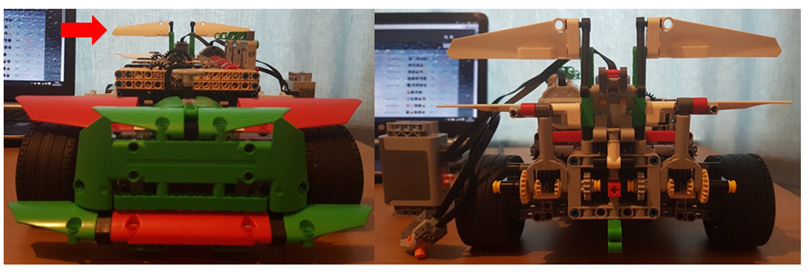
Manual spoiler up:

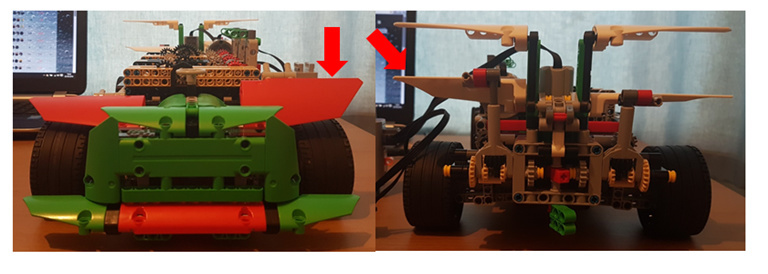
Left active spoilers up (you can’t see the rear one from the front because of the gearbox):

Right active spoilers up:

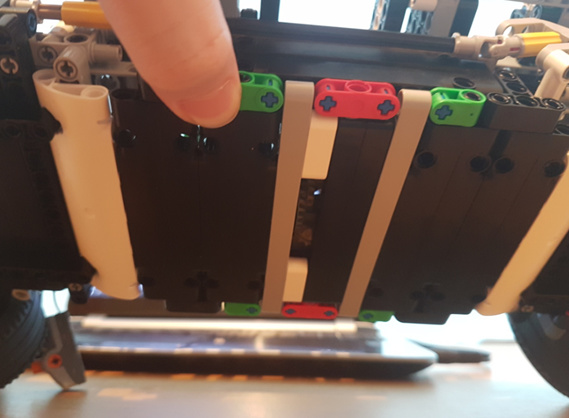
Flat underbelly (the gap is there to stop the differential from catching on the plating):
image

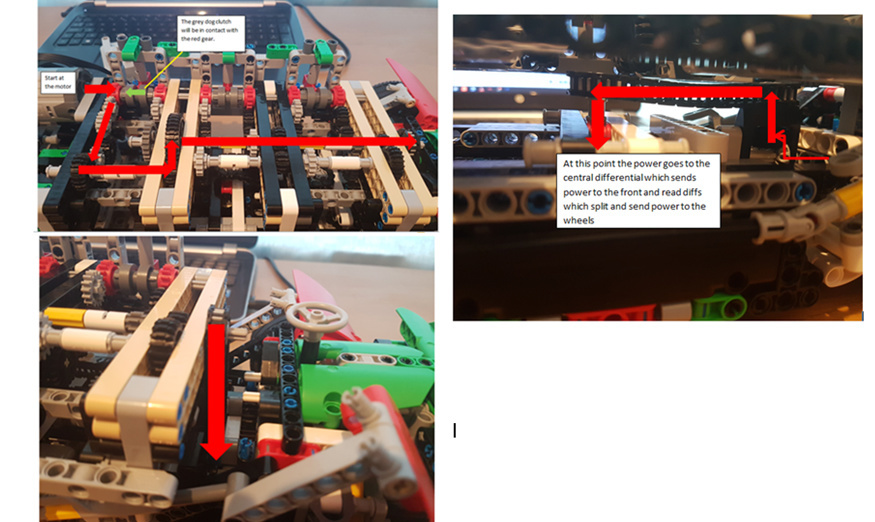
A crudely labeled pic of where the power will go through the gearbox if it were in first:

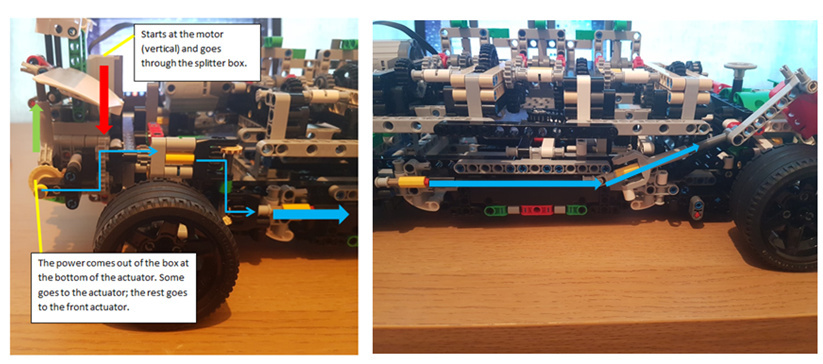
A crudely labeled pic of where the power will go through the actuator system for the active aero:

Mini demos:

General functions:

Active aero (due to gearing, the front spoiler comes up faster and fully and the rear only gets to half way) :

1st gear:

6th gear (I couldn’t edit the 5th gear fail from the gif):

I only did the first and last gear because it takes 15 mins (quite literally) to render a single gif due to file size.

Build notes:

-I lost track of how long this build took.
-I’ve had to do more redesigns than I can count
-I recycled most parts from the 42039 LMP set I posted a while ago in the w/w thread.
-This was completely improvised
-Apart from the very basic part of the rear suspension, everything is my own design (I heavily modified the rear suspension I used)
-It has a 6 speed gearbox
-It could pull a reverse and a mechanical handbrake built into the gearbox but I didn’t account for scaling and couldn’t fit them in
-For some reason it grinds it’s gears in 5th
-It can only pull itself in 1st, the gears just grind for 2nd - 6th
-It has 4WD with 3 open differentials
-Has active and manual aero (I couldn’t find a good way to automate the manual one)
-Initially the active aero was meant to be connected to the steering but it proved too difficult and complex
-Inspiration for the active aero came from the Pagani Huayra which has a similar system
-Has independent suspension
-The front suspension has a lot less travel than the rear due to the steering linkage
-If Lego were to sell this as an official set it would cost half as much
-I had to order extra parts as well as using the recycled ones
-Because of Lego’s awkward gear sizes I ended up having to use around 40 gears as opposed to a dozen for the gearbox
-I would have used pneumatics if they weren’t so damn expensive.

2 Likes