
Don`t worry! In the next few days I’ll do a simple tutorial of drawing hands. It is not difficult  I’ll make a few options
Hands
If you didn’t have problems with drawing hands, then you have never
drawn hands. I don’t know how it is in your countries, but in my country
one of four years of studying at the artistic institutions is devoted
to drawing hands. Only hands! only hardcore!
Why are hands so hard to draw? If we compare the hand with any other part of the body, it will be the most difficult because of the number of parts. 15
joints, if not counting the wrist. 15 balls are attached to parallelepipeds of various lengths and thickness. If not mentioning the number of tendons and muscles. Let us consider your hand more closely.
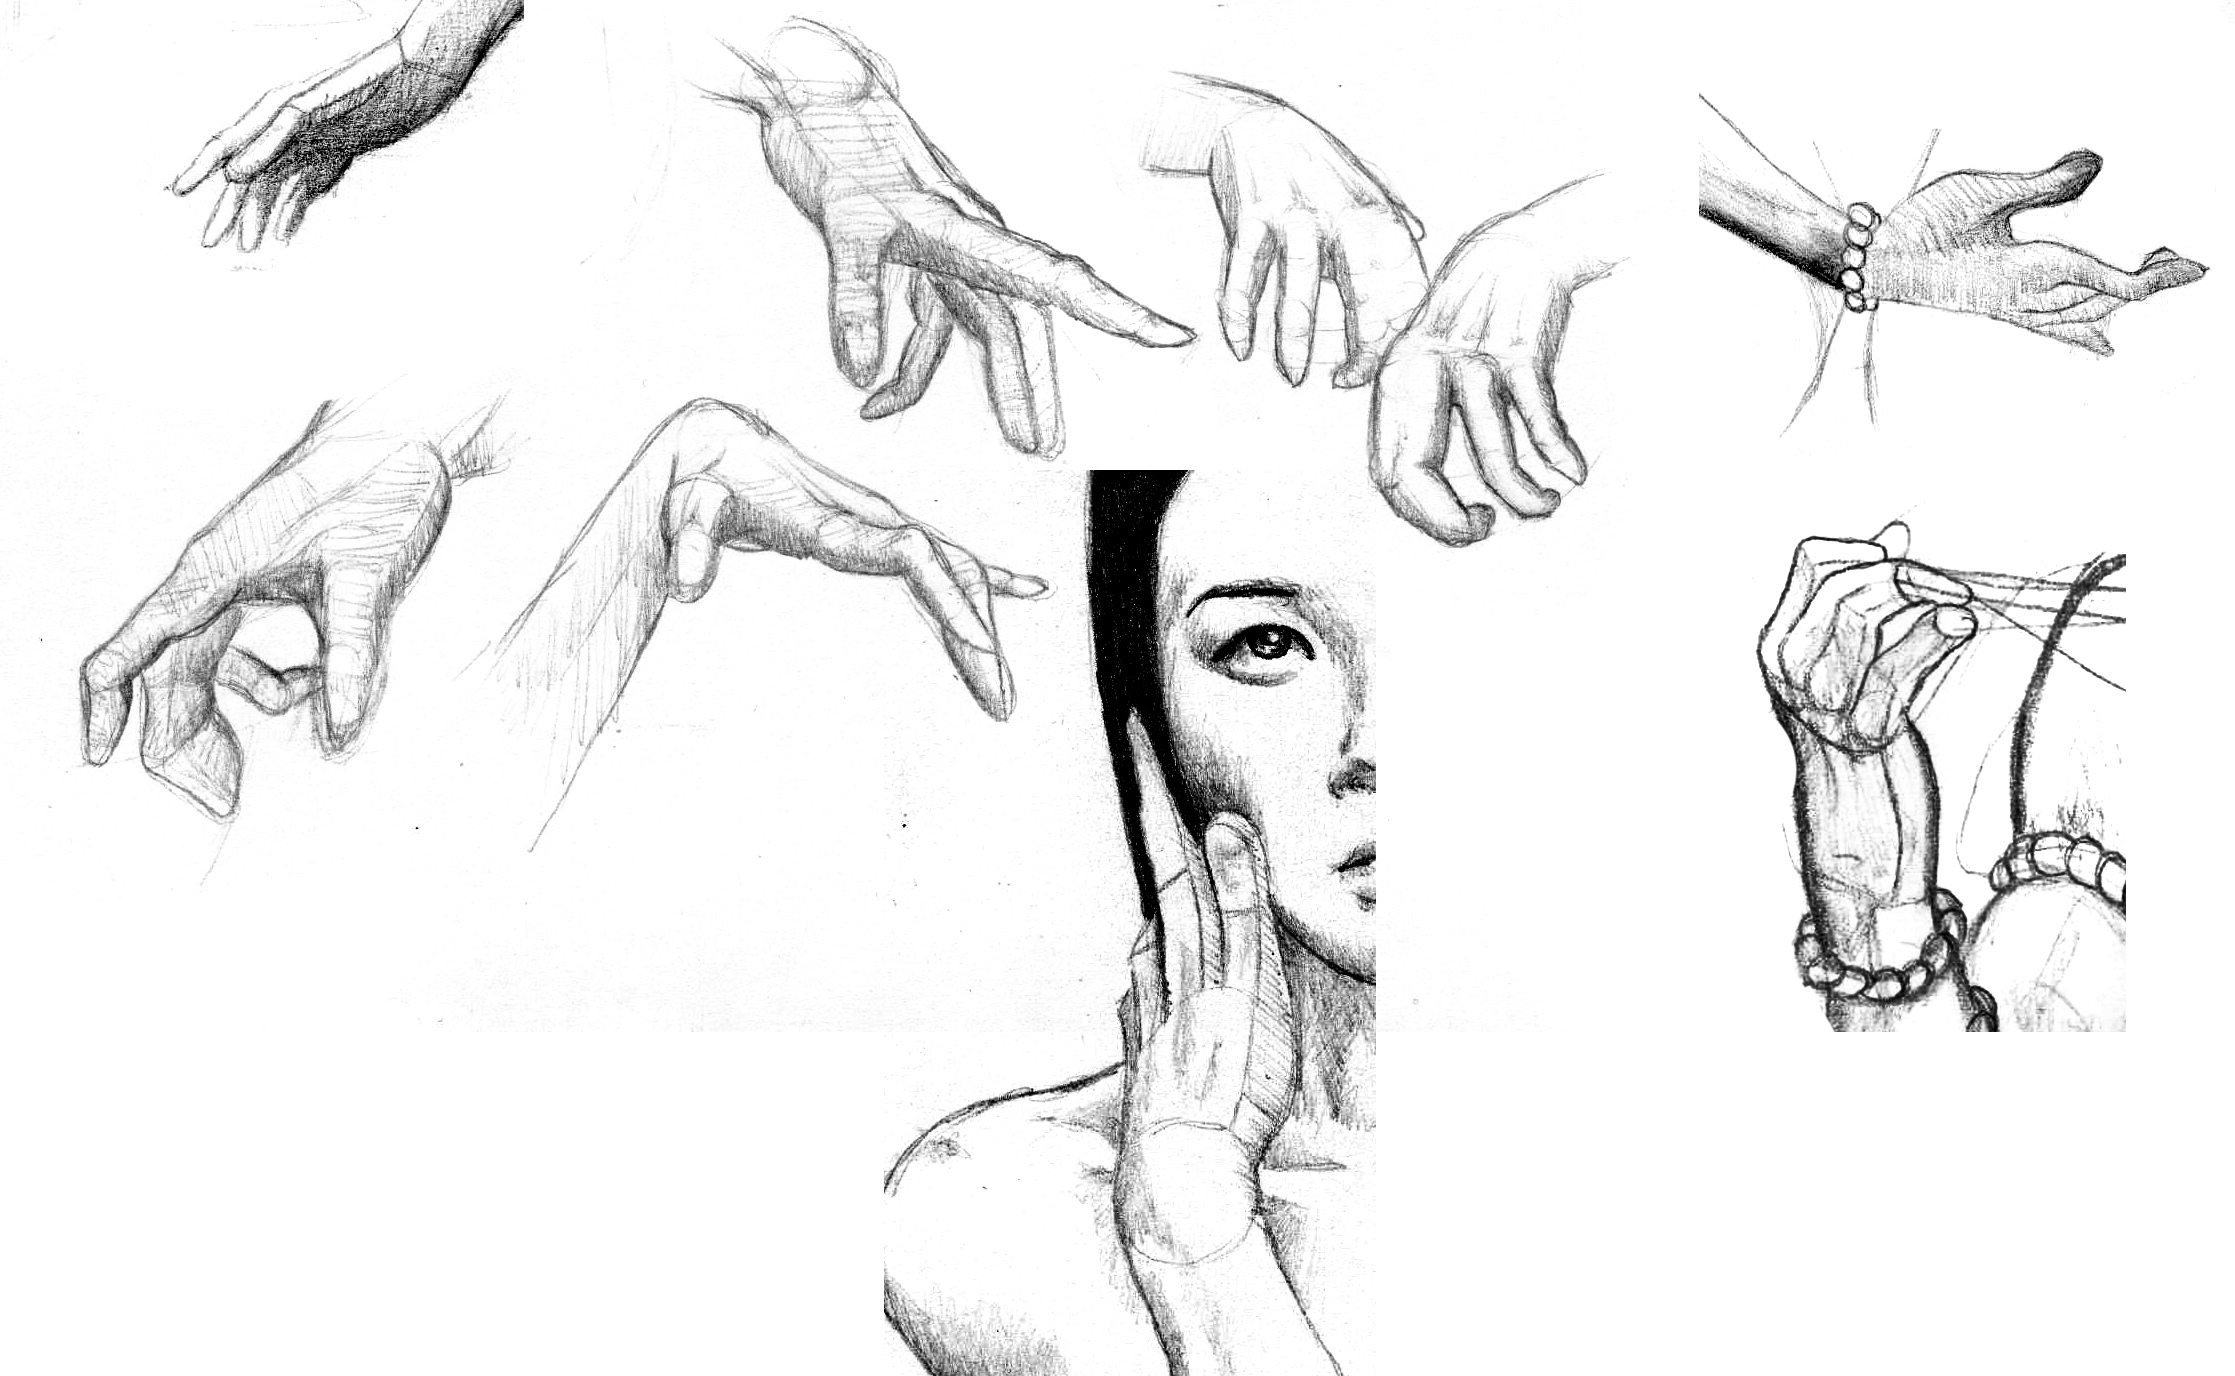
Each finger is divided into several sections. A separate section is parallelepiped and the place of their connection - a ball. The palm is the largest parallelepiped, with 5 balls (bases of our fingers) mounted on it. Between the toes are membranes. Apparently, remained from our ancestors-platypuses
 . Plus, the biggest parallelepiped is attached to another parallelepiped - the forearm. Between them, there is a big ball - the wrist.
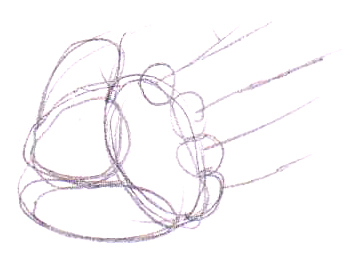
Turn the palm over and you’ll see, that there is “a cushion” on it beneath four of the fingers. If I try to pull a middle finger in the direction of the wrist, the cushion tension occurs and it restricts the movement of my finger. If I try to pull away, then I will be stopped by the membrane connecting the rest of the fingers.
Also, with the thumb - pulling it to the little finger, we will see the muscle, which is sewn to the finger and restricts its movement.That means, each finger has its movement limits. The fingers can not bend in different directions (fortunately), it is worth remembering - fingers are like a continuation of the palm, which has been cut lengthwise into several pieces.
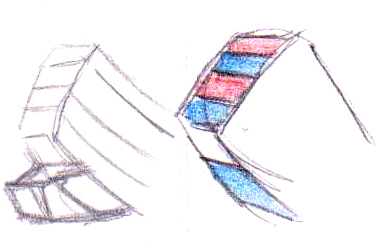
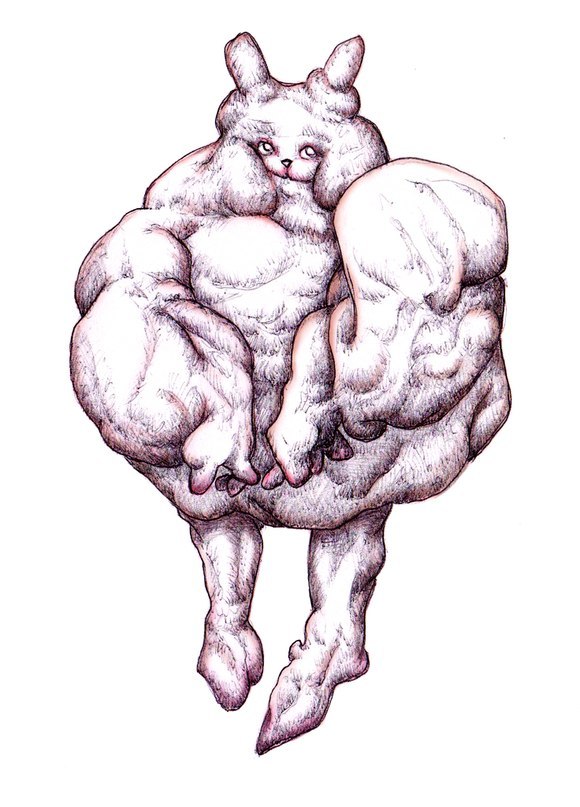
If we put the hand in a mitten, then we get the base model of the hand. This method of “the mittens drawing” can simplify the building of the hands on a sketch.
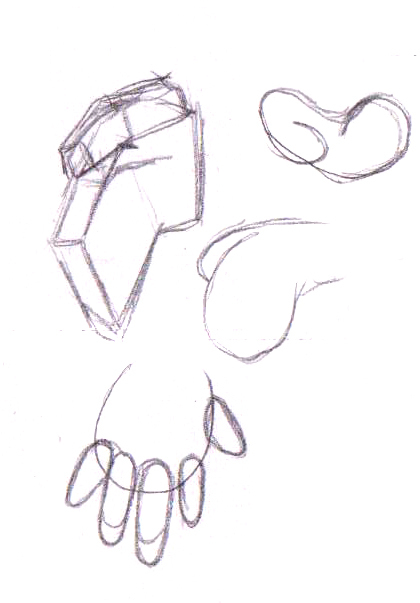
The second variant: thus we know that the the palm is a parallelepiped, it is possible to build a hand on the basis of such a form.
In addition to all, you can easily remember that the longest finger is the middle-finger, pinky ends at the level of the last joint of the ring finger and the thumb ends at 2/3s of the first bone of the index finger.
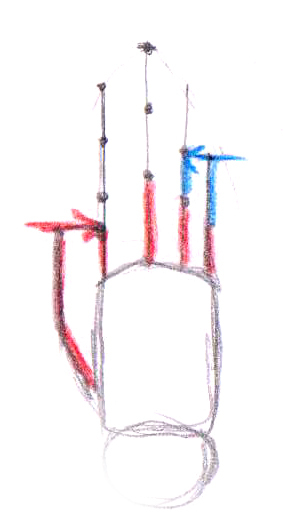
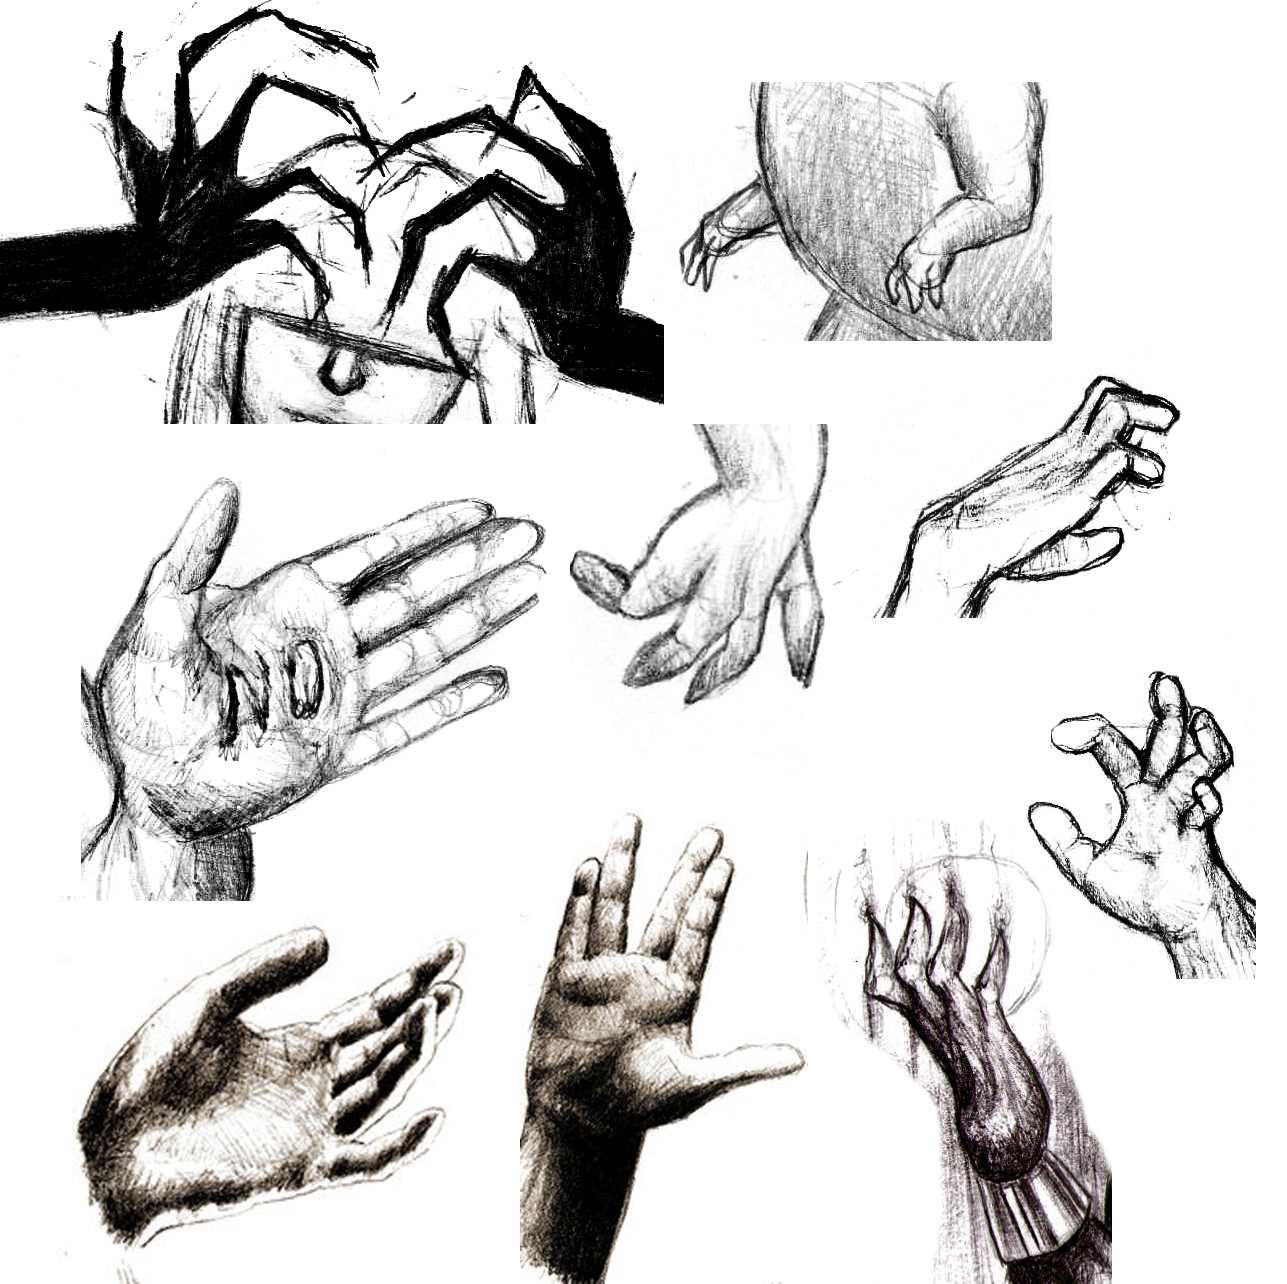
Some artists use cartoon-laws and don’t draw 5 fingers, but do with 4. Personally I use several methods. If knowledge of anatomy is critical for the drawing, I:
- I build the palm-mitten-parallelepiped.
- Draw guide-lines for the fingers and move them in a pose.
- Begin to build parallelepipeds/fingers according to the guide-lines. The main thing is not to get lost in space!
- Add details. I mark the joints with the balls, which are then converted into more detailed, a little bit sticking out joints.
Sounds easy, right? Nothing like that.
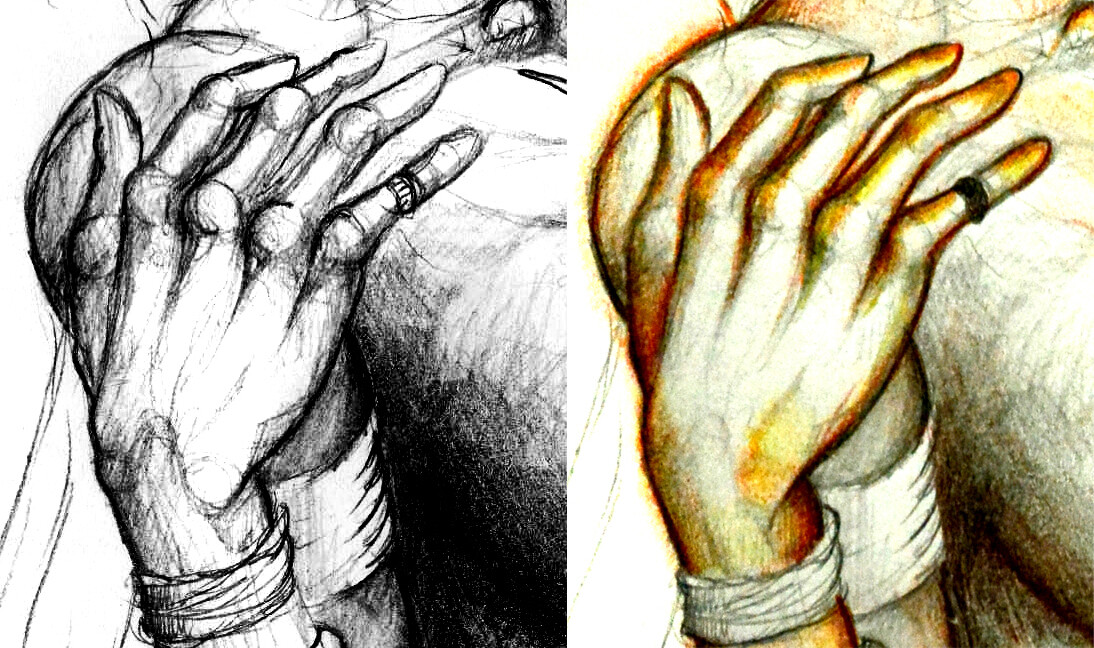
It is still difficult to me, to draw fingers. I think it’s laziness. No other explanation, that I can find.How to add details? I have a lot of books in anatomy with scary illustrations - it`s the muscle structure of the body. On each drawn hand, I pick out the muscles in order to understand where the skin folds or the tensions of muscles are (and so on). Yes, in addition to books, many artists use the photos for references on their work. On many creative sites they have a lot of photos of anything. Including the hands in different positions and at different angles. I don’t like to use such references, because I know that I should not just copy an image from a photo. I need to understand the construction of the hand itself, that in future I could draw it in any position and at any angle. And wrong made photo (with distortion) would just make things go worse.
Therefore, I use several methods of hands studying:
**1.**3D models. Yes, in many programs related to the 3D modeling, there is a possibility to view the image model with minimal visual distortion. For reference - the focal length of 109 mm and above. I can all day twirl a model of the hand as I like, learn and make sketches.You do not have to learn 3D modeling. Enough to have a regular viewer for 3D models.
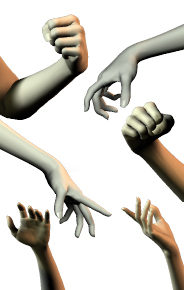
**2.**If you do not have 3D graphics programs, then (get them), there is another option. Do you have toys? Any with hands? I got toys that I use as live-3D models.
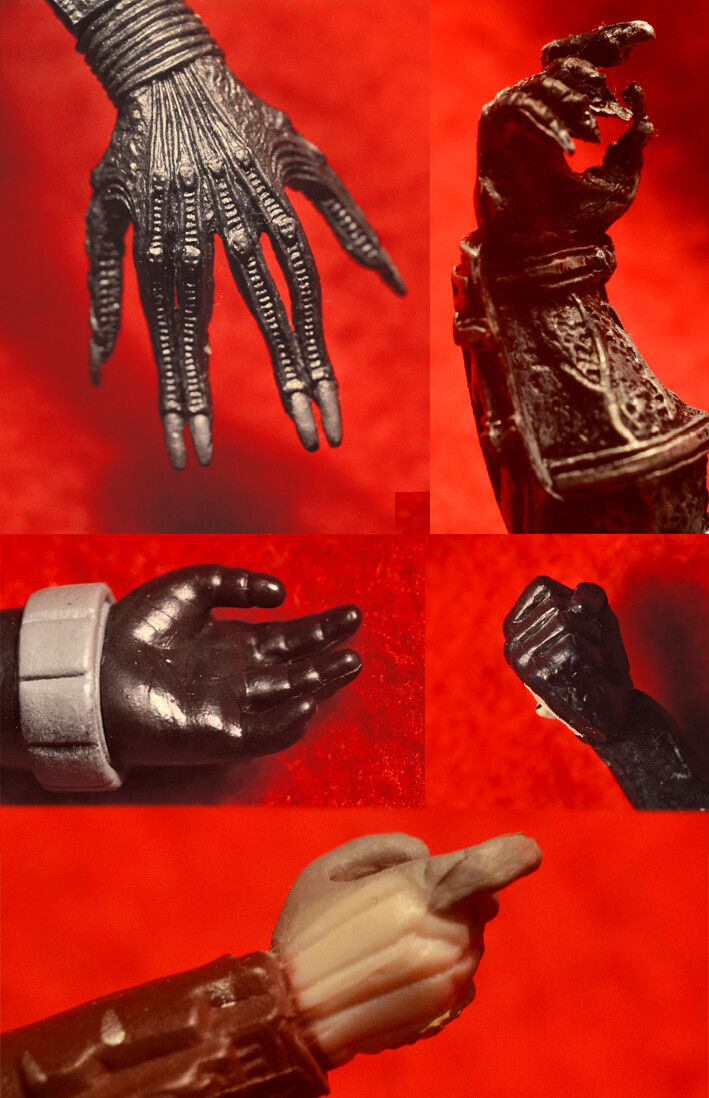
**3.**Clay! Even if you don’t know how to sculpt with clay, you are still able to shape the mitten. You can give absolutely any form to this mitten and even more - just as well as the toy arm or 3-D model, you can turn it and learn.
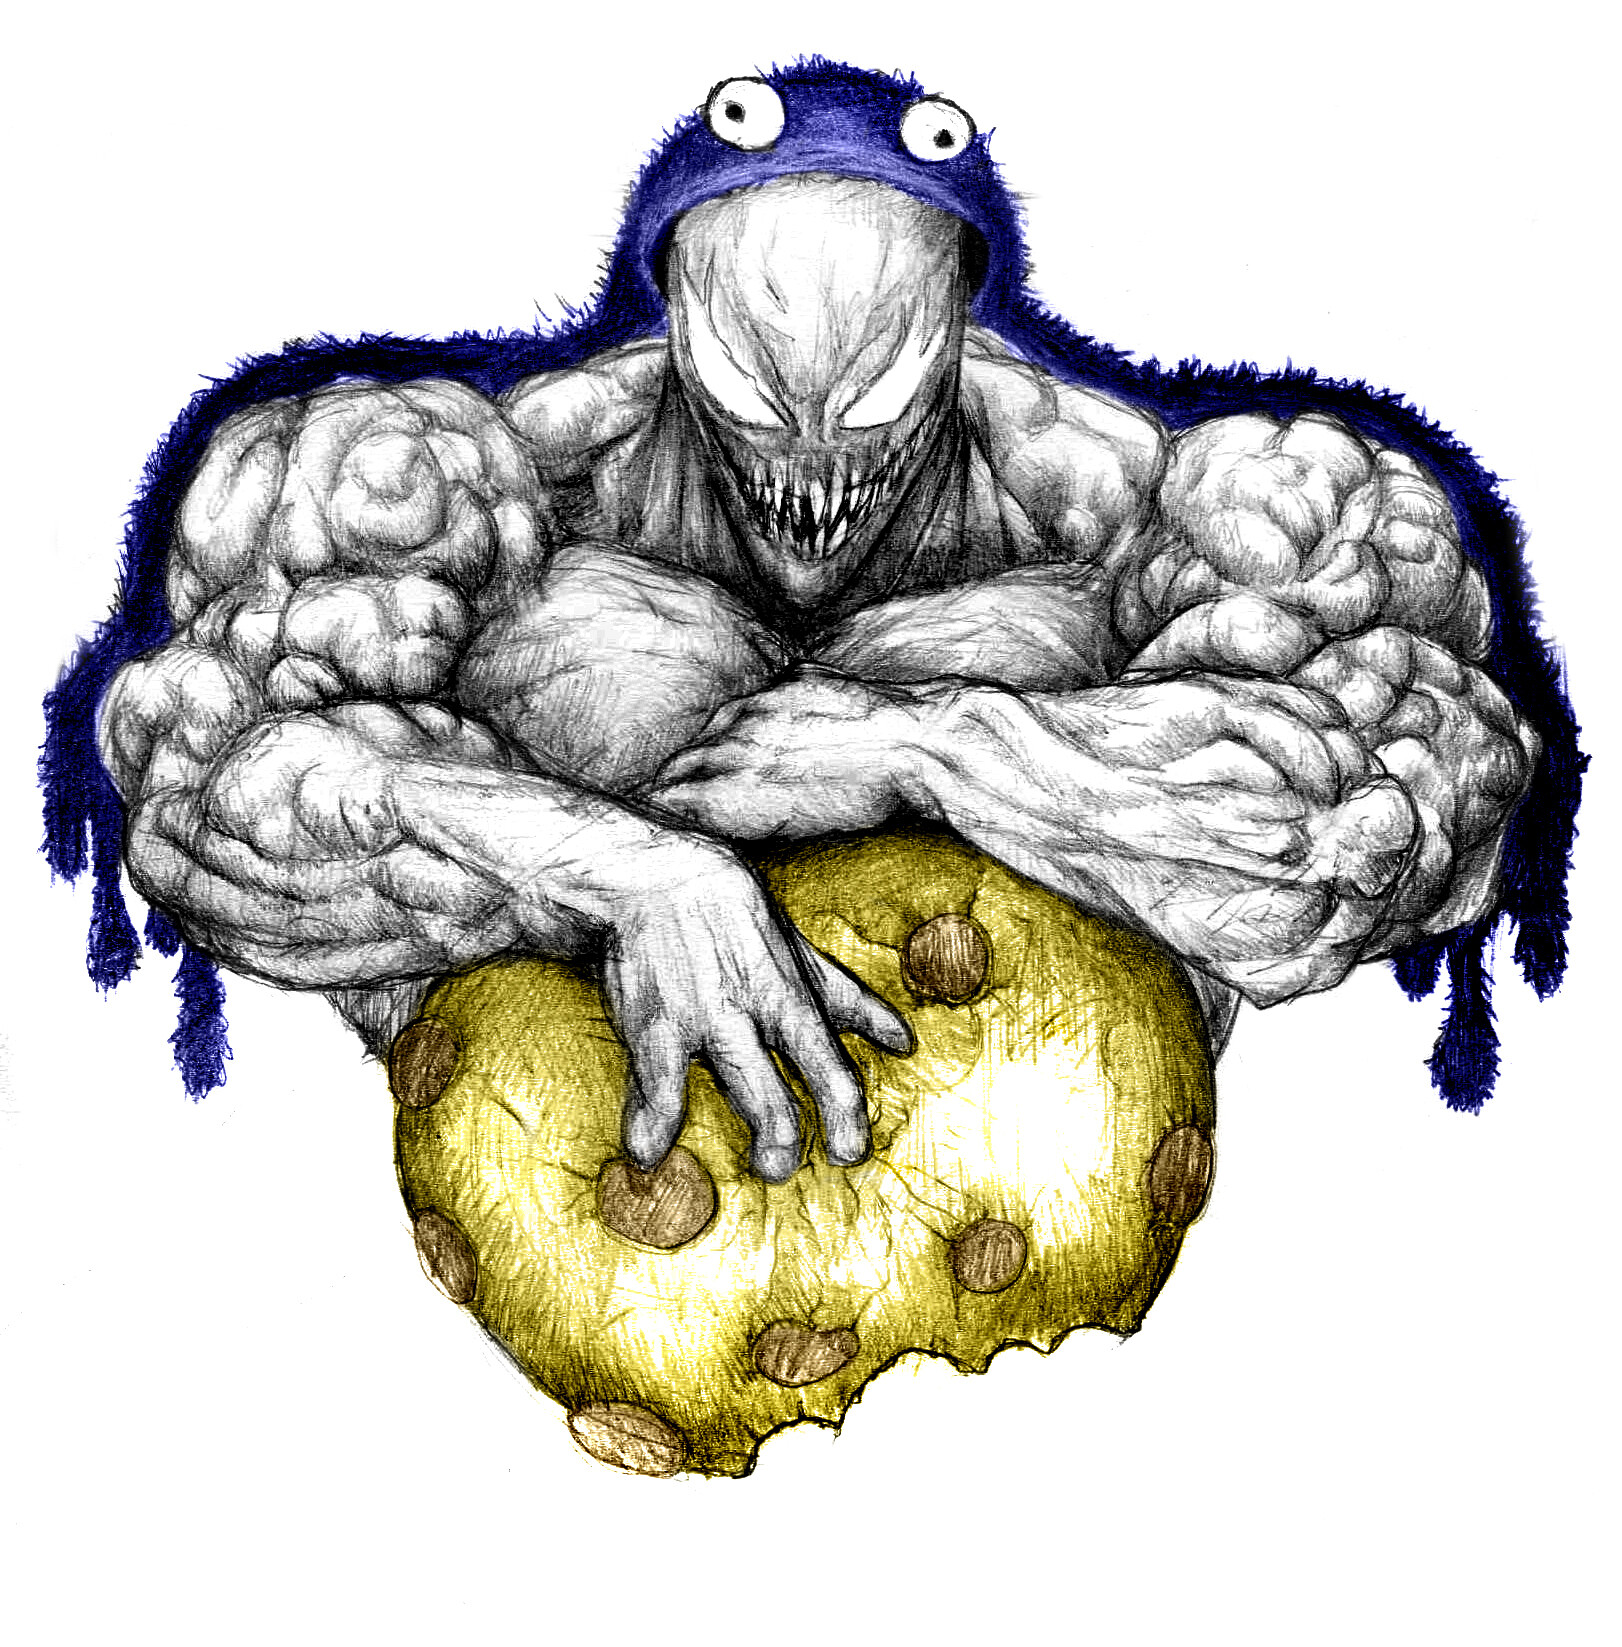
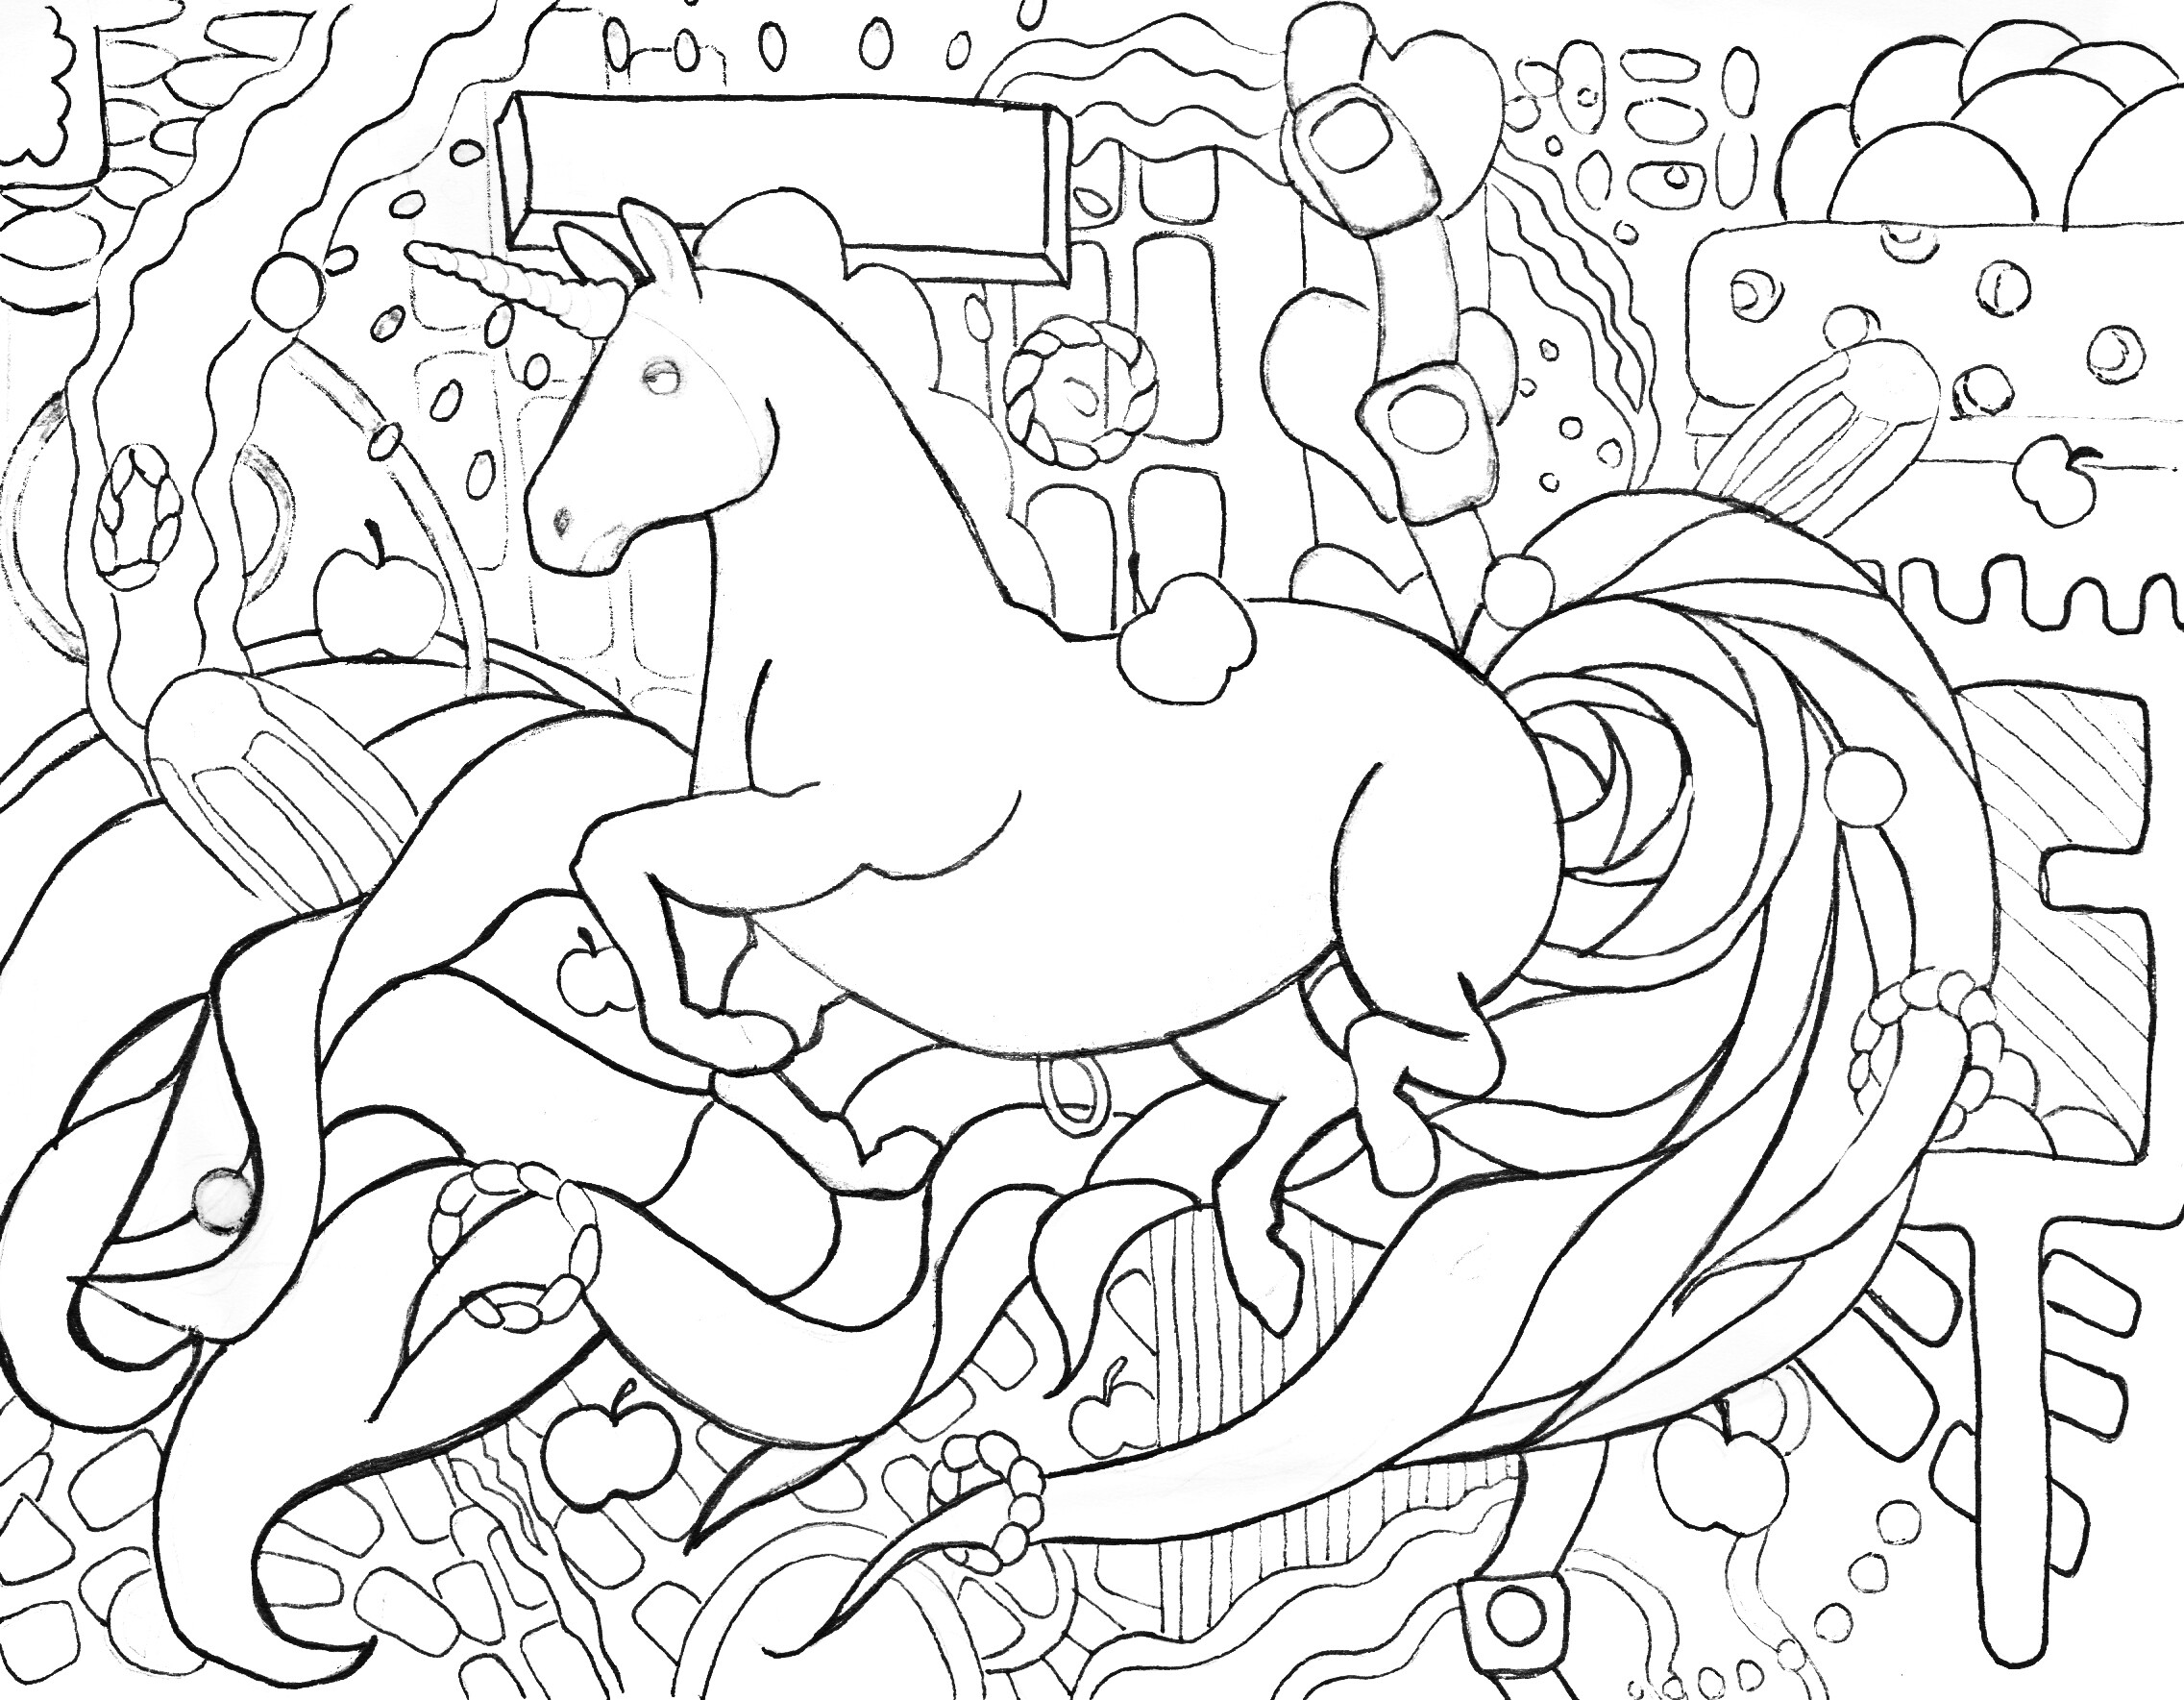
If the knowledge of anatomy is not critical for the drawing, then it is possible to play with forms. For example, sometimes I draw 4 fingers (and in some works it is not evident), or as I did here: I let some of the knuckles out. Nevertheless, these are the hands, despite their inferiority.
So, the plan is that if you do not know how to draw hands:
**1.**Use simple forms to construct and complicate them only when the appearance
of mitten or the box satisfies you. If you dislike the sketch from the
start, further it will only get worse.
2. Do you know how to draw a hand from a certain angle? Make sketches of live arms, toy, or 3-D models.
3. Don’t know how to make the details for mittens? Use knowledge of
anatomy and art books in artistic anatomy or medical anatomy.
4. Draw hands often. You don’t have to do every work with hands on it. You can select 1 sheet for sketches of hands only.
5. Do not forget that the realism is not the point, which is necessary to
follow blindly. For example, some characters have 4 fingers and it’s enough.
2 Likes
I´m impressed, every time you are explaining these things, it shows ya artists-love…never ever guessed, that mb hands are soo difficult to draw…never thought before, that it is so much kinda “technic!” in this drawings, real hard work, this drawing at it´s start, you learned four years?? 
1 Like
Yes, the drawing is very interesting thing  I don`t know people who are easily able to draw the hands. No, I’m self-taught. I do not have an art education. I am an engineer by education
What kind of things you engeneer? You do the drawing only in your spare Time? What a pitty  you have to Discovery the World with your ART
OT: So u had ur lunch break @The_early_walker just now?
1 Like
Engineer-optician. I graduated education early due to health problems. Now I am a journalist for two sites - Ukrainian and Russian. I write articles about the artists from around the world (take an interview with them). So I have a lot of free time- I draw and study the drawing. I draw in the last few months from morning till night. I write tutorials, draw illustrations. All my time I give for LPU. If I’m offline, it means that I make the illustrations for a new tutorial or draw your sleeve My husband @Jabin_Quaken says that I am too much draw, and I need more rest.
1 Like
That’s right, Hunny! Health is non renewable resource. 
so I´m updated lol hi @coon & @Jabin_Quaken, lol, 
So, you have to draw and draw, and even for me…sooooo very nice, ´cause I feel and felted before your warm embrace…@coon, I´m rarely suprised as I got ya gender…and I love it like this…
Why? 
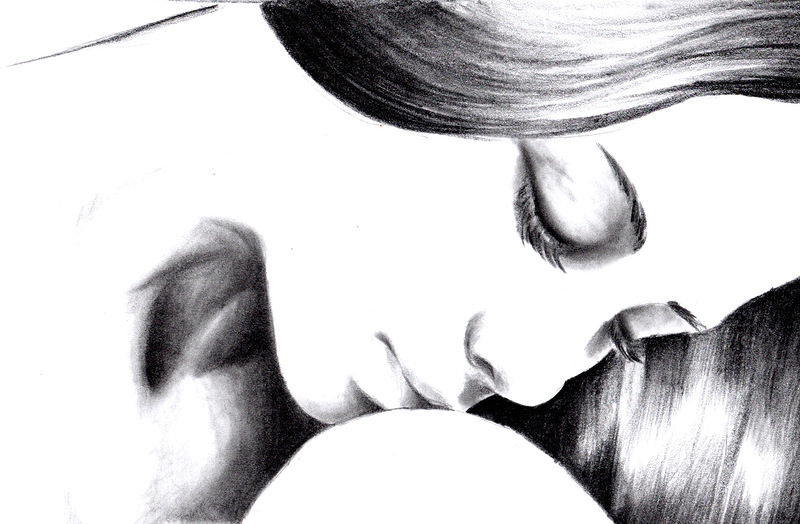
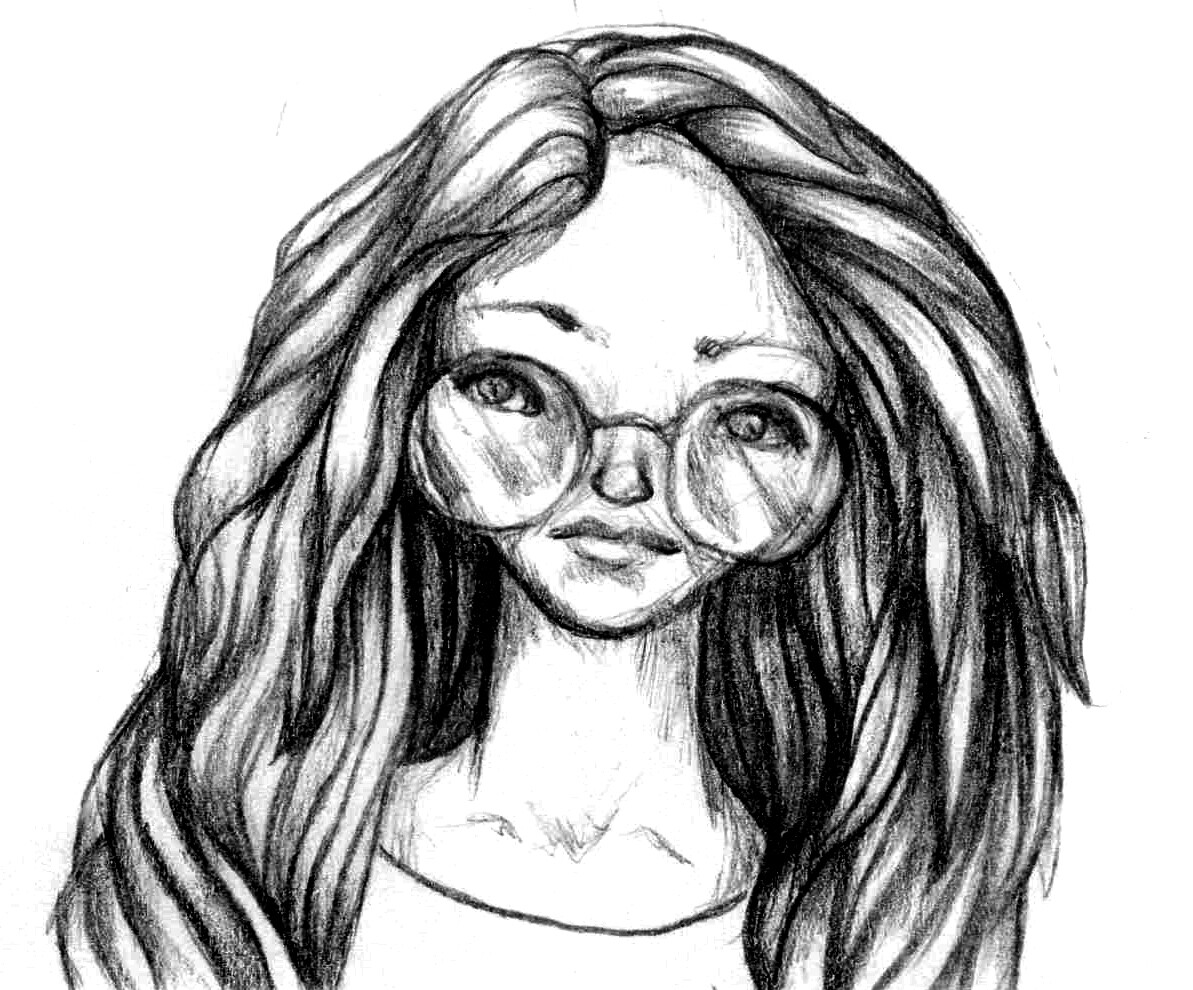
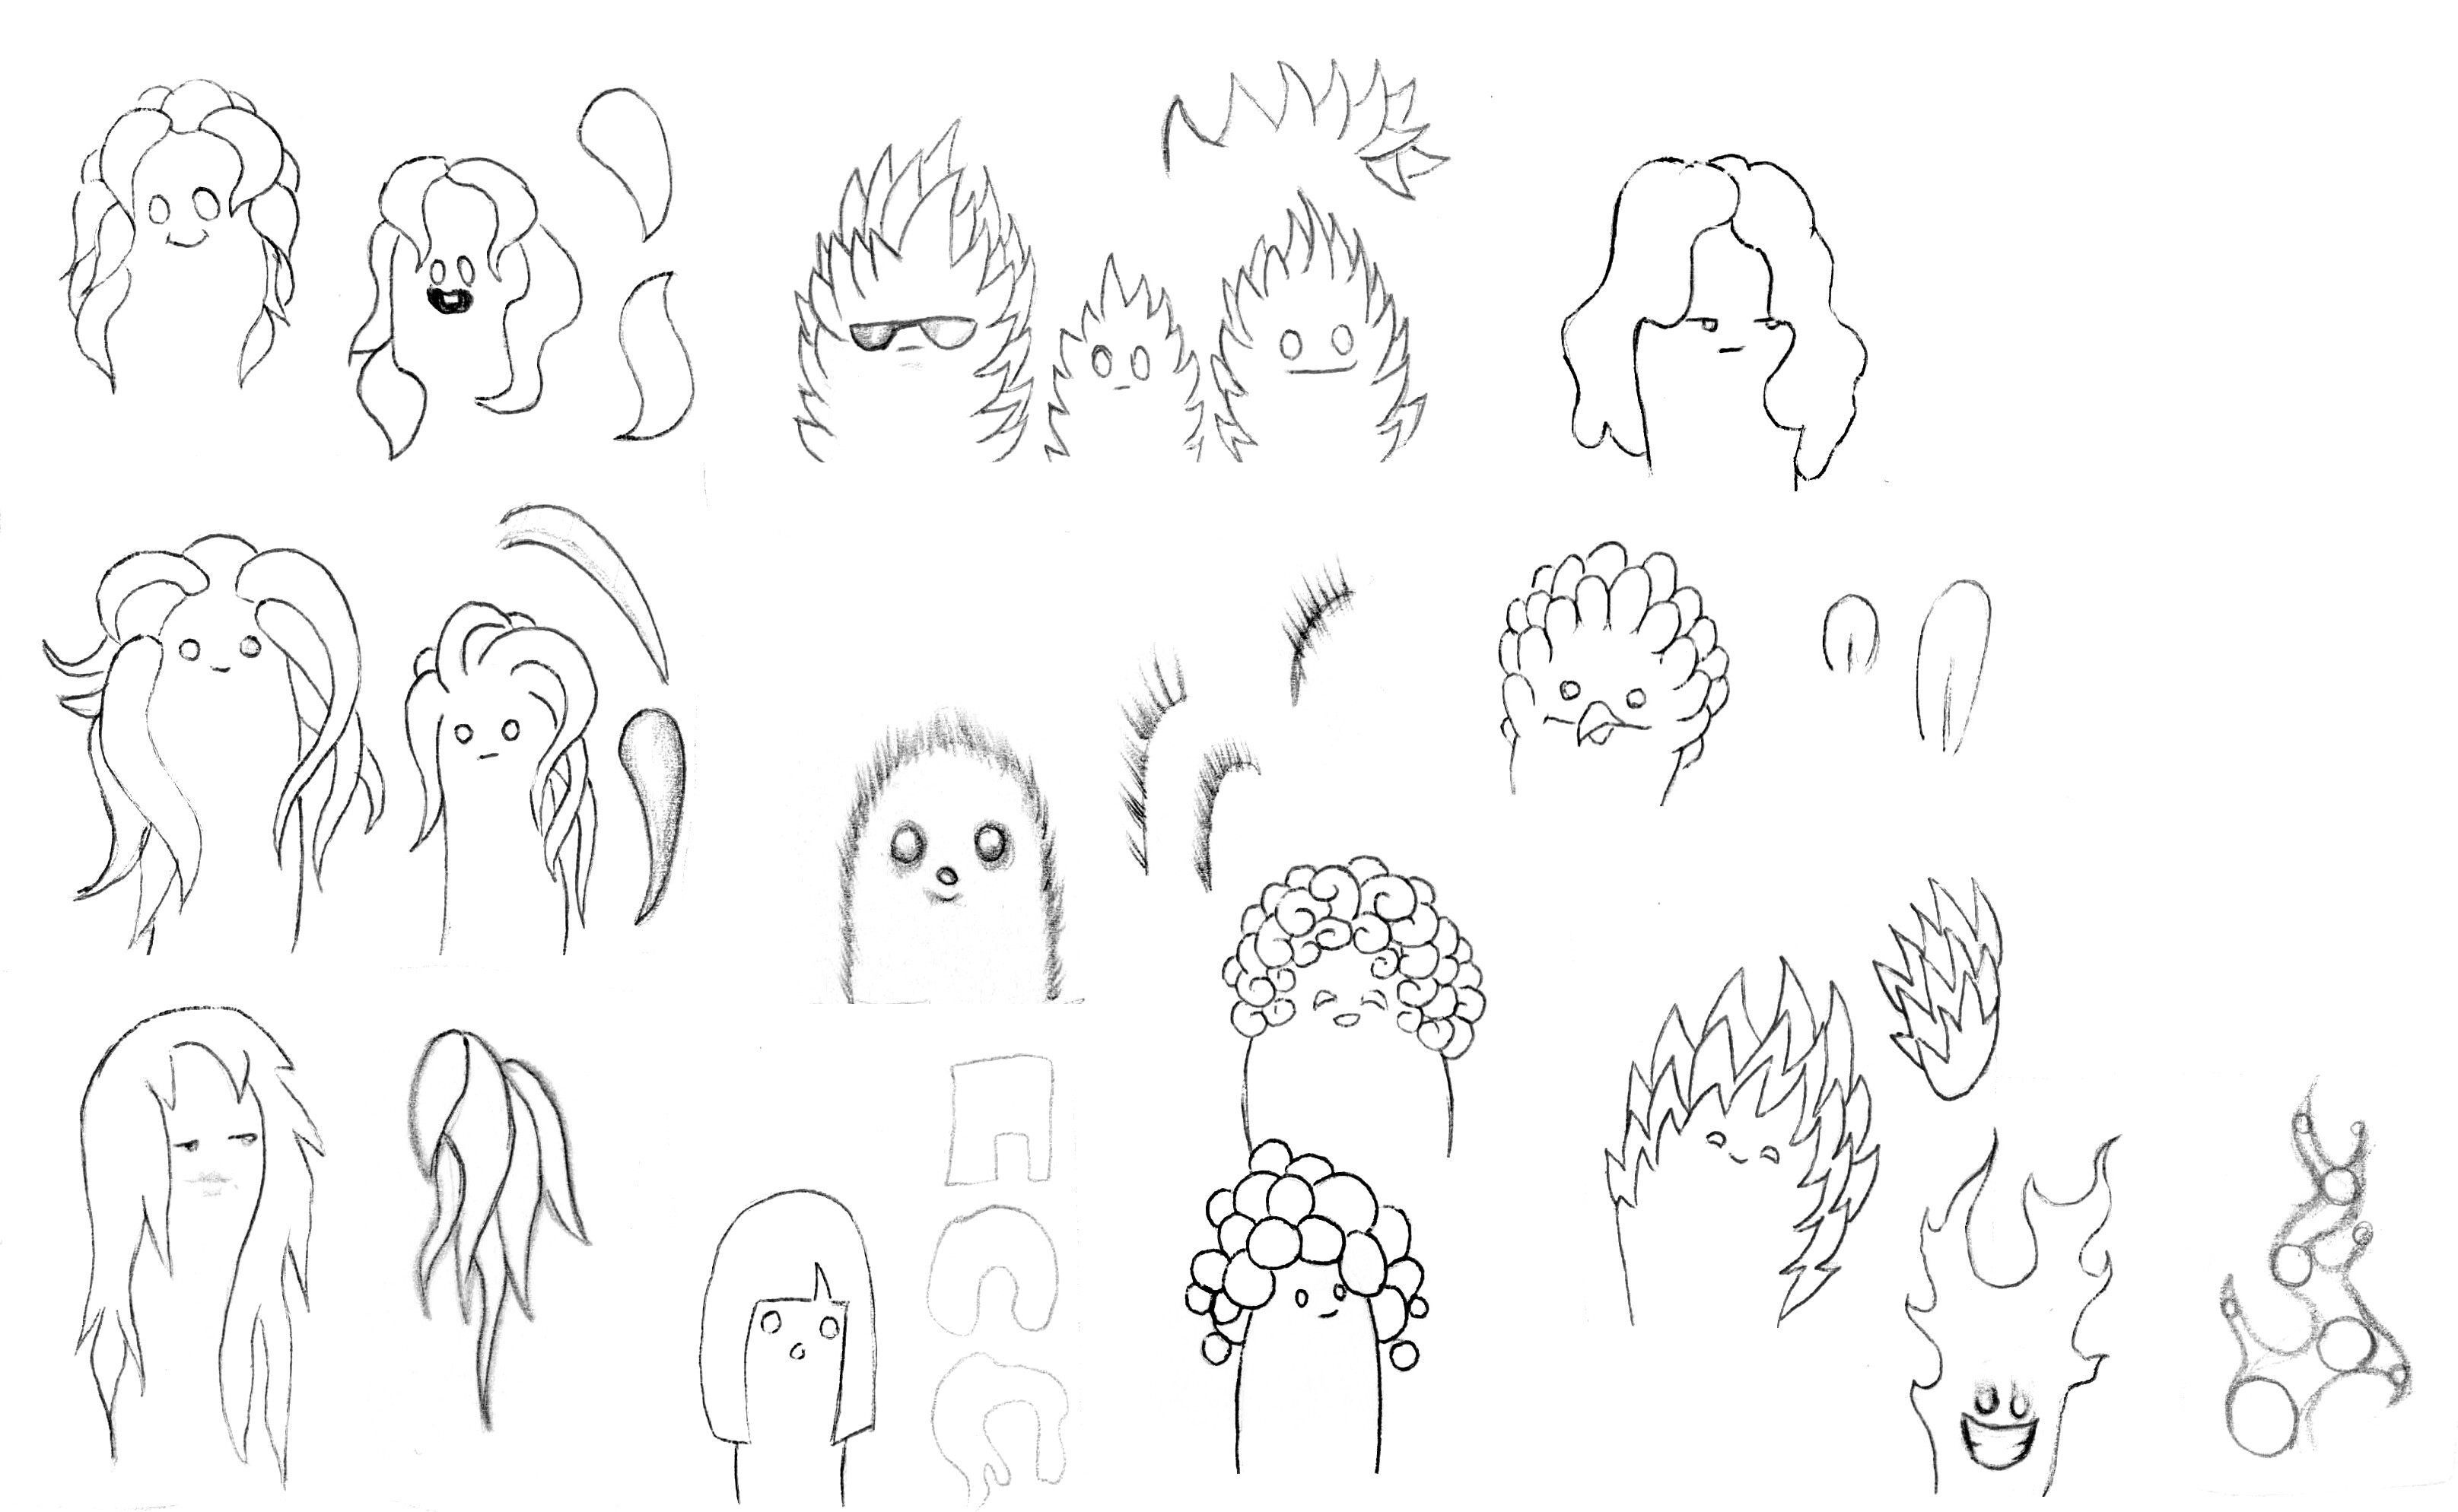
Fur-fur-fur and hair
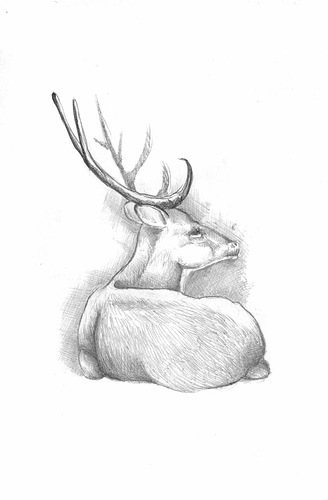
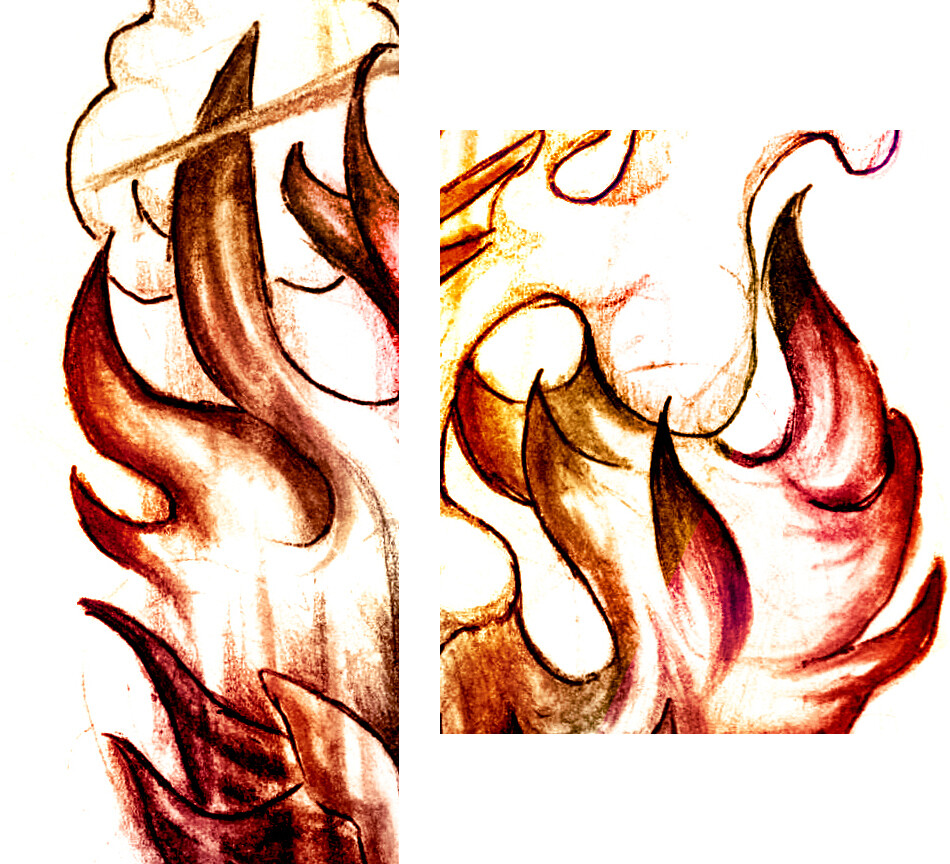
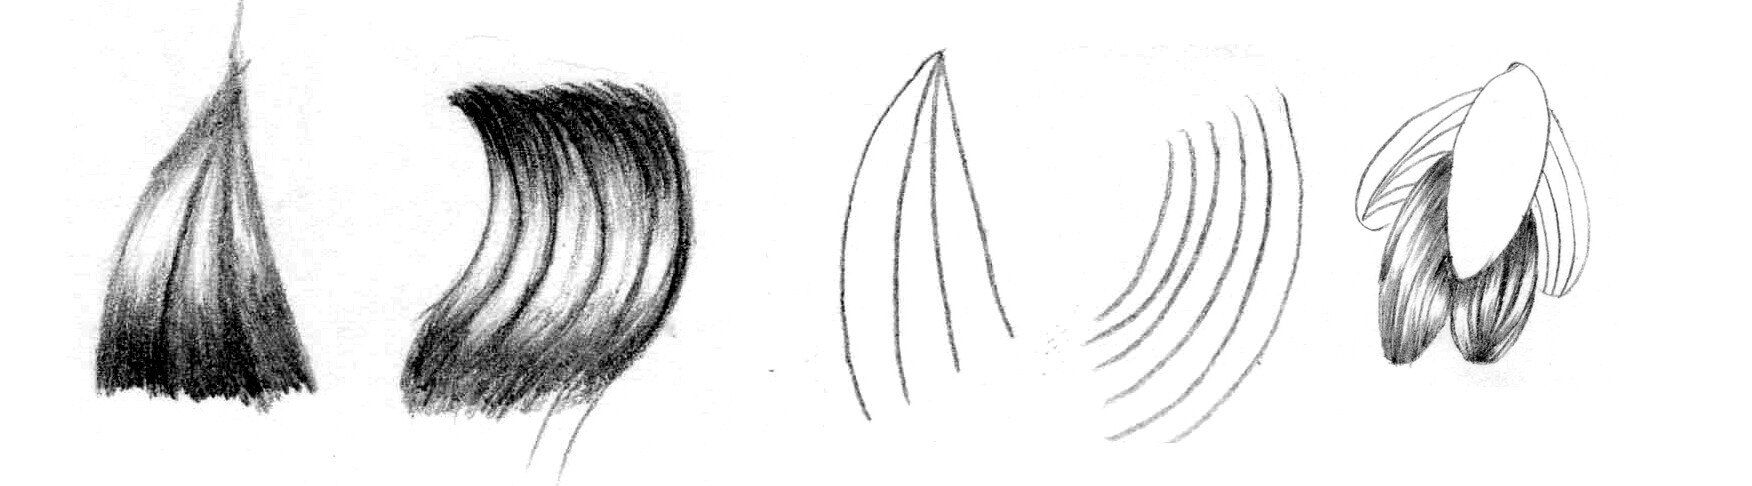
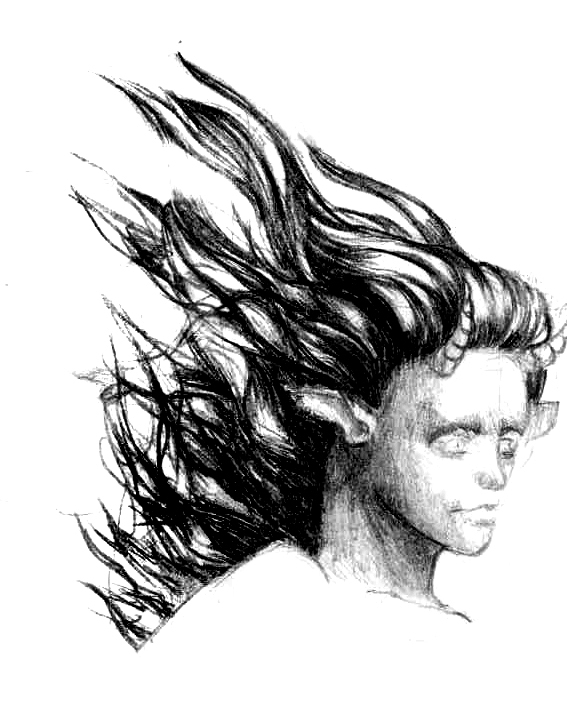
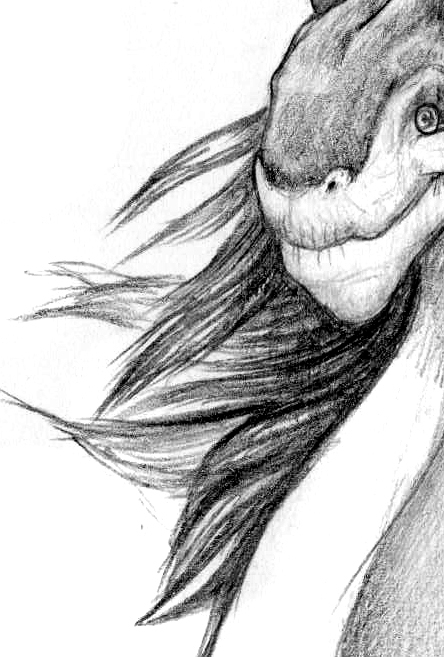
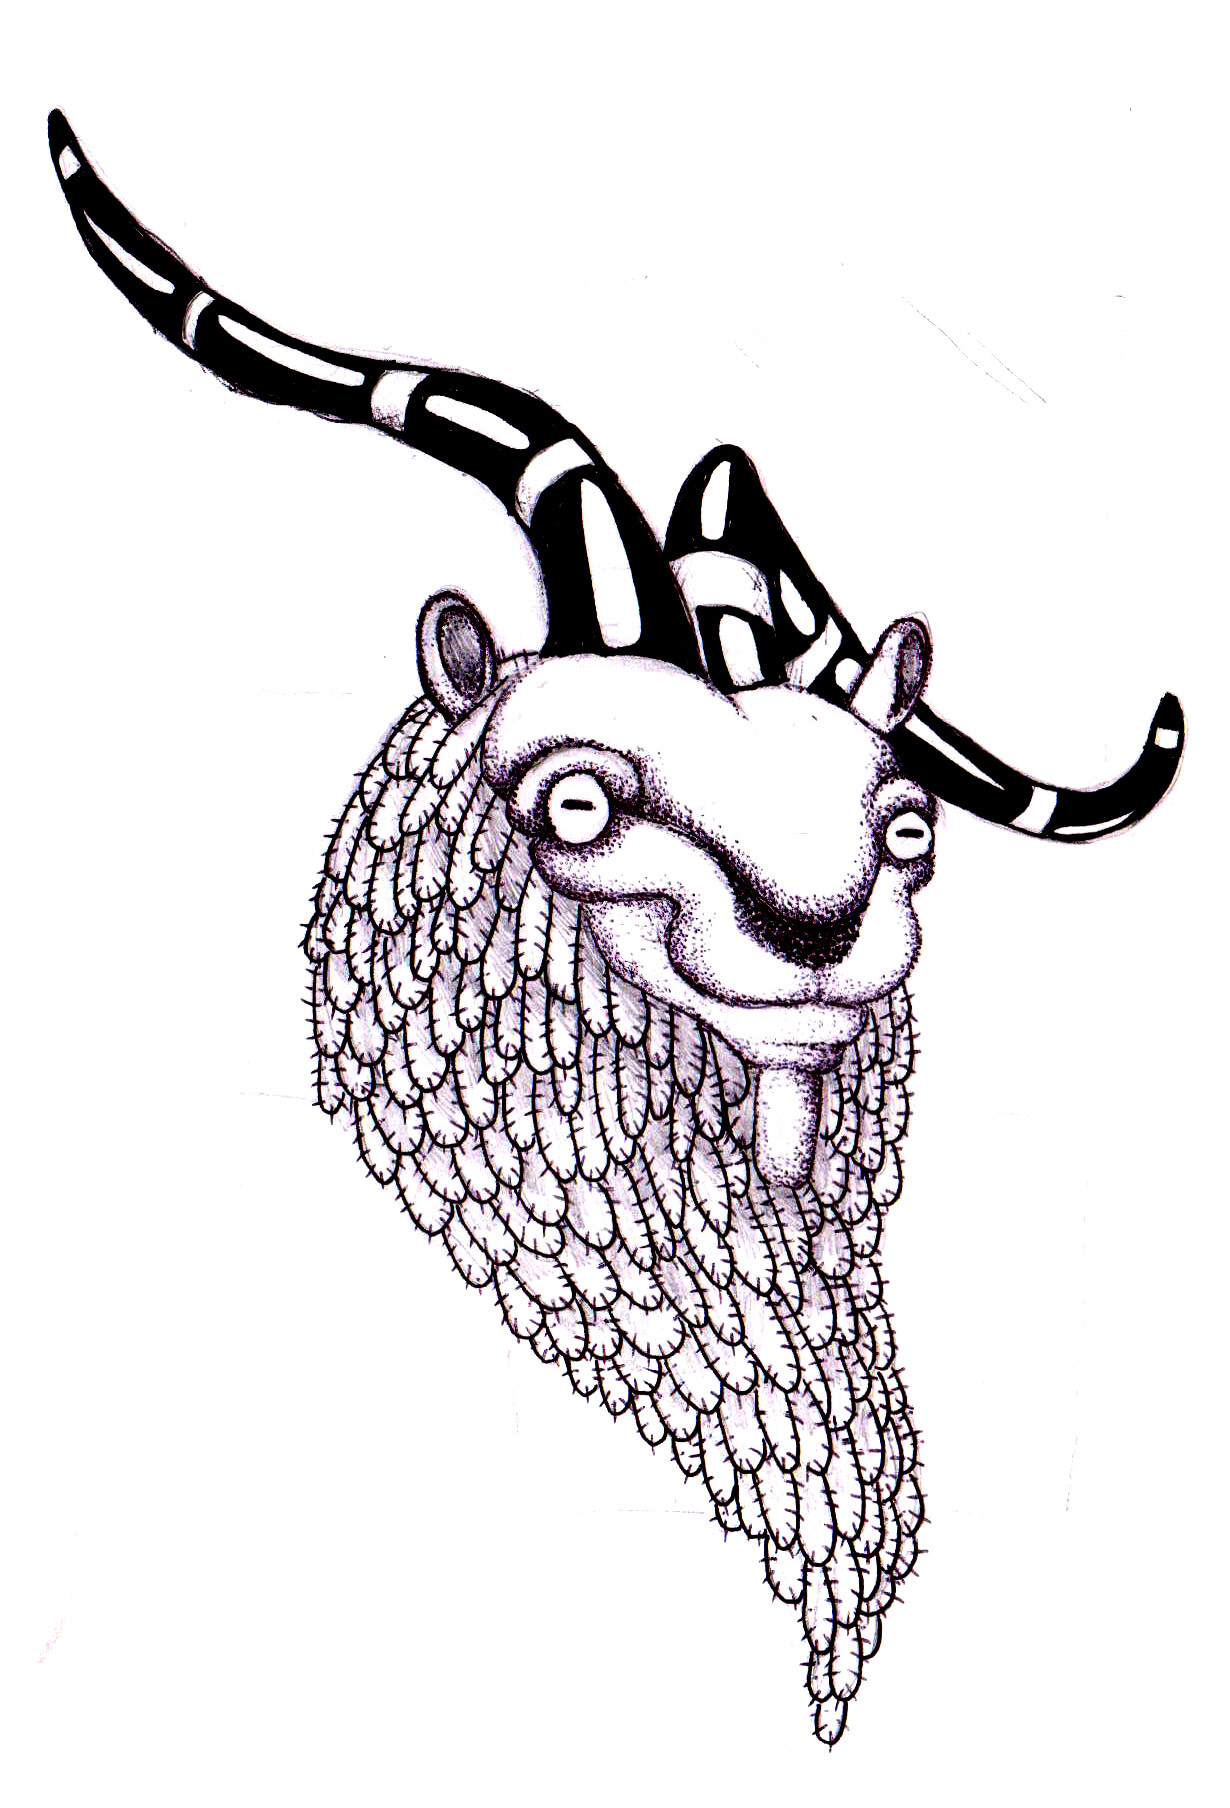
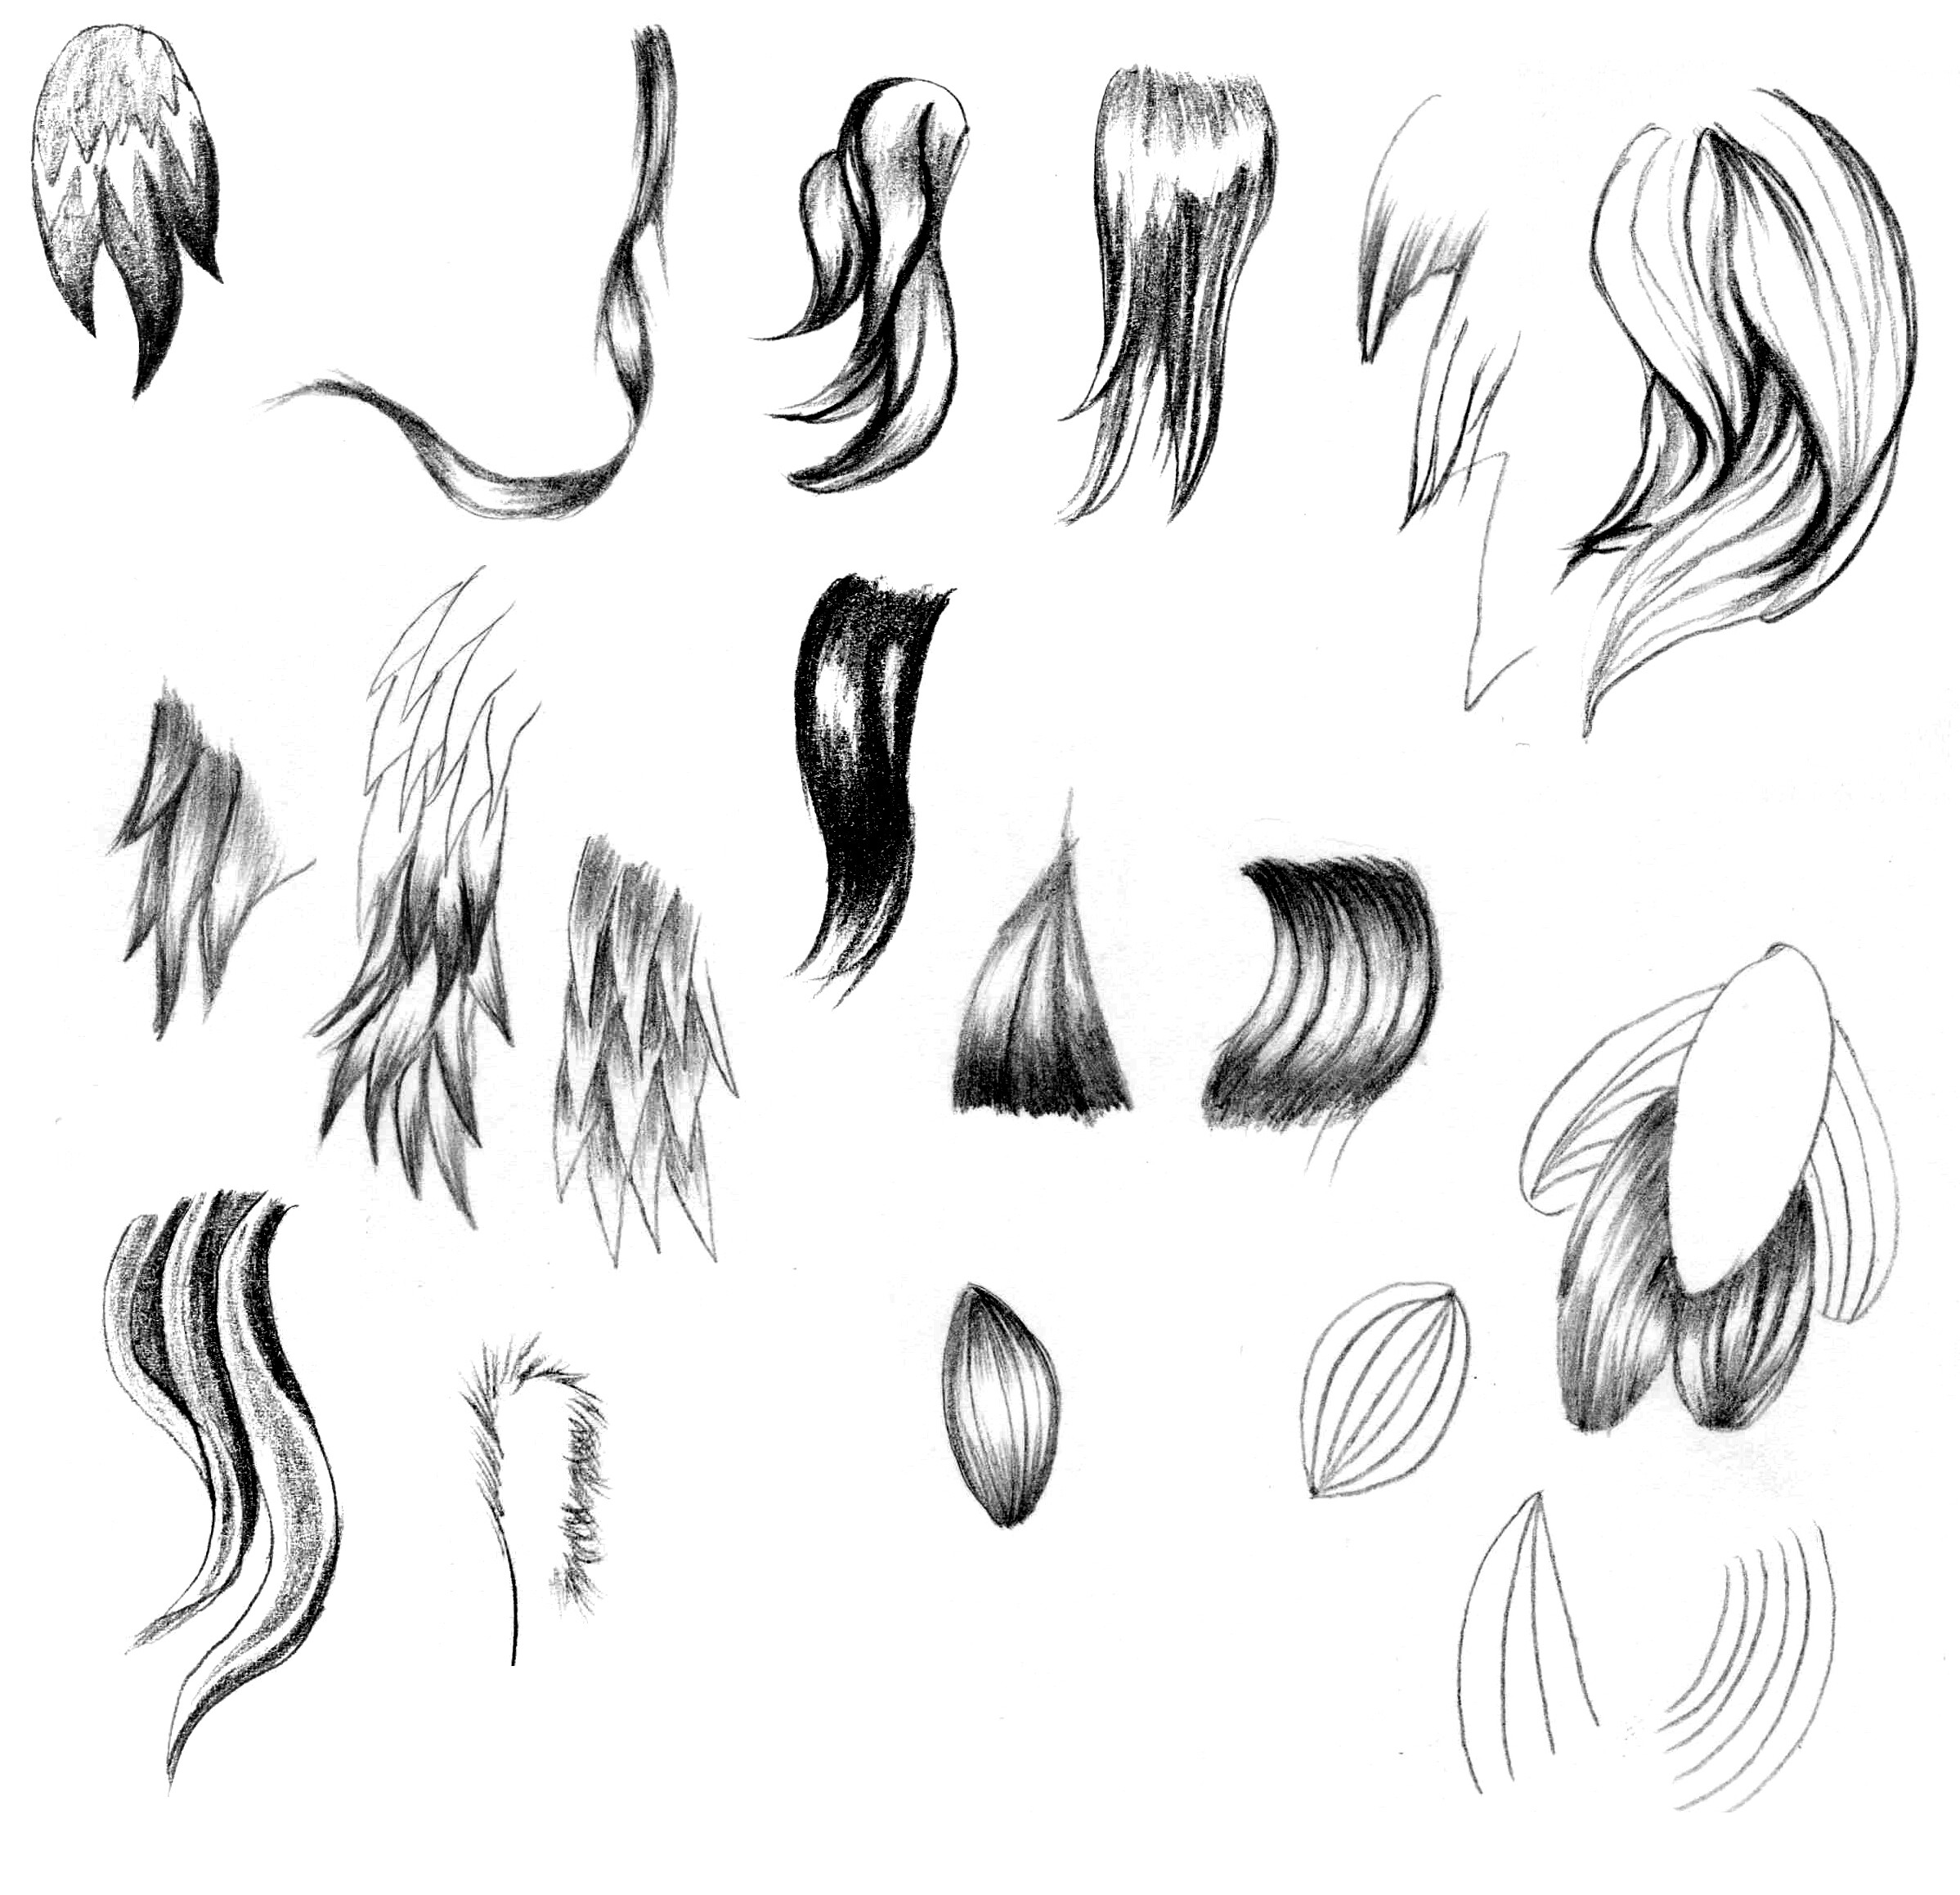
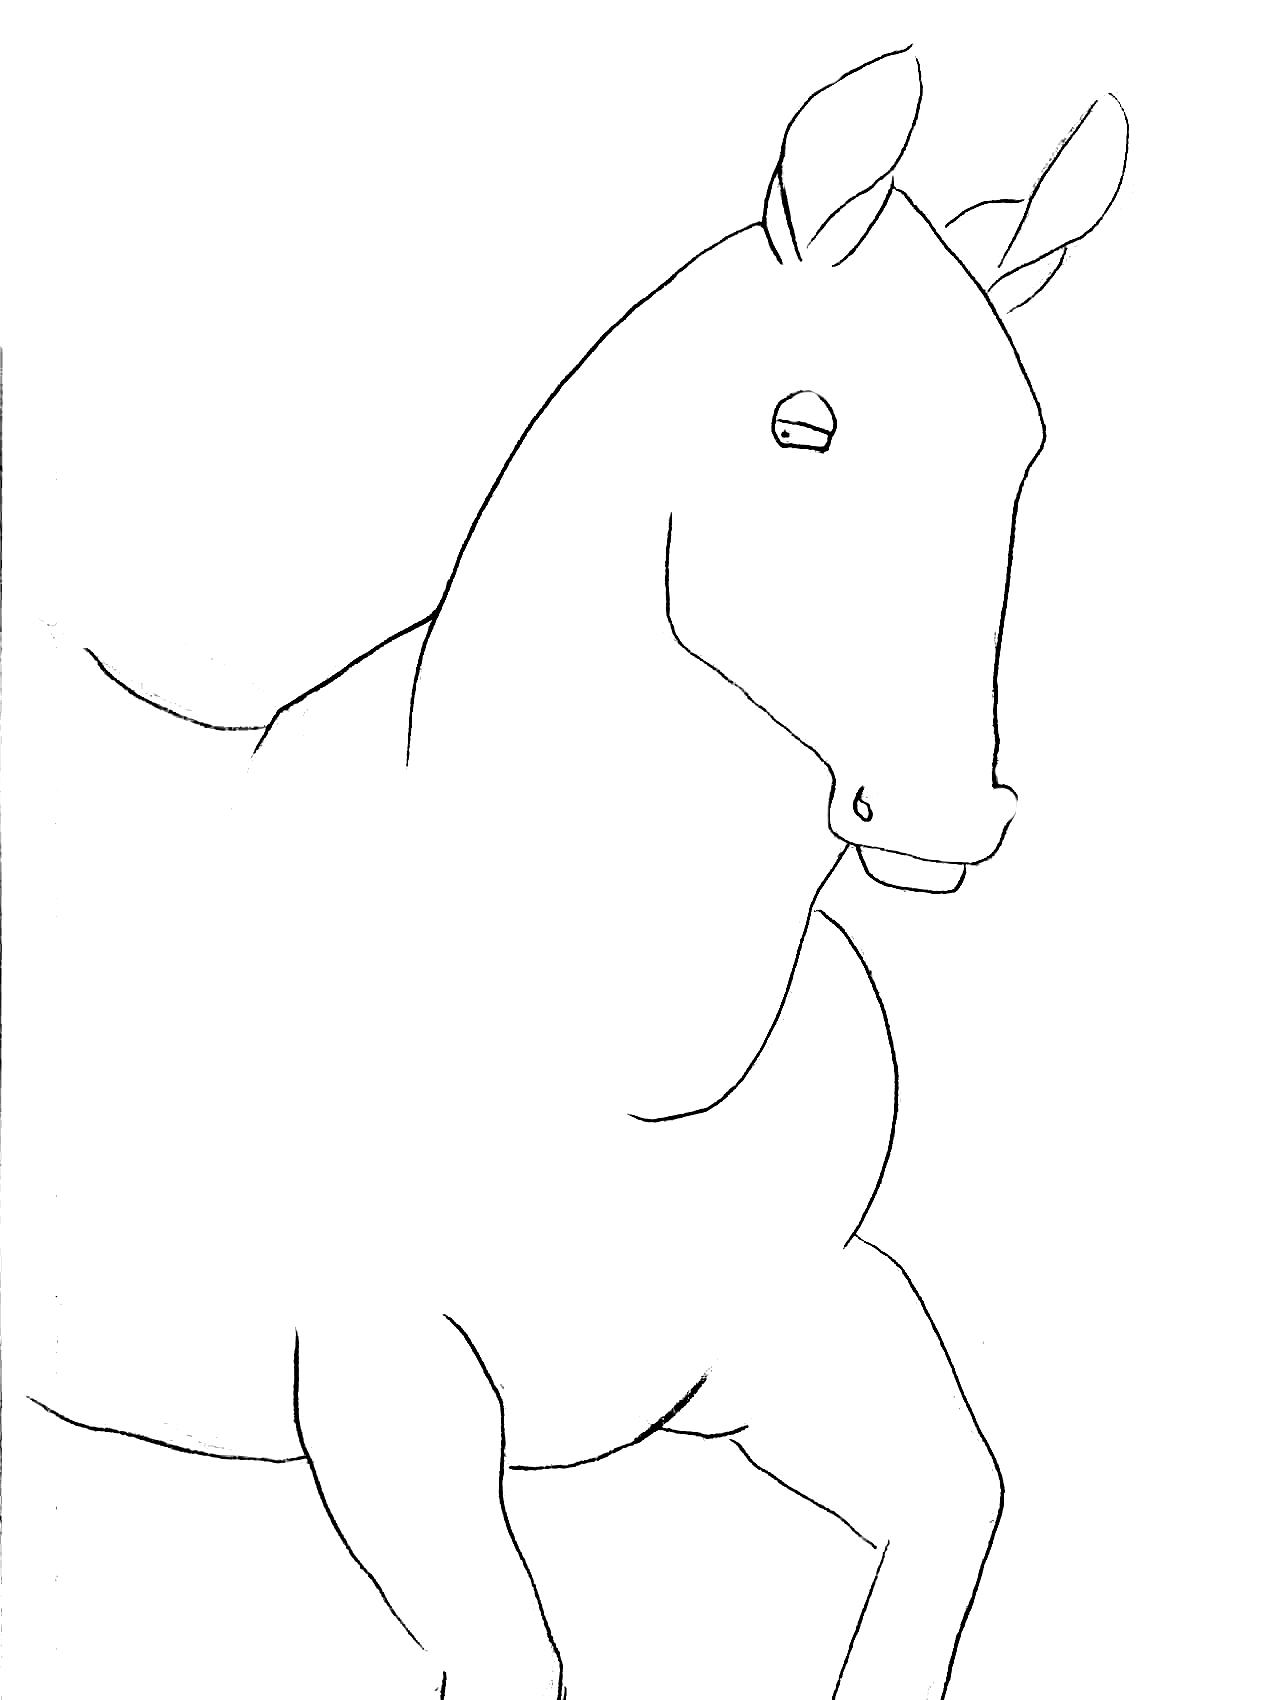
I made a little research. I watched through lots of arts of popular artists and found certain regularity. Mostly, artists use literally few methods of hair/fur drawing. Now we’ll consider this question more closely. First, let’s look at the fur, that I drew on the dragon.
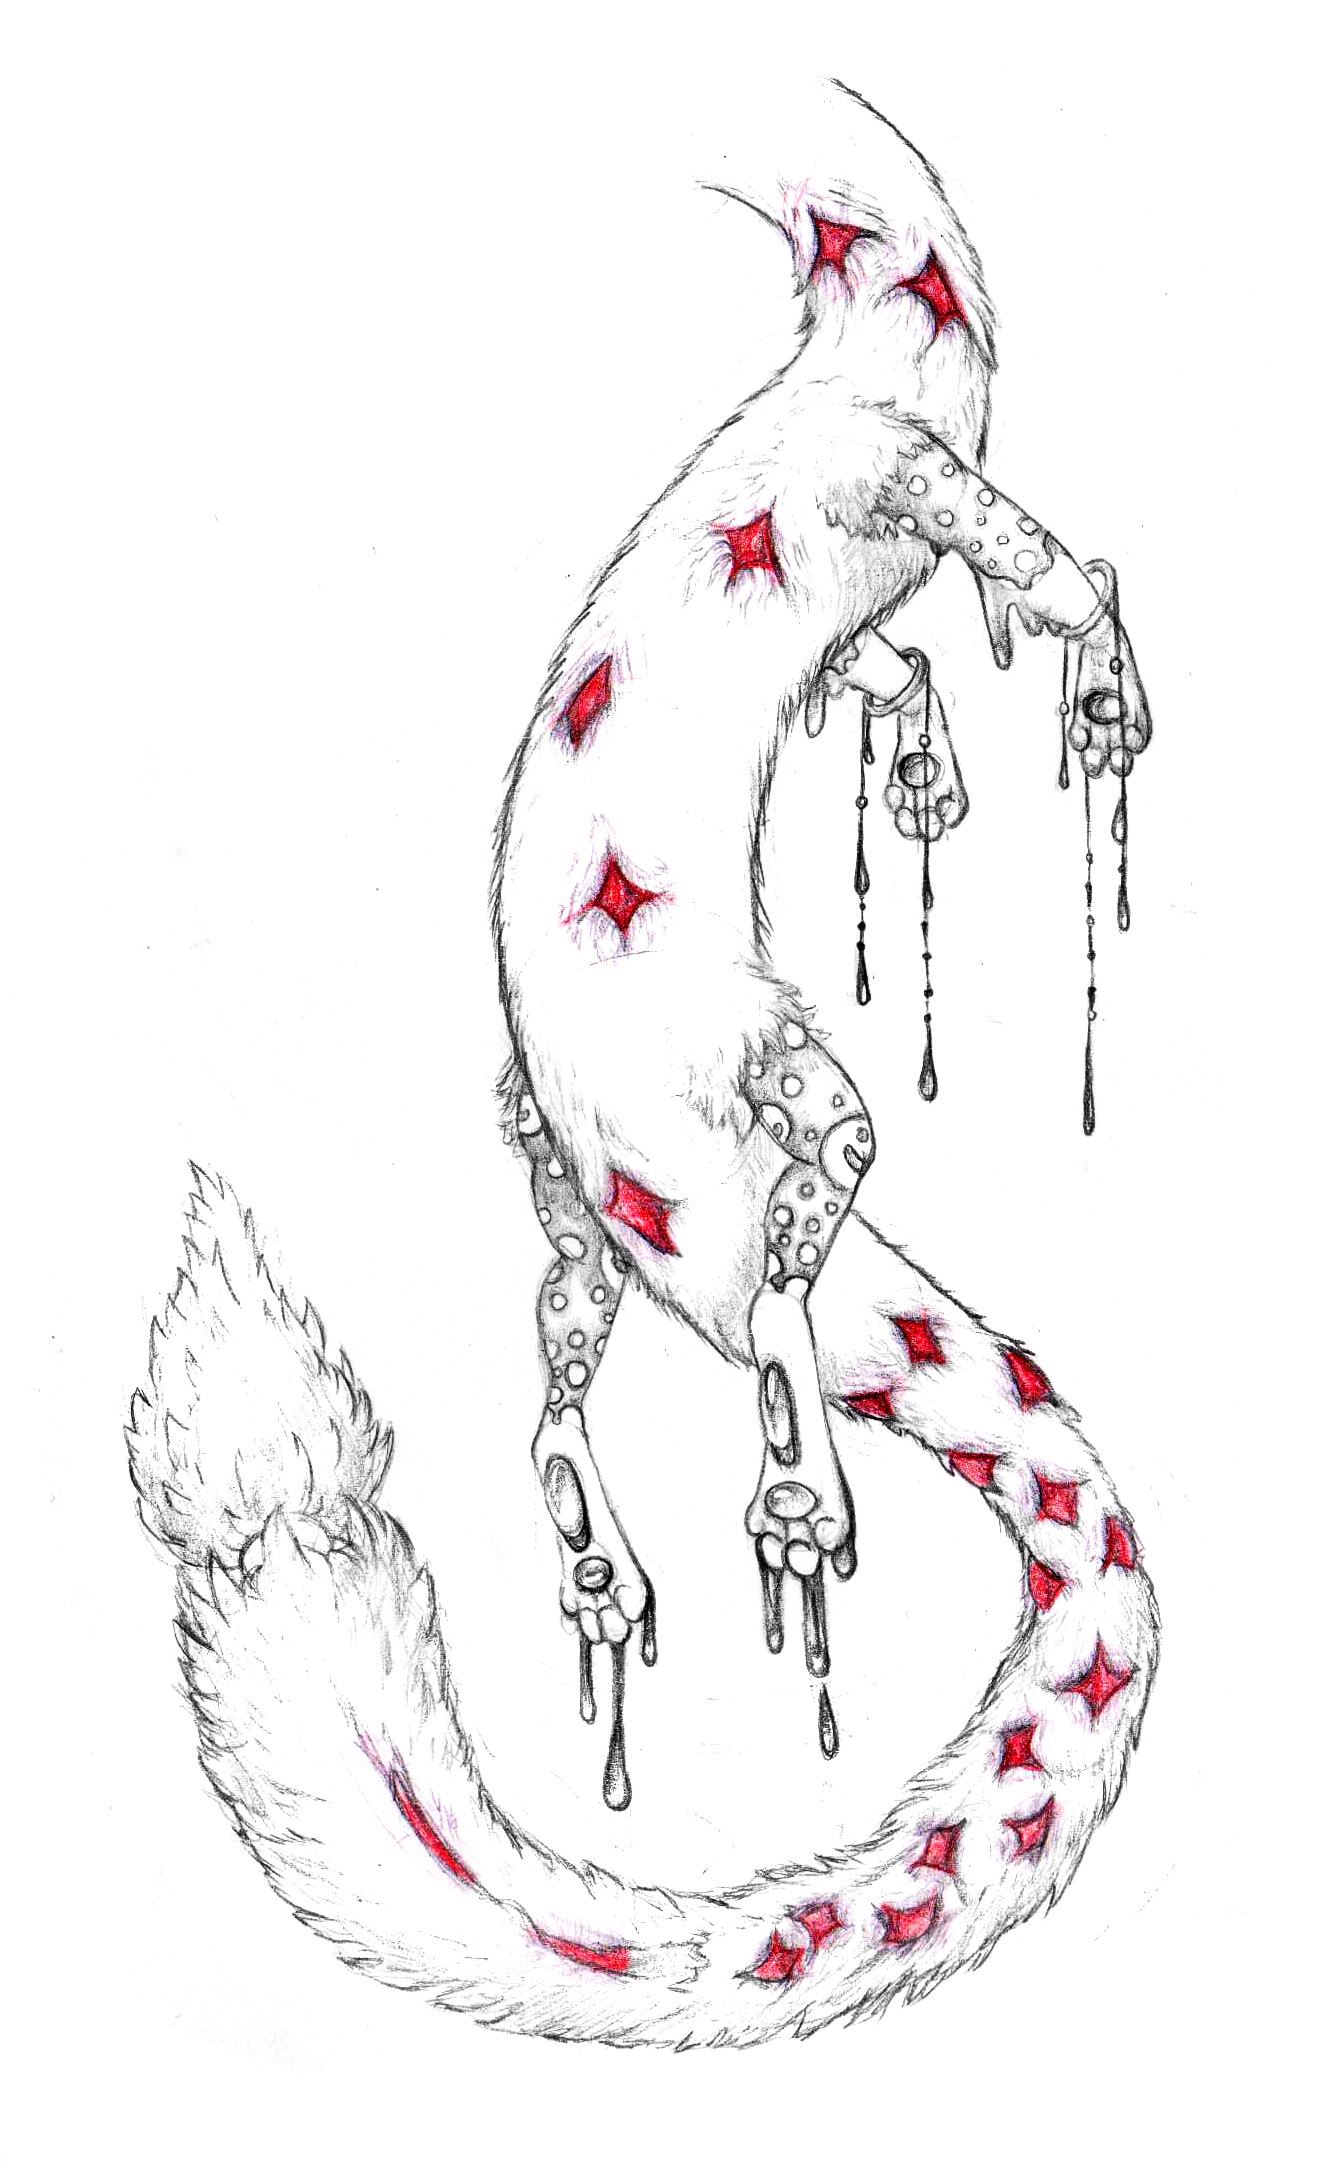
Such fur is easy to draw. The line is guiding and we’re gonna draw the fur from it. Do not draw as a sewing machine - similar stitches of the same length and with identical spaces.
Handful of fur here, leave some space and put another one. Then turn back to the first handful and fill in the free space. This way fur will look more natural, not like after a barber-shop. Such method will do for drawing animal fur on the contour lines. I drew the fur like this on the example:

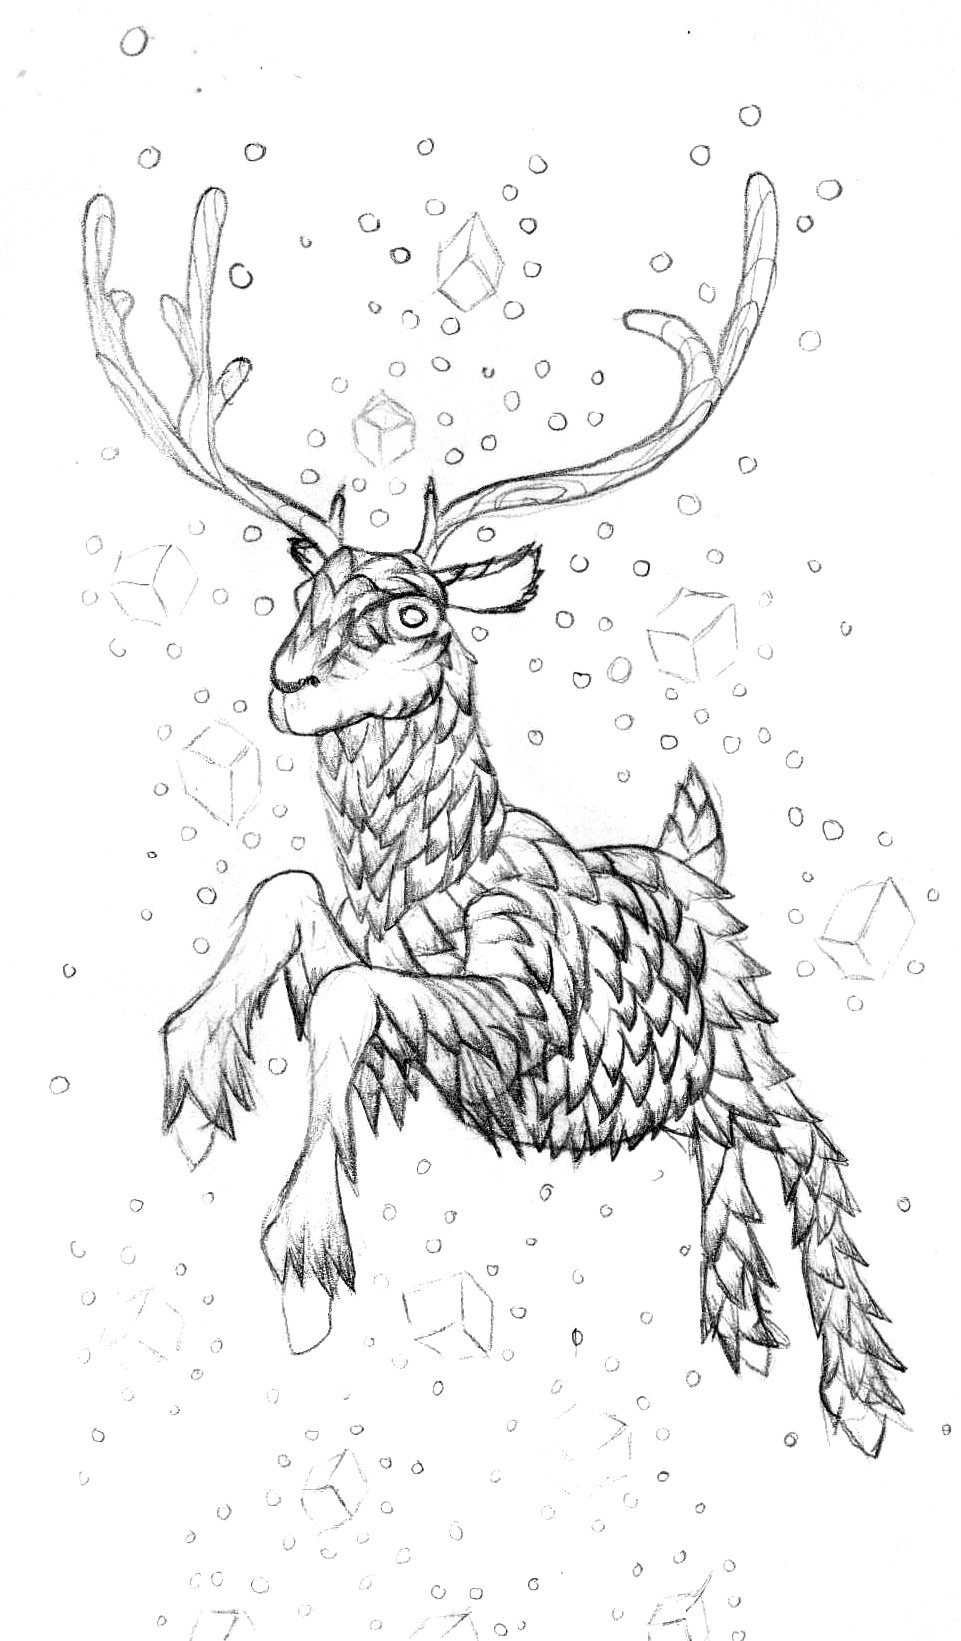
Also, drawing hatches, which mark the direction of fur growth, we can copy animals wool.
We can also take a paper wiper and wipe the hatching at the contour to create a softness effect.
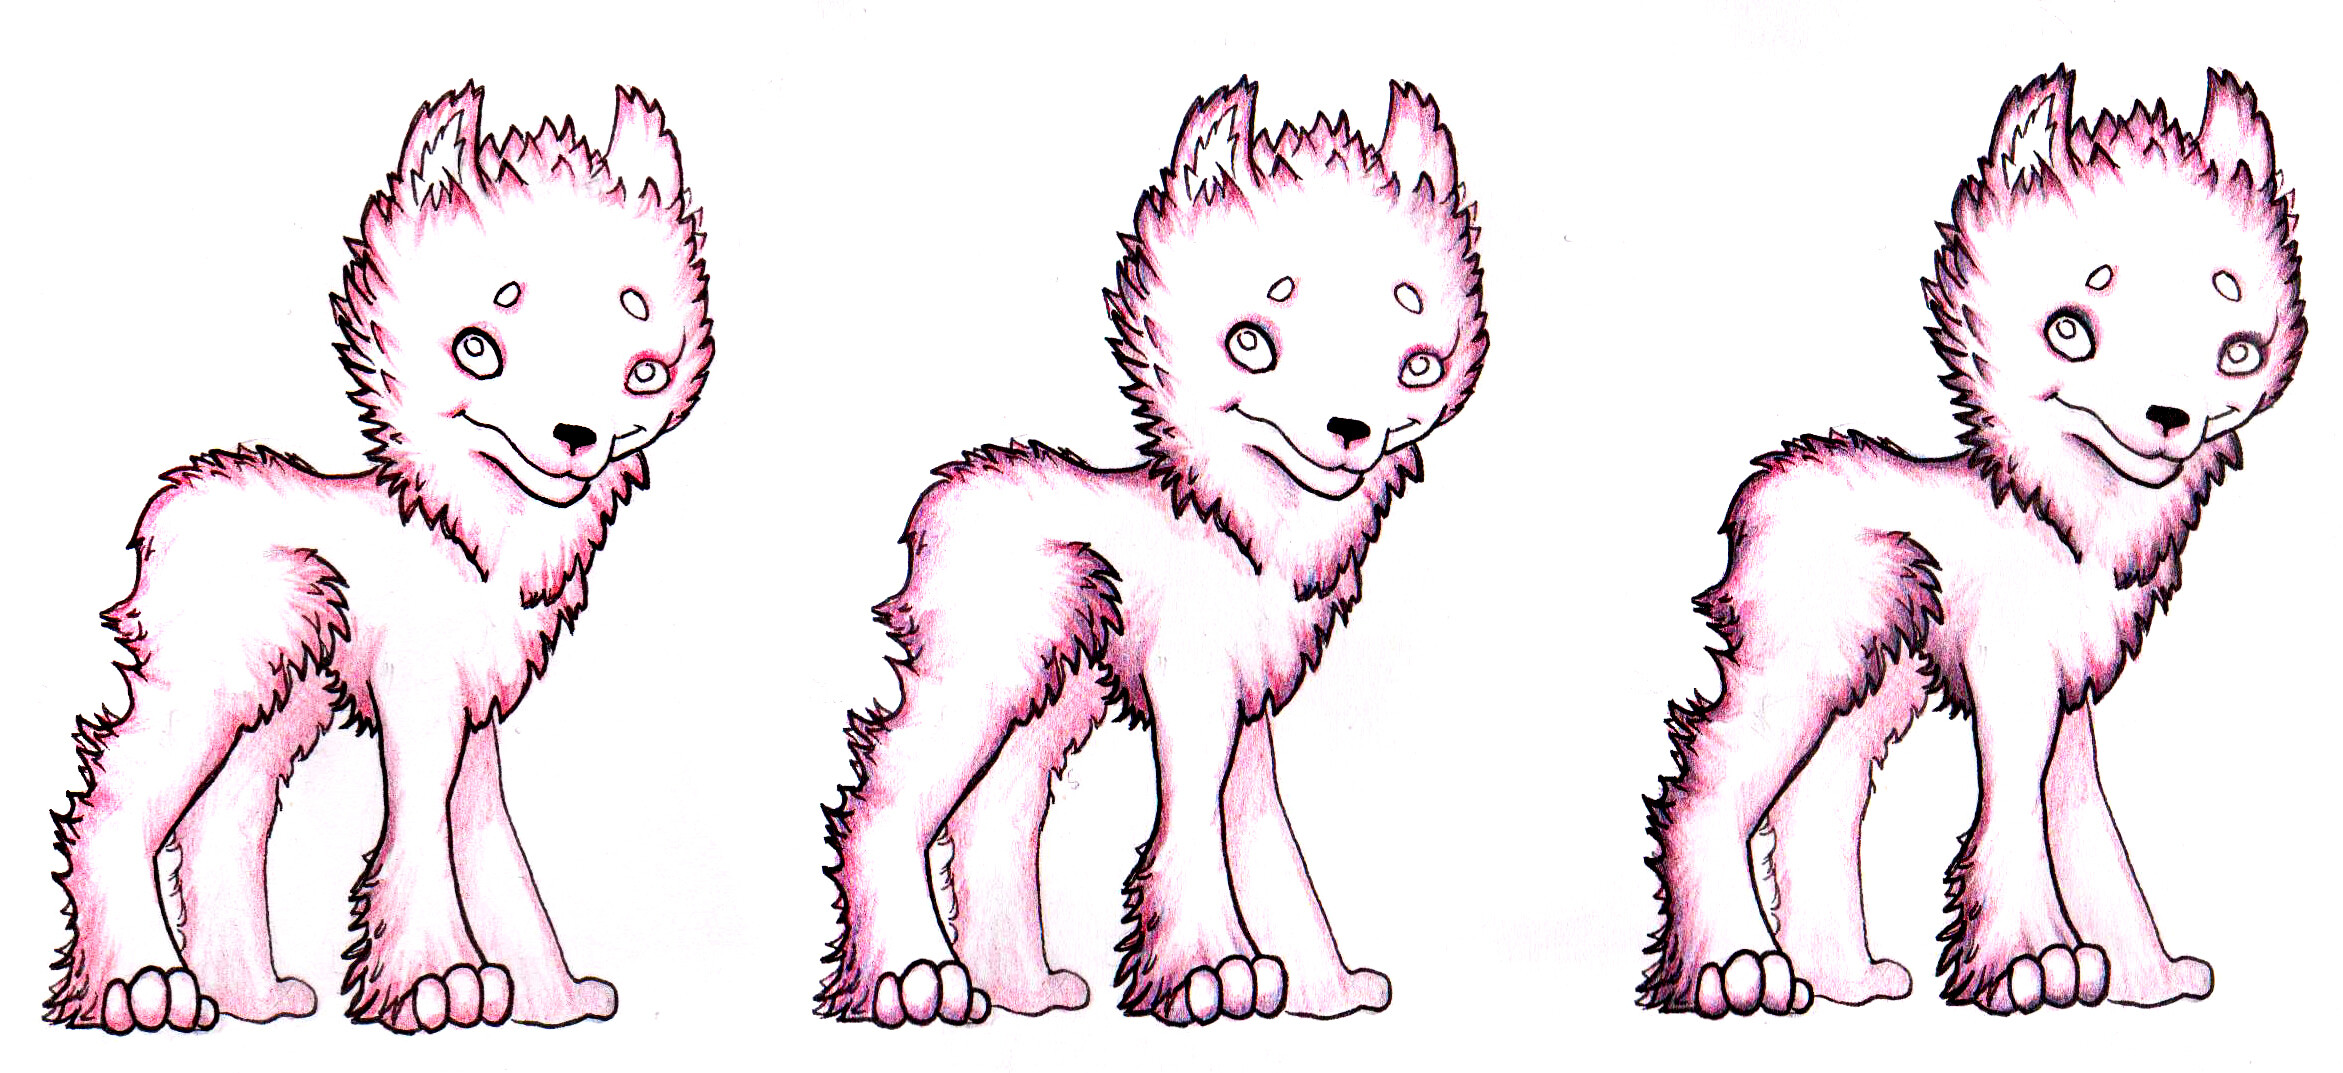
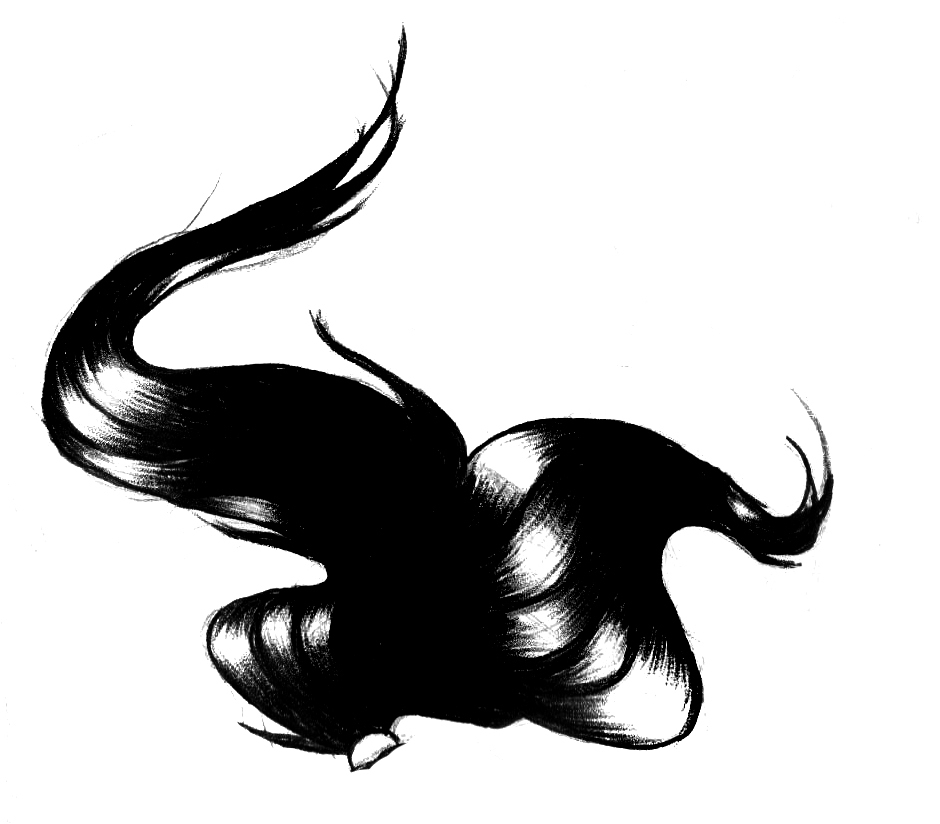
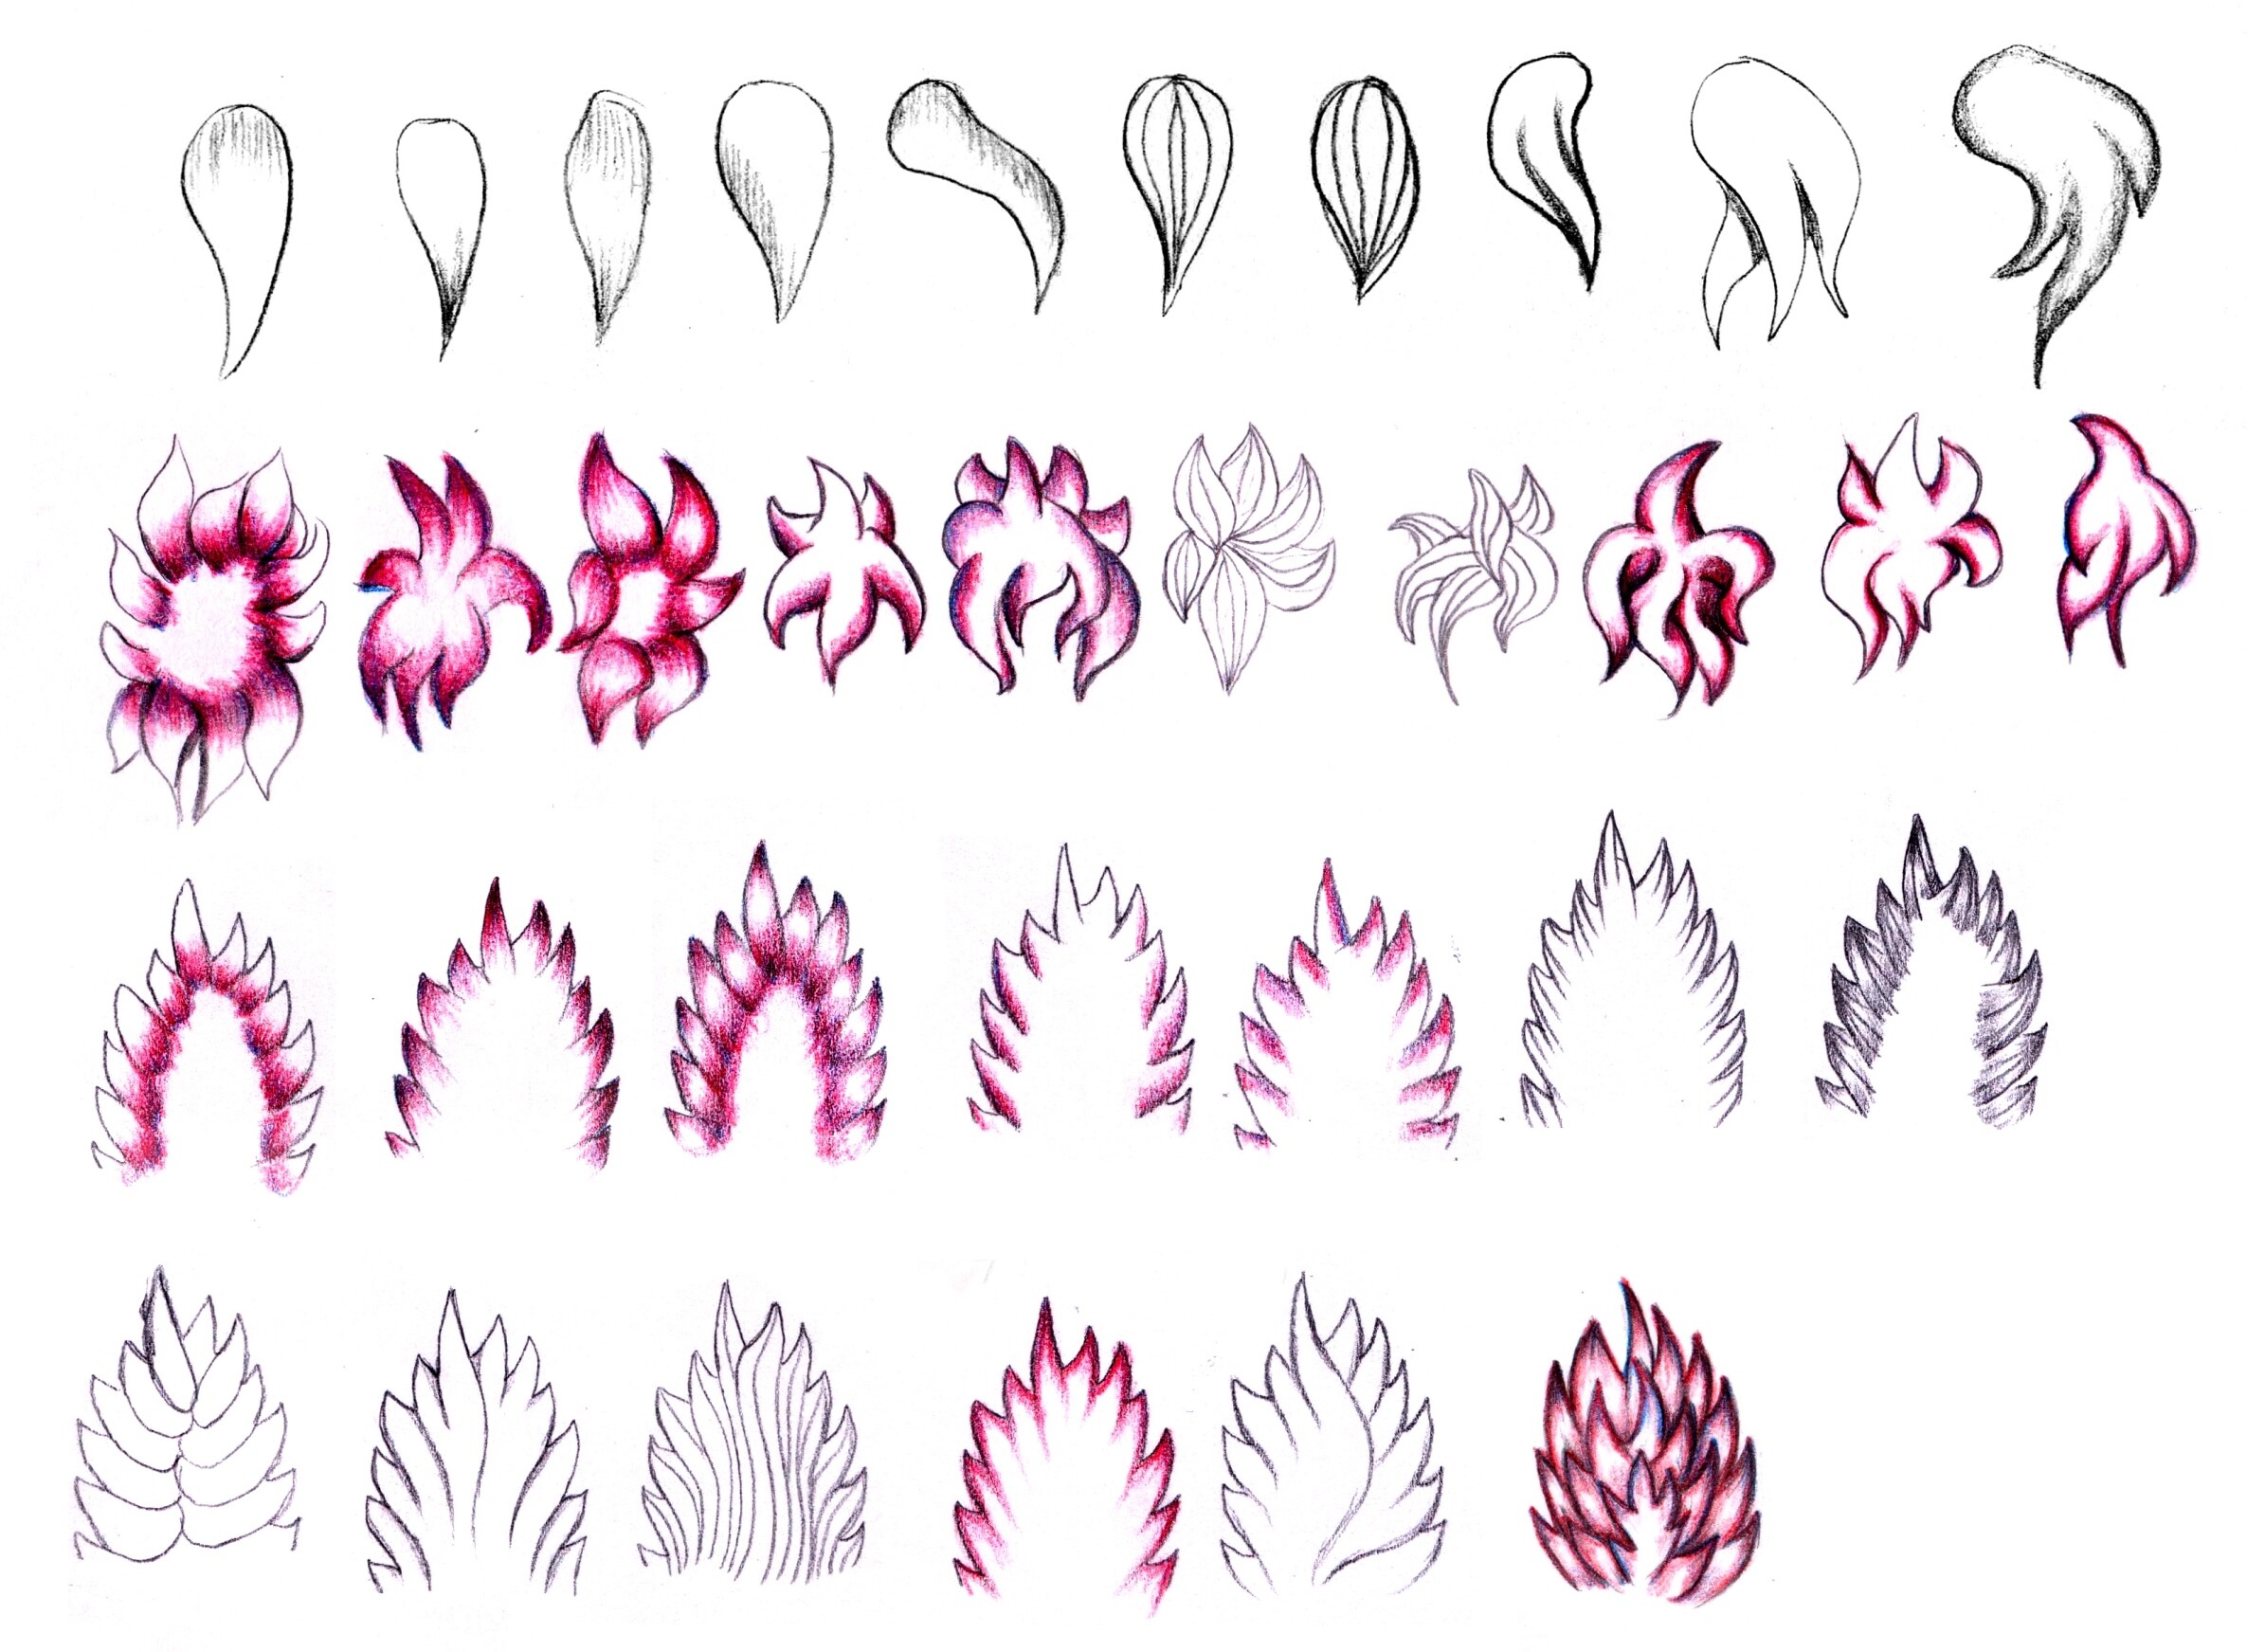
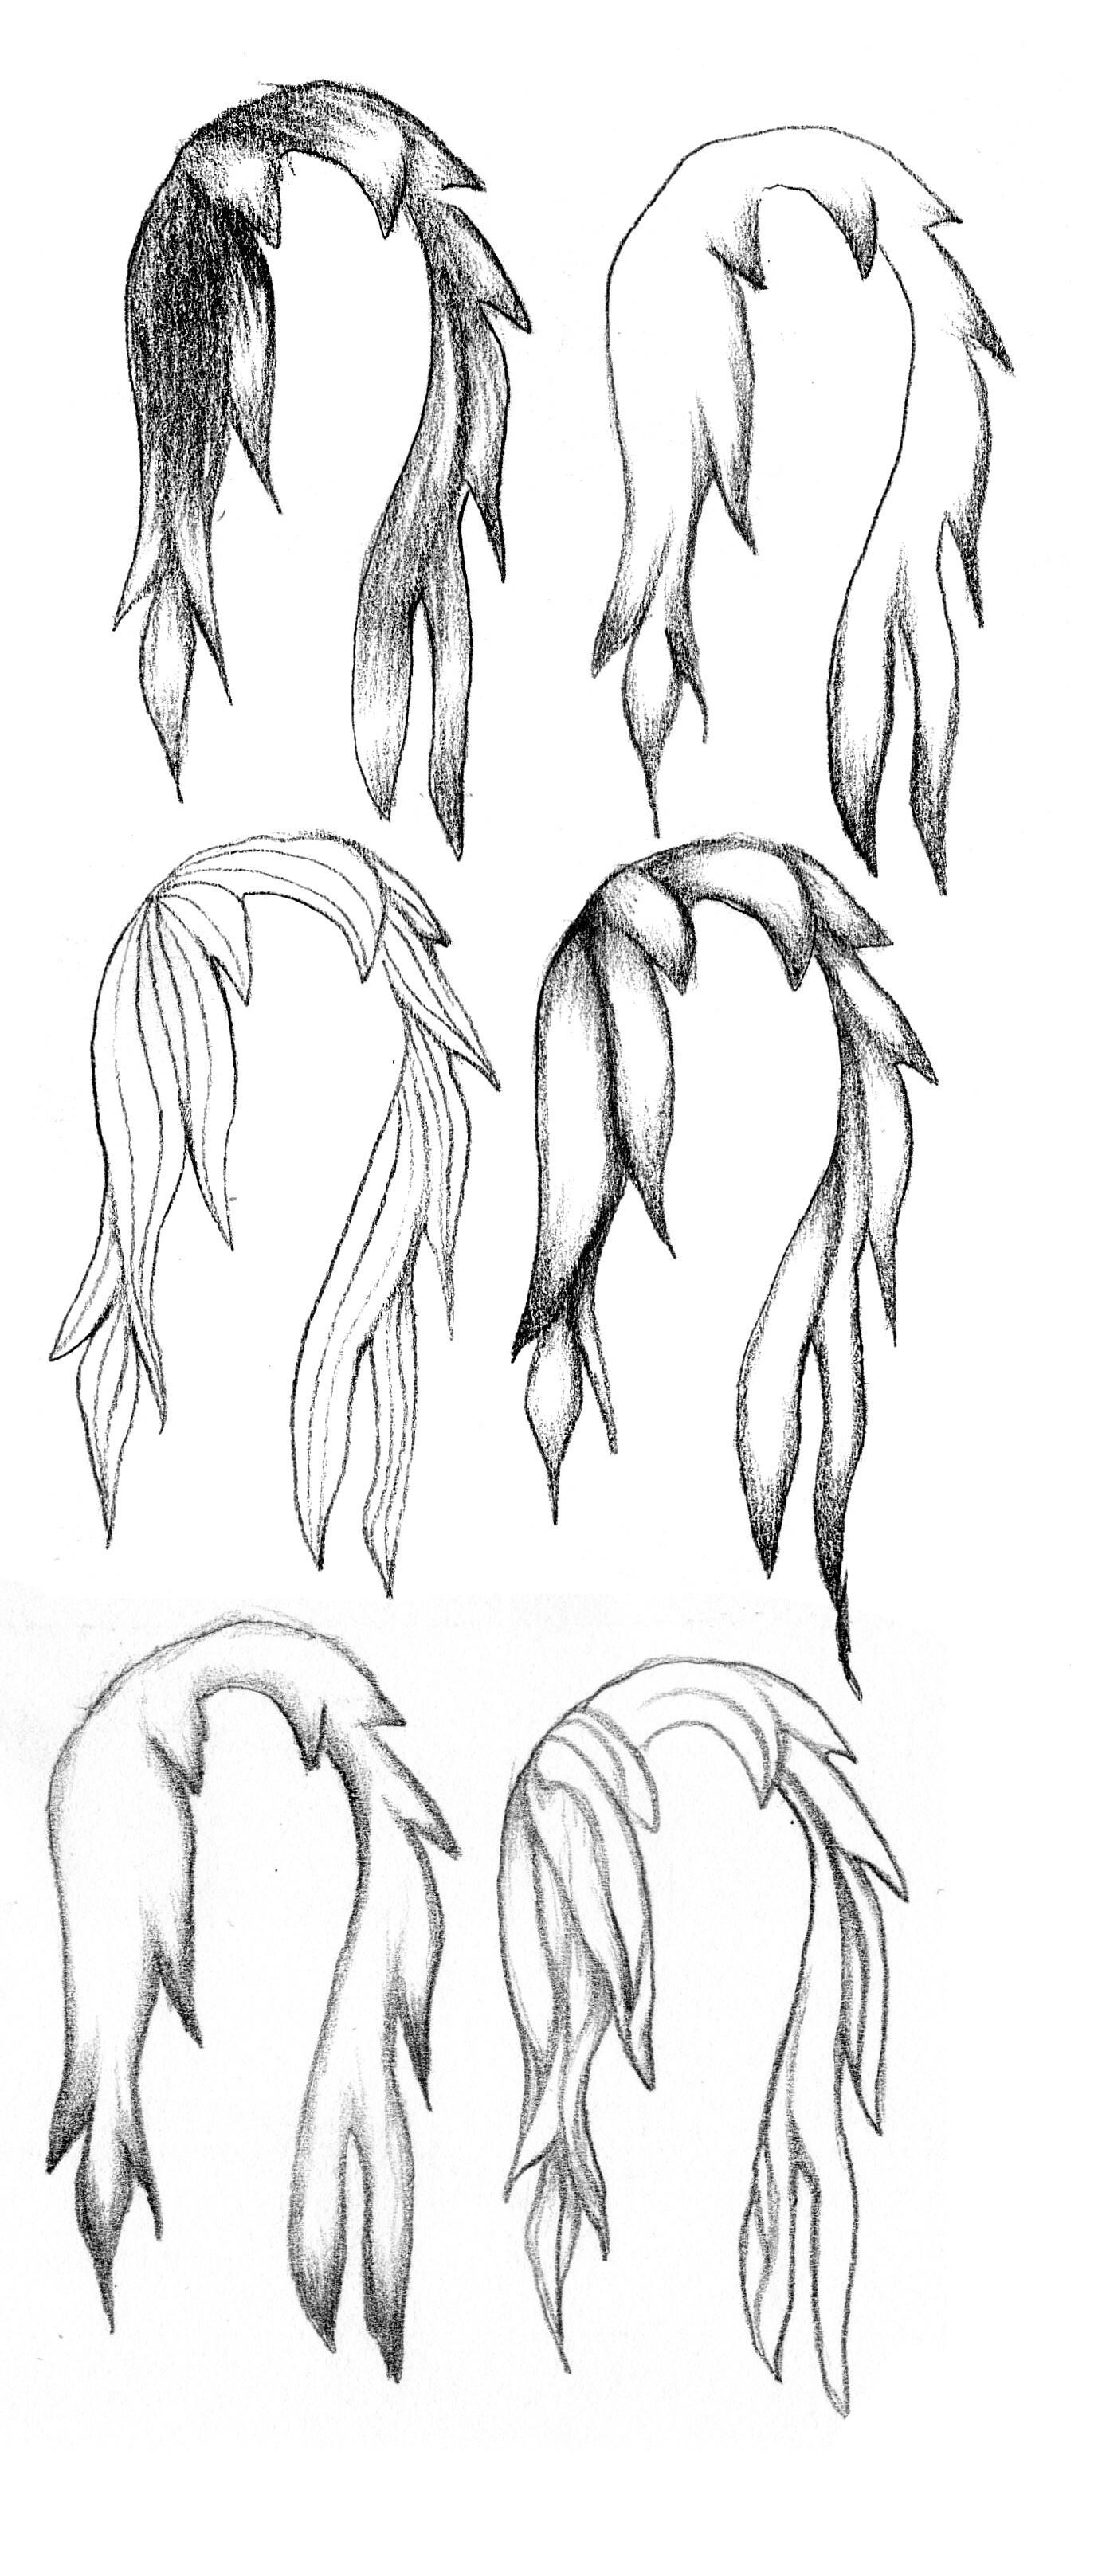
Now let’s consider another option, when hair or fur is divided into tresses. I can draw one, two, three or more layers of fur.
We can notice, while drawing using this method, the beginning of the tress is not marked, as it is here on the example, where every single tress is a separate shape:
Even drawing like this, we can use several interesting tricks:
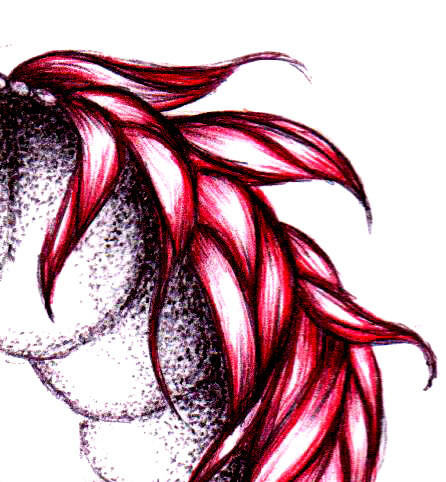
1.We can hatch tresses only from the tip in direction of the beginning/roots.
2.We can mark the beginning and hatch in direction of the tips.
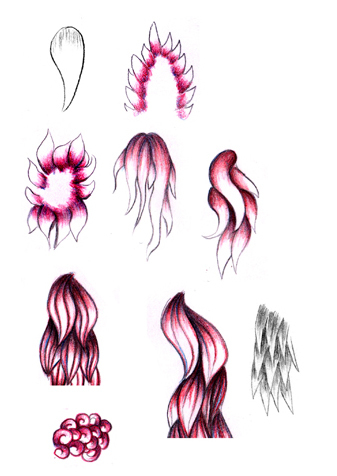
- The most juicy and frequently used variant - double-direction hatching (method 1 + method 2).
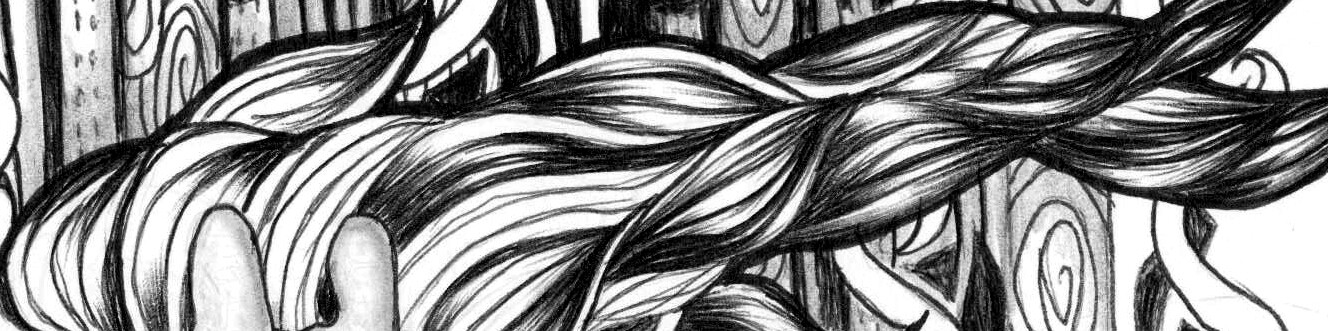
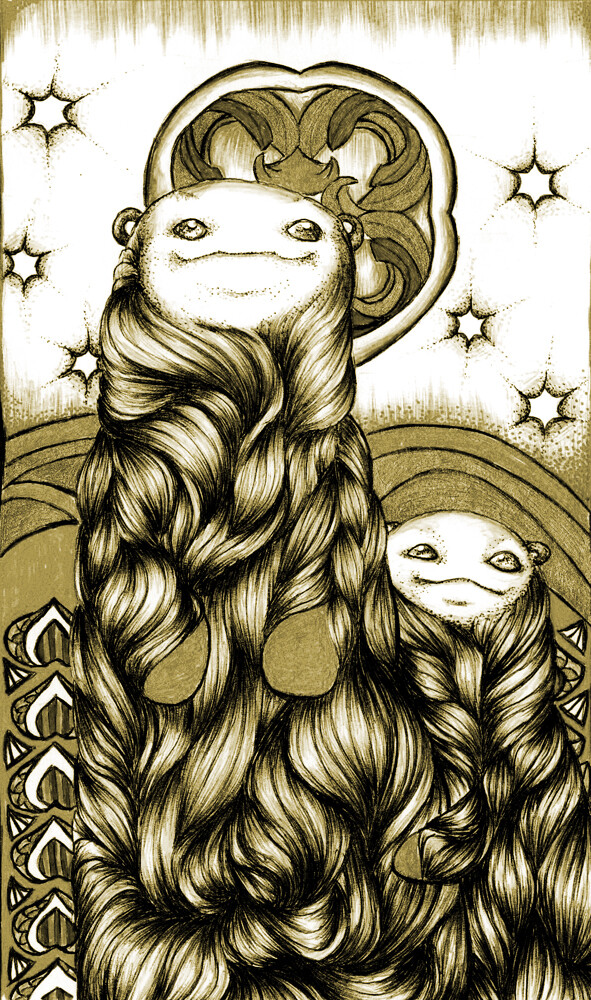
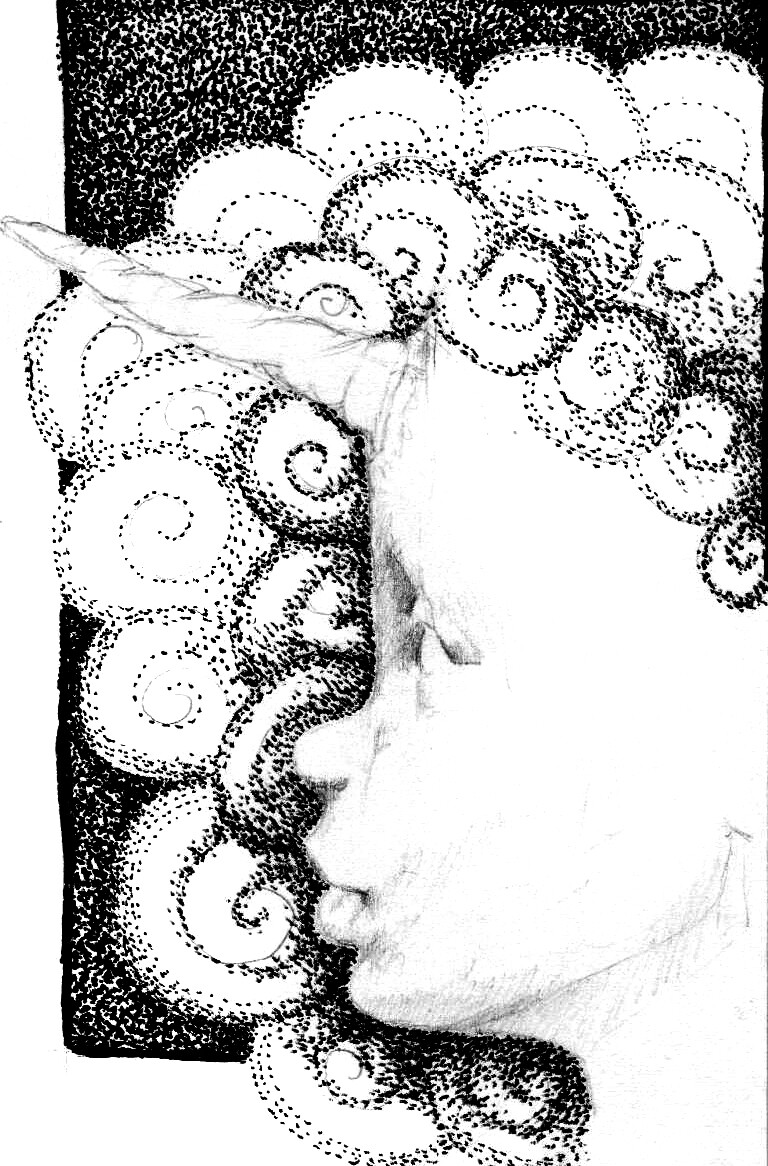
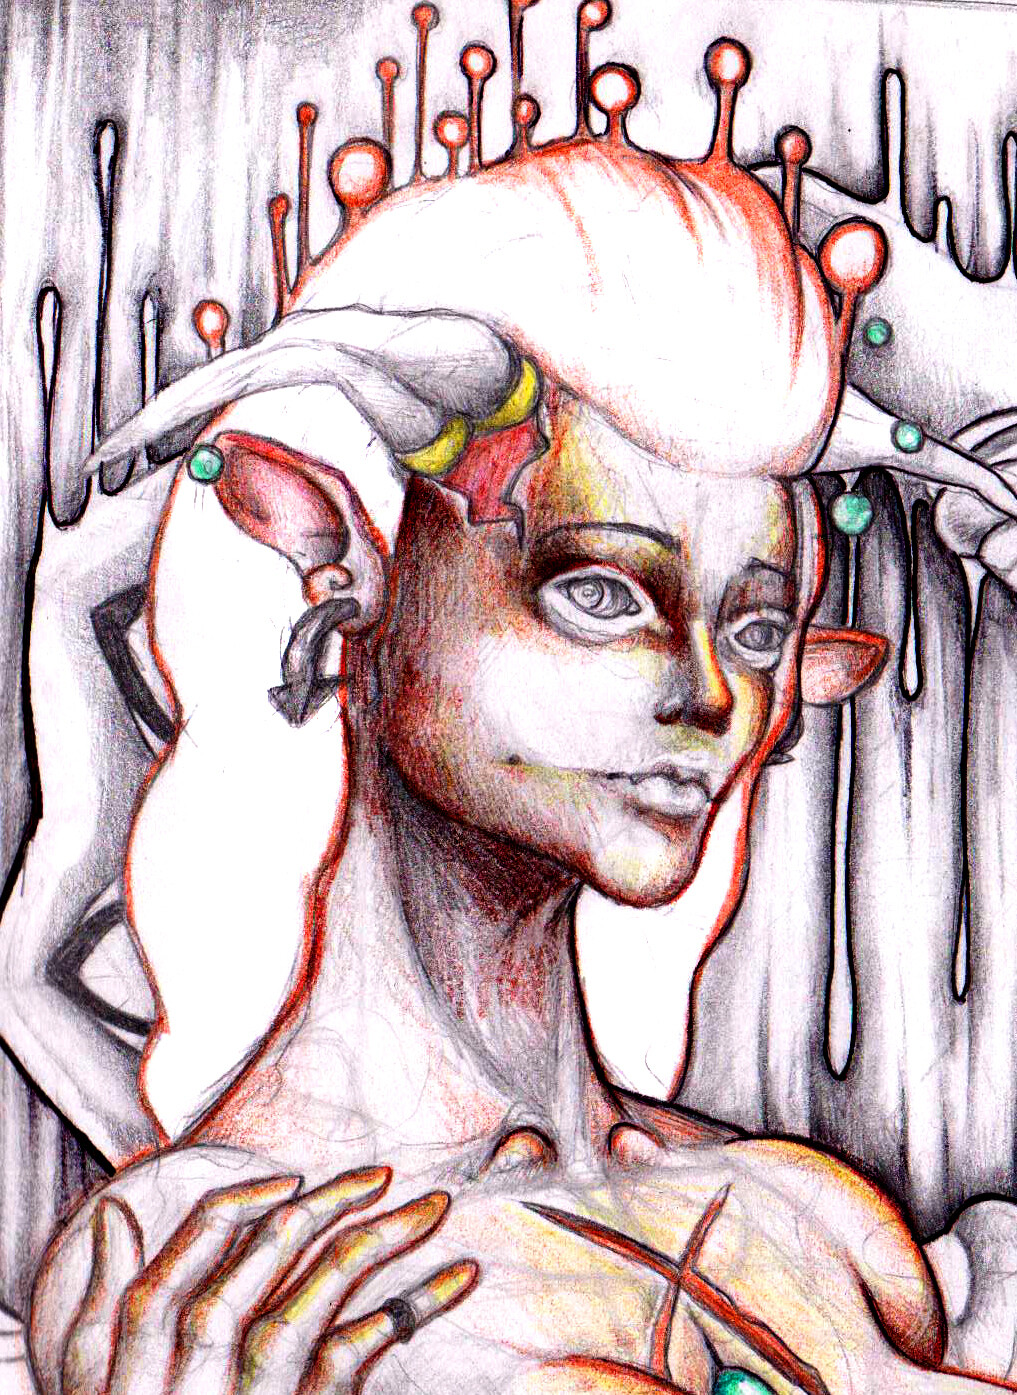
The third variant has become popular recently, probably due to the new drawing style called “Doodling” and “Zentangle”. These both styles are familiar to the ornamental drawing. I’ll tell about this style in my other articles. So, the point of such hair-drawing method is next:
First, we have to divide hair into large tresses.
Next, inside every tress we create lines:
1.Starting from one point and crossing in one point.
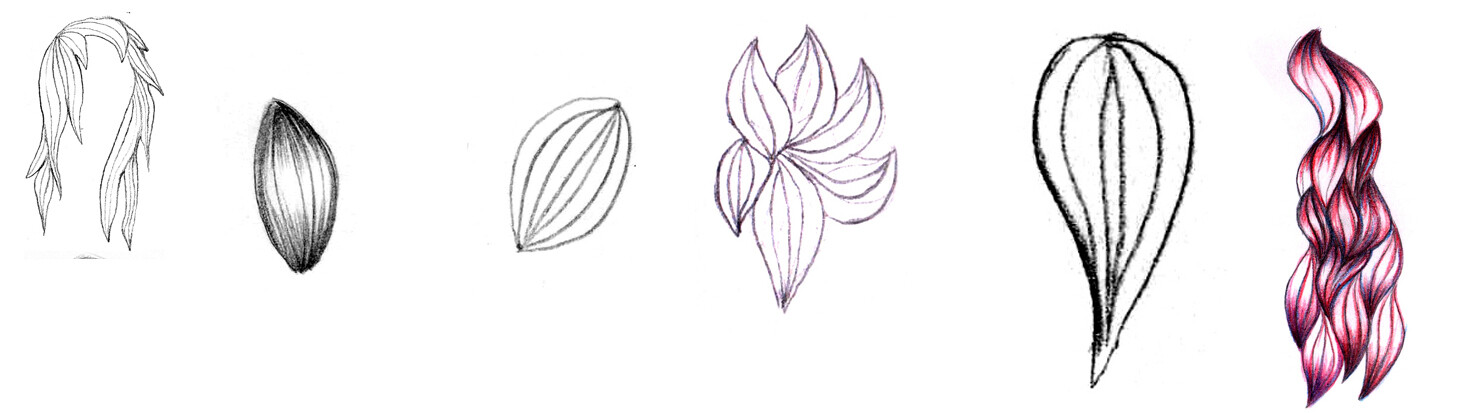
2.Or starting from one point and not crossing in one point.
Here’s an example of applying such technique.
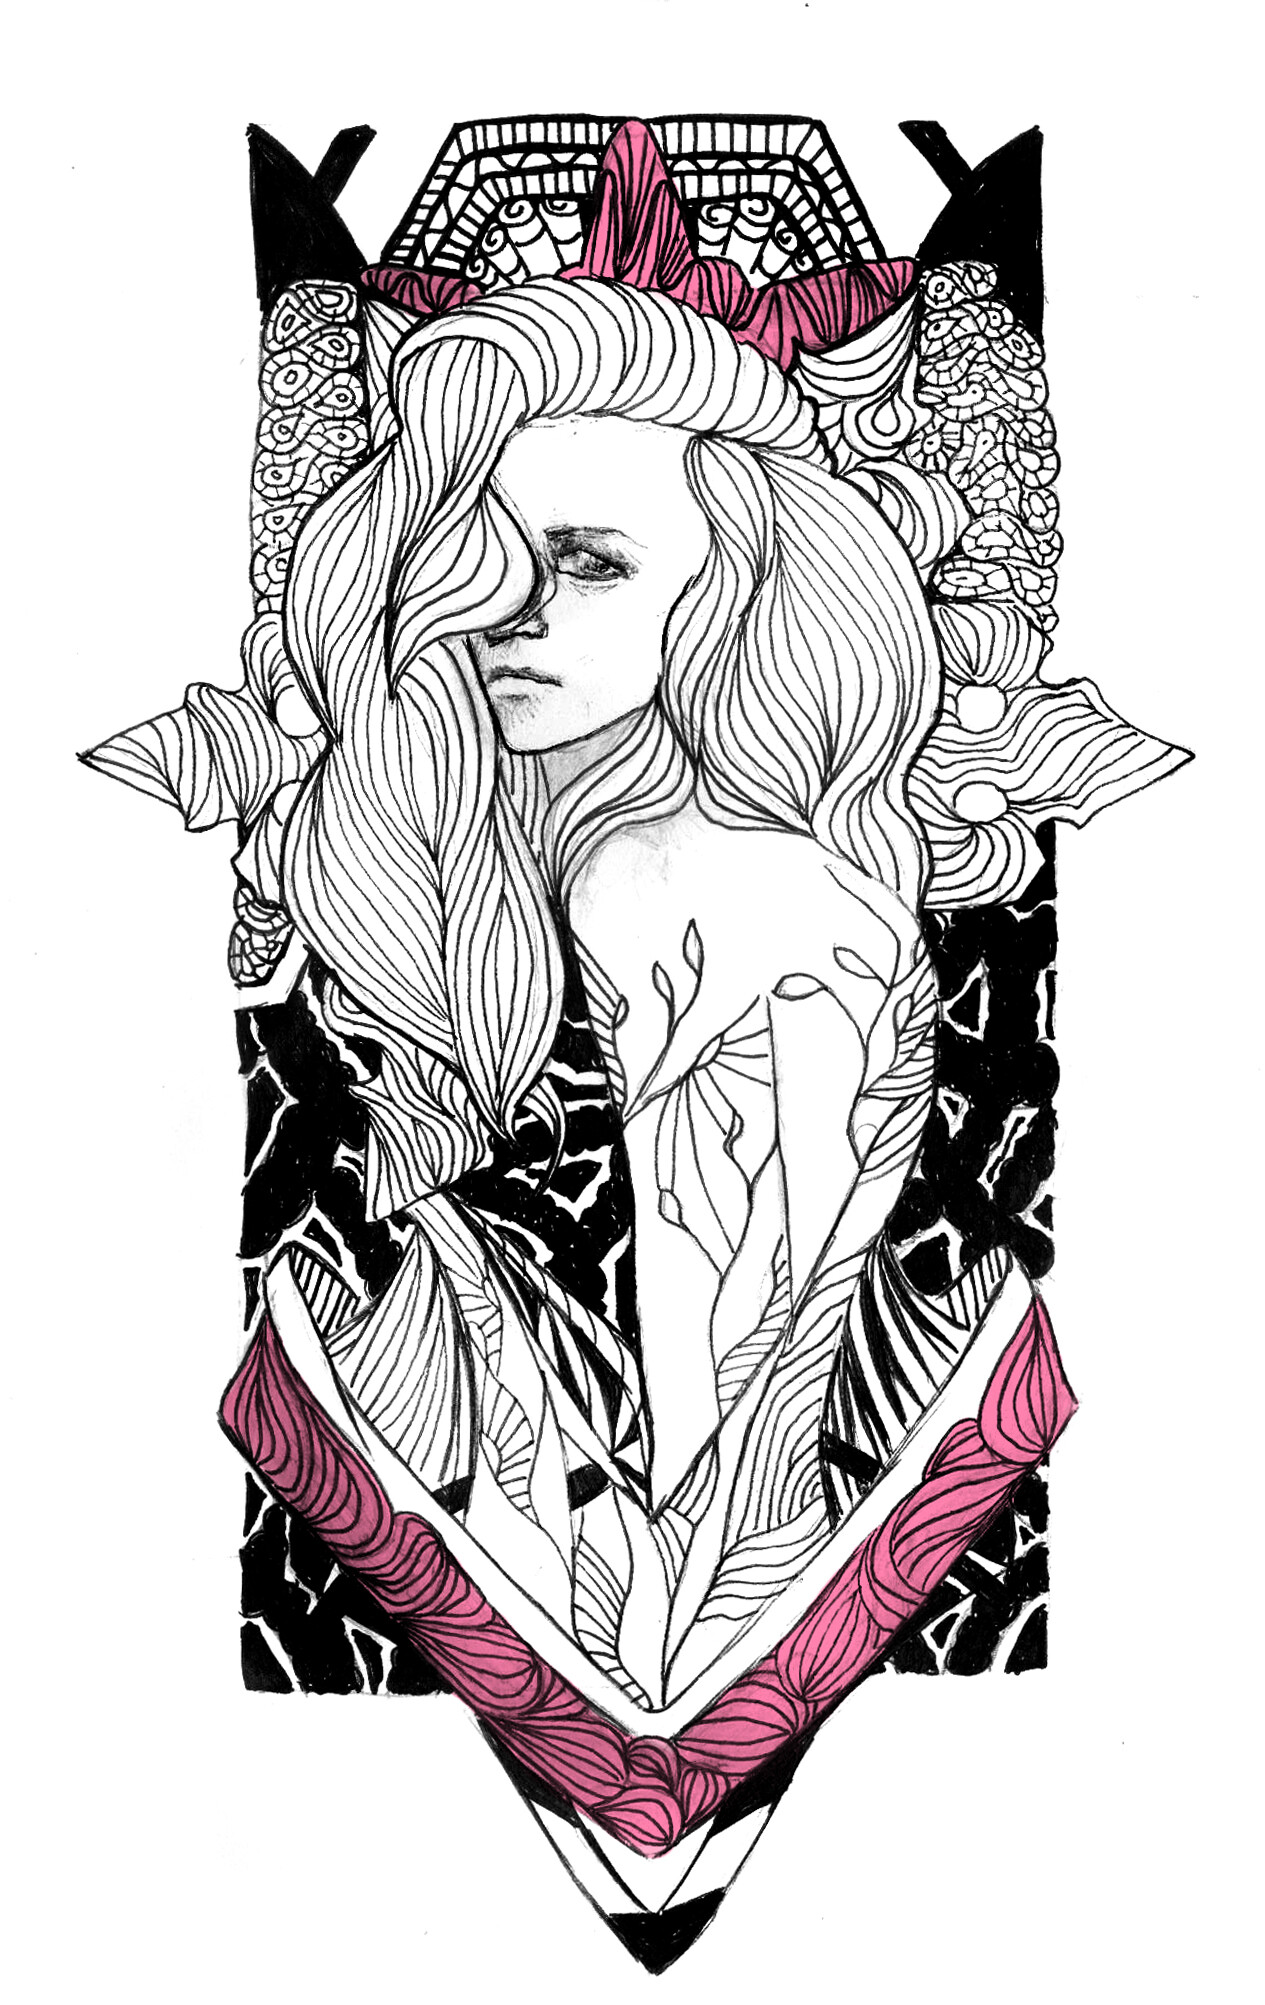
In addition, we can hatch the hair as in examples - from the beginning, from the tips or in both directions.
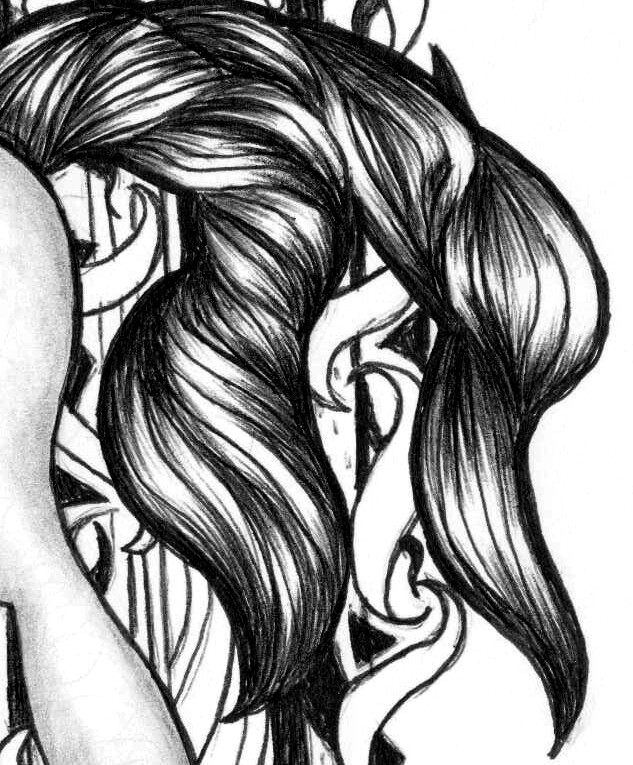
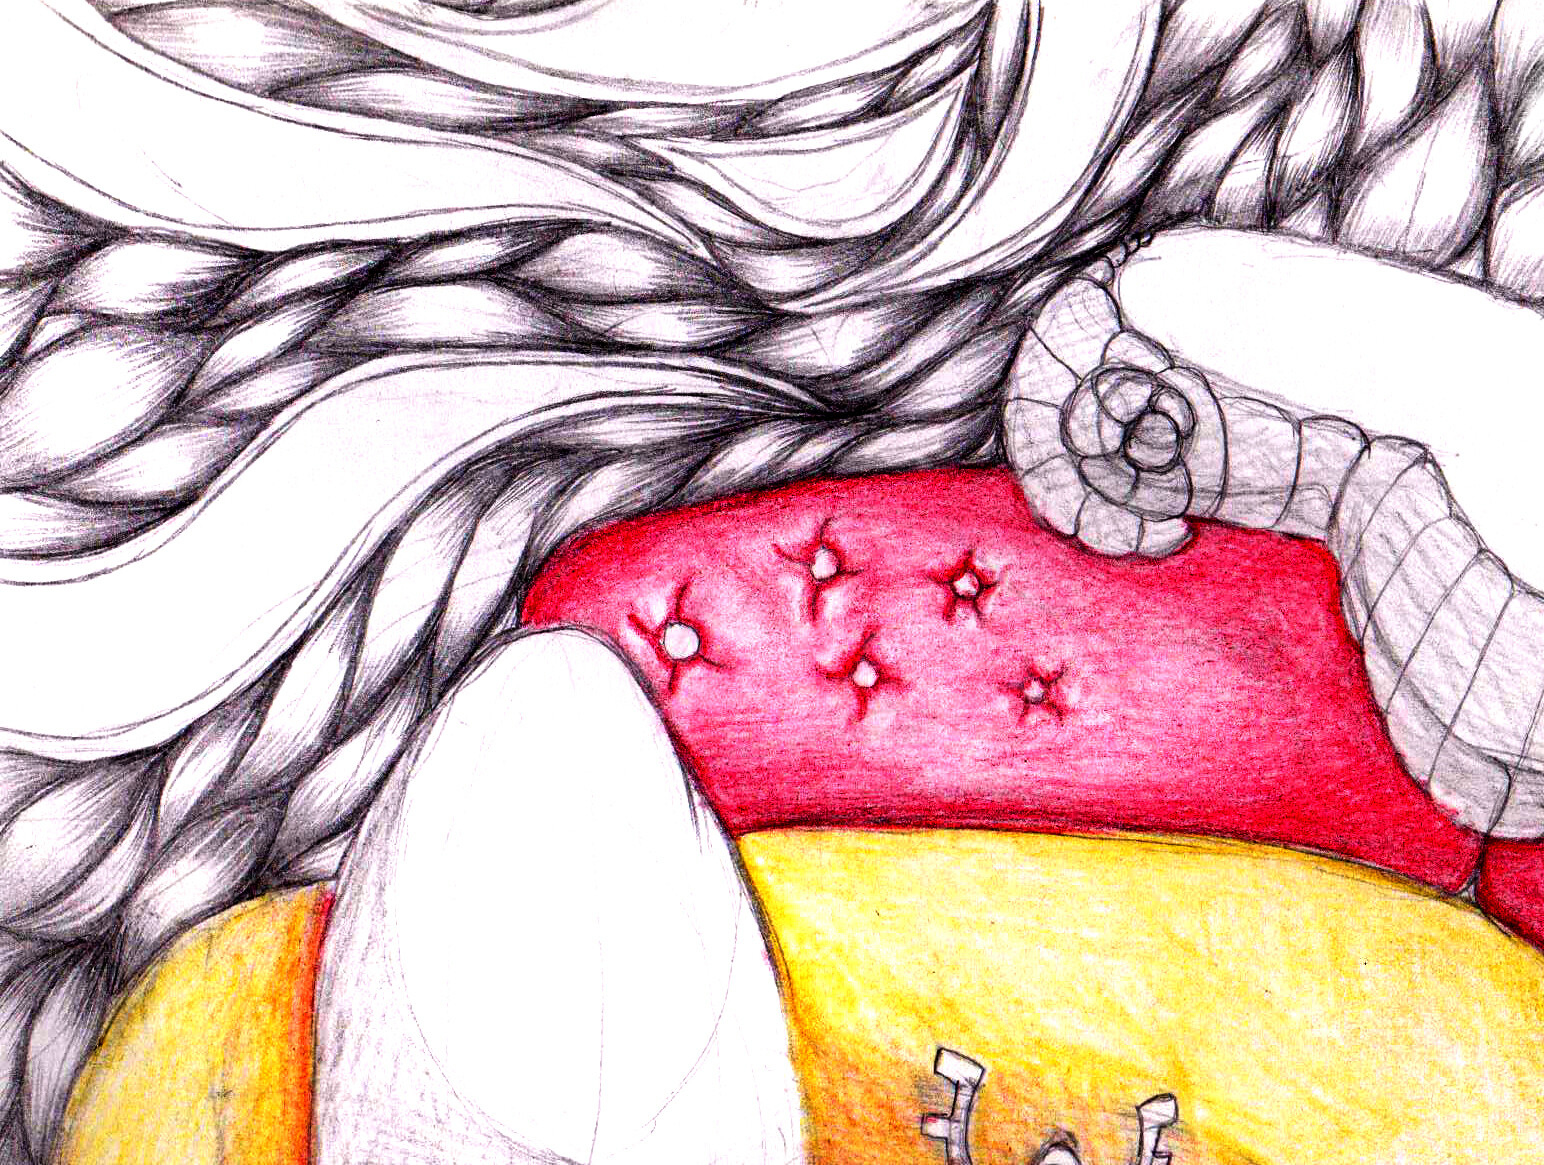
Or we can hatch the forms without enclosing lines in them.


In General, the silhouette of the hair or the fur layer is only restricted by our imagination, the same as the forms, enclosed in it.
1 Like
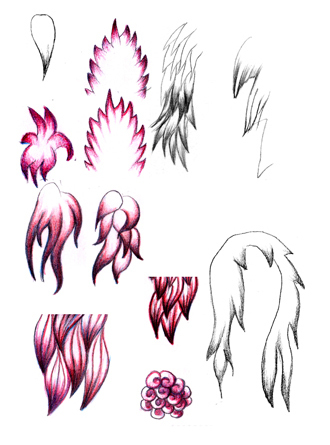
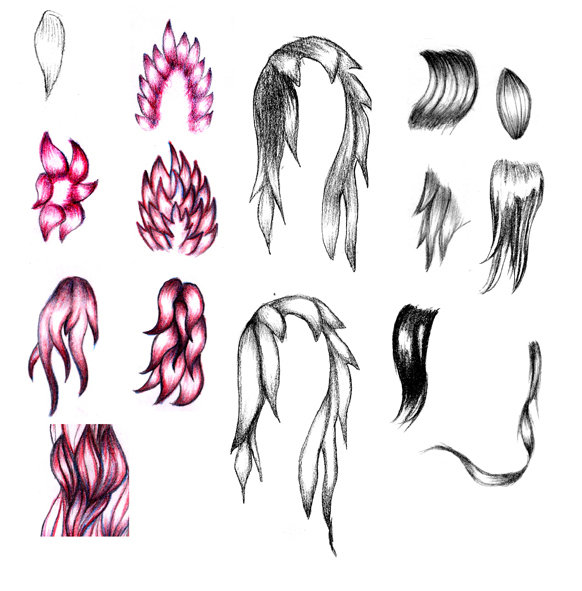
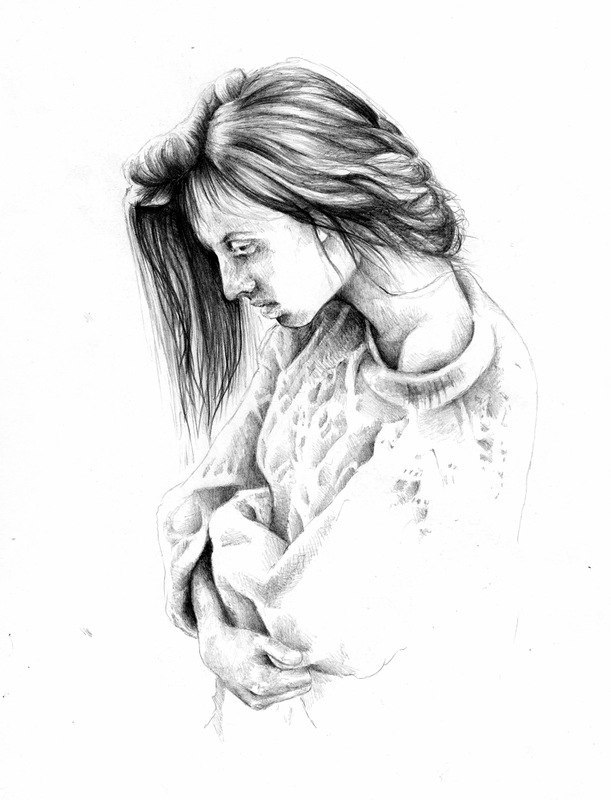
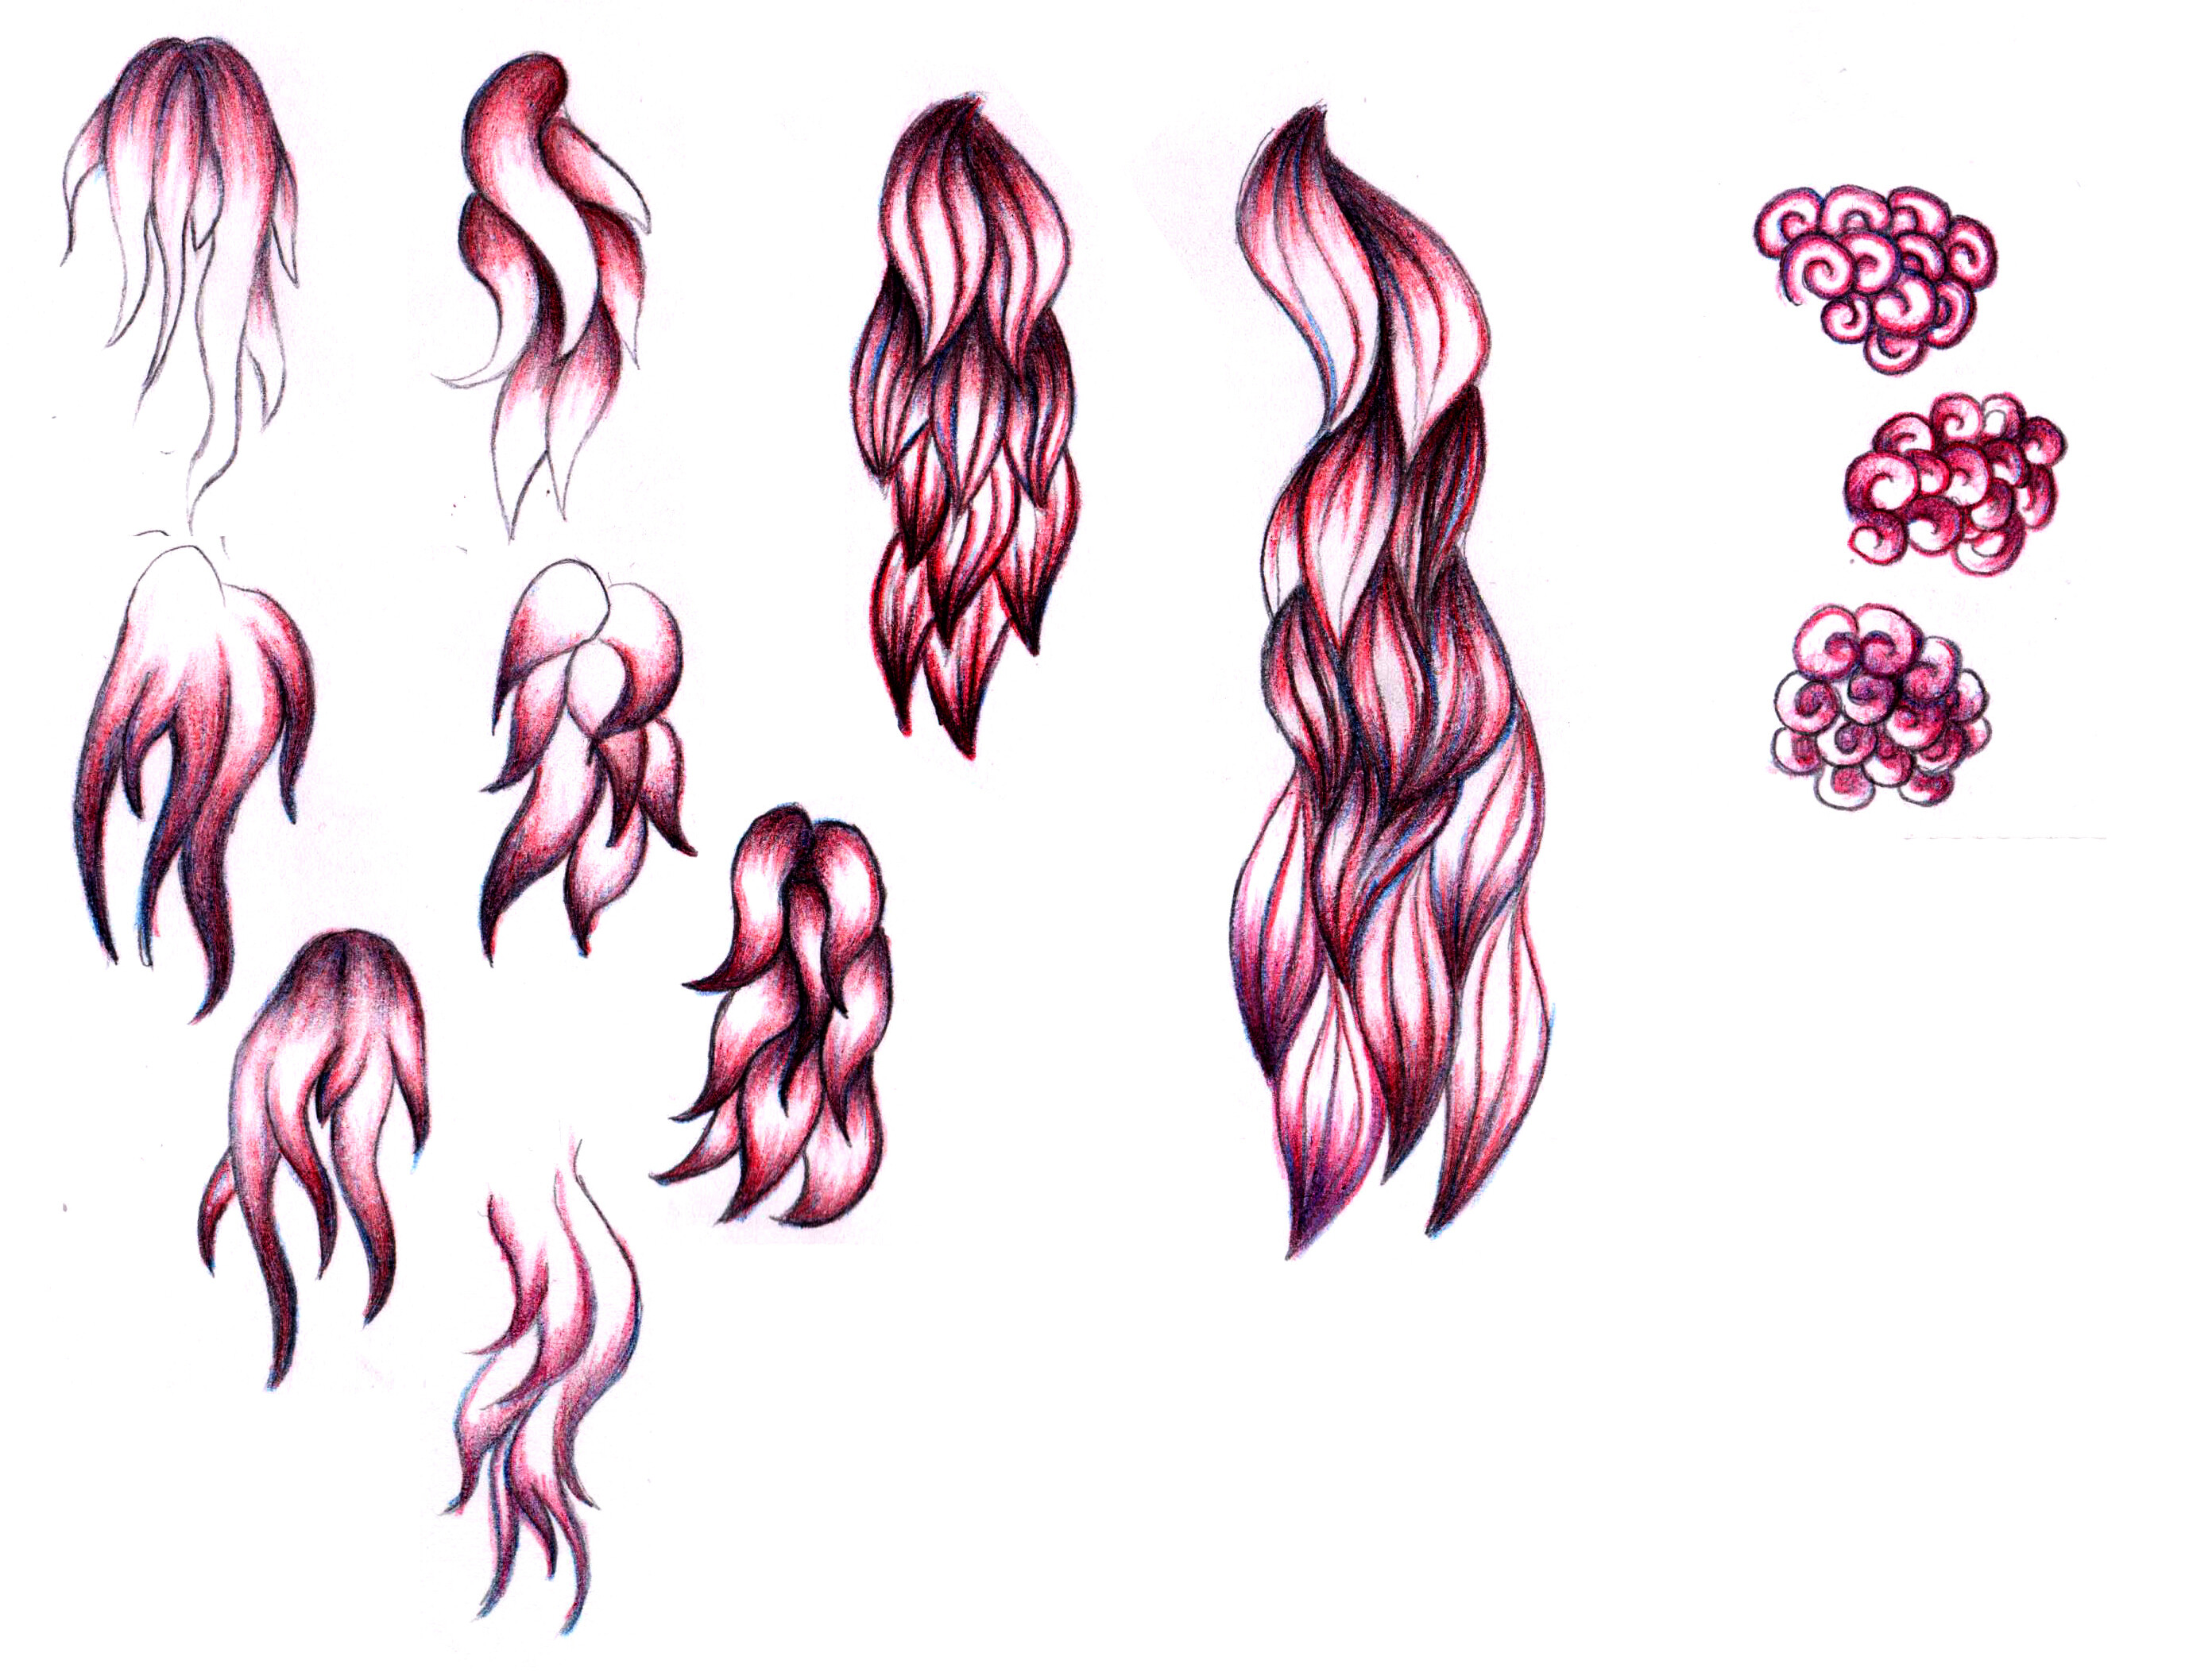
I created several huge sets, in which I experimented with different methods of hair forming and hatching. And this set is not the limit. In several days of drawing particularly hair I understood, that there can be uncountable variety of hair creation. Now it’s clear why artists use only 3-5 methods of hair drawing.
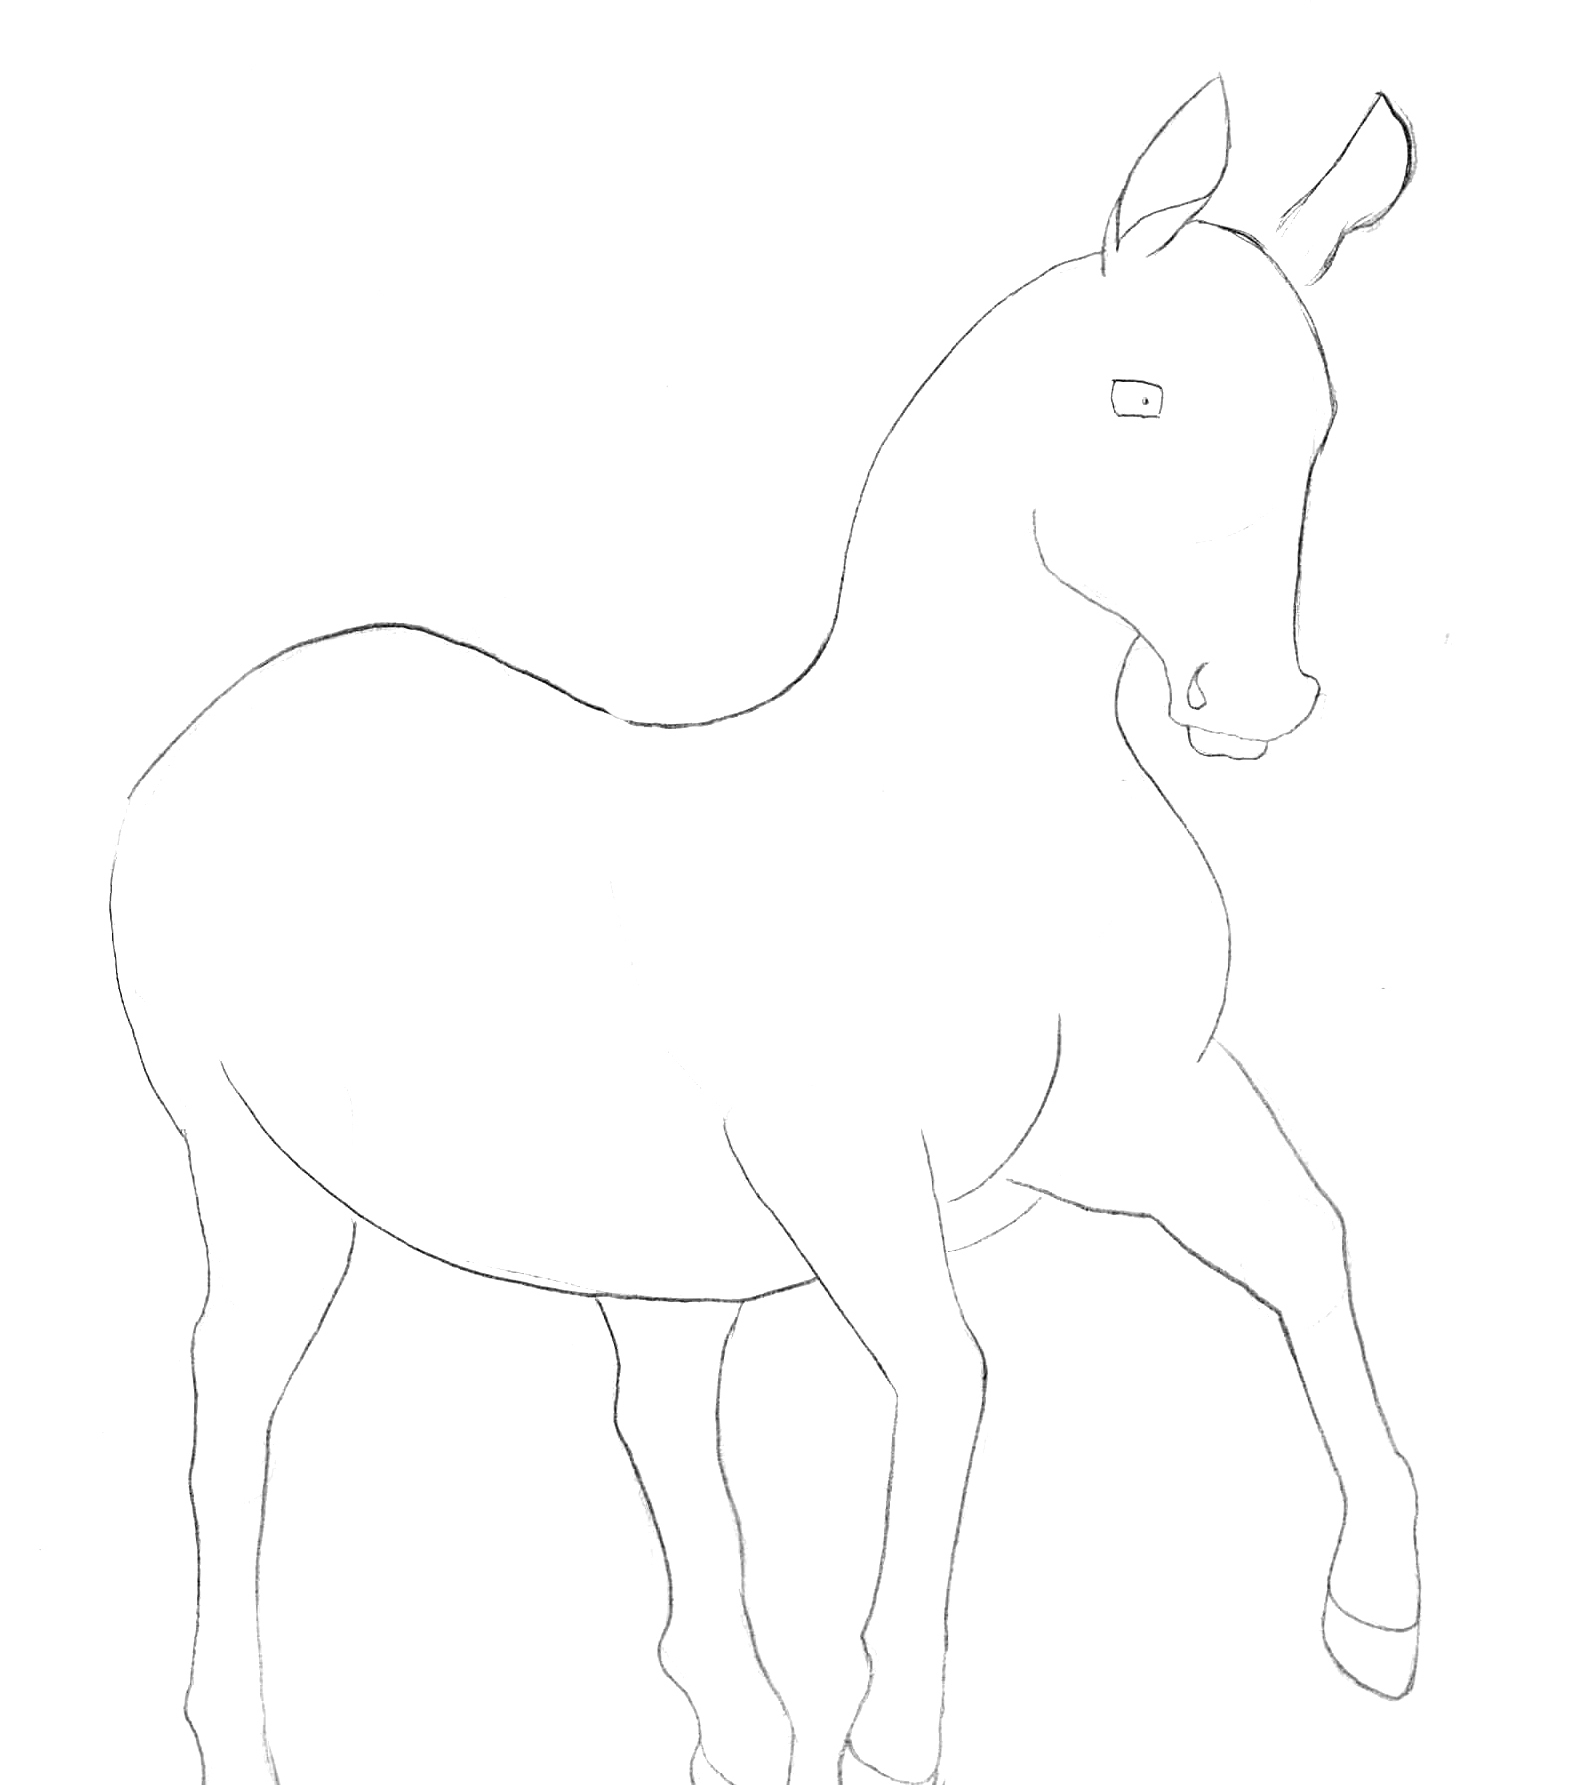
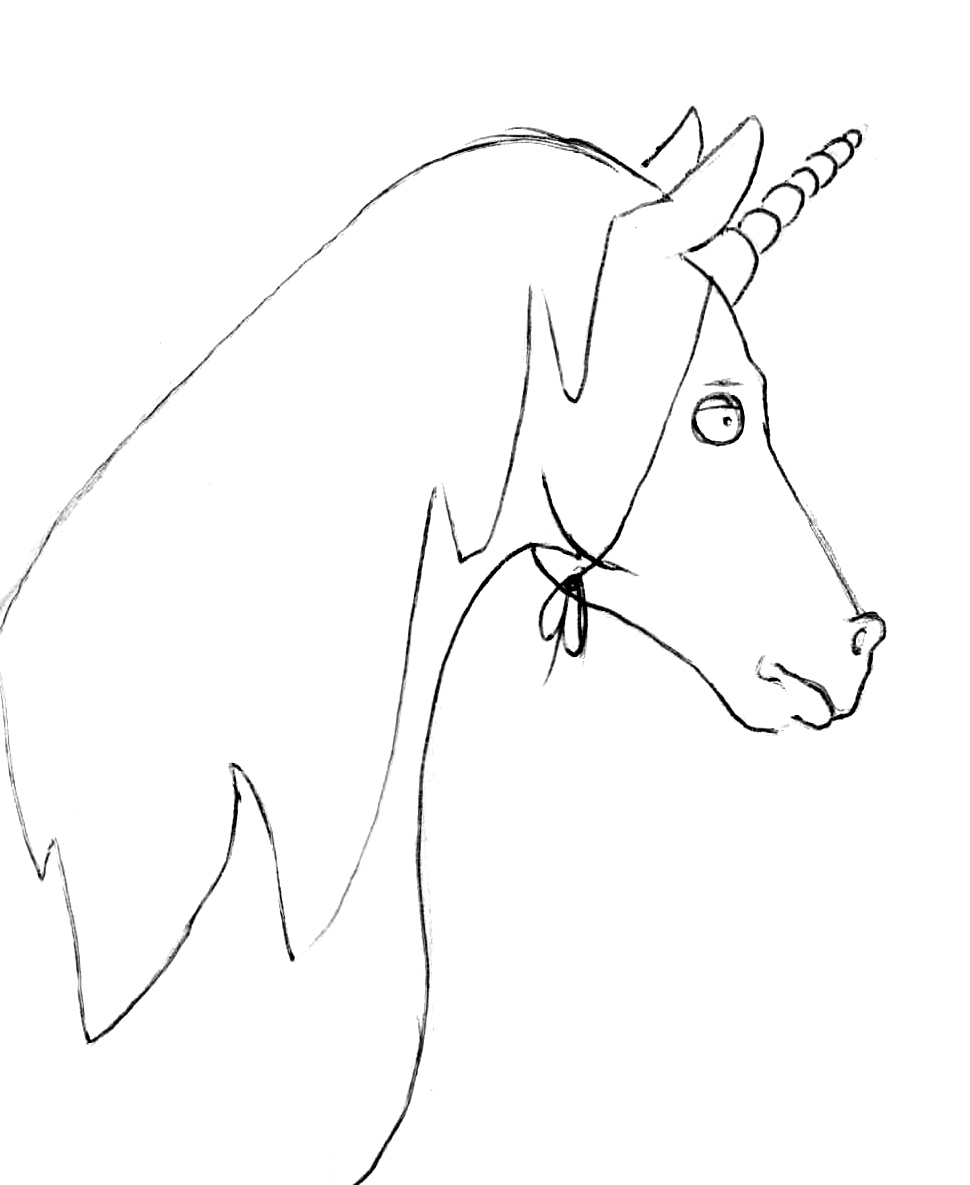
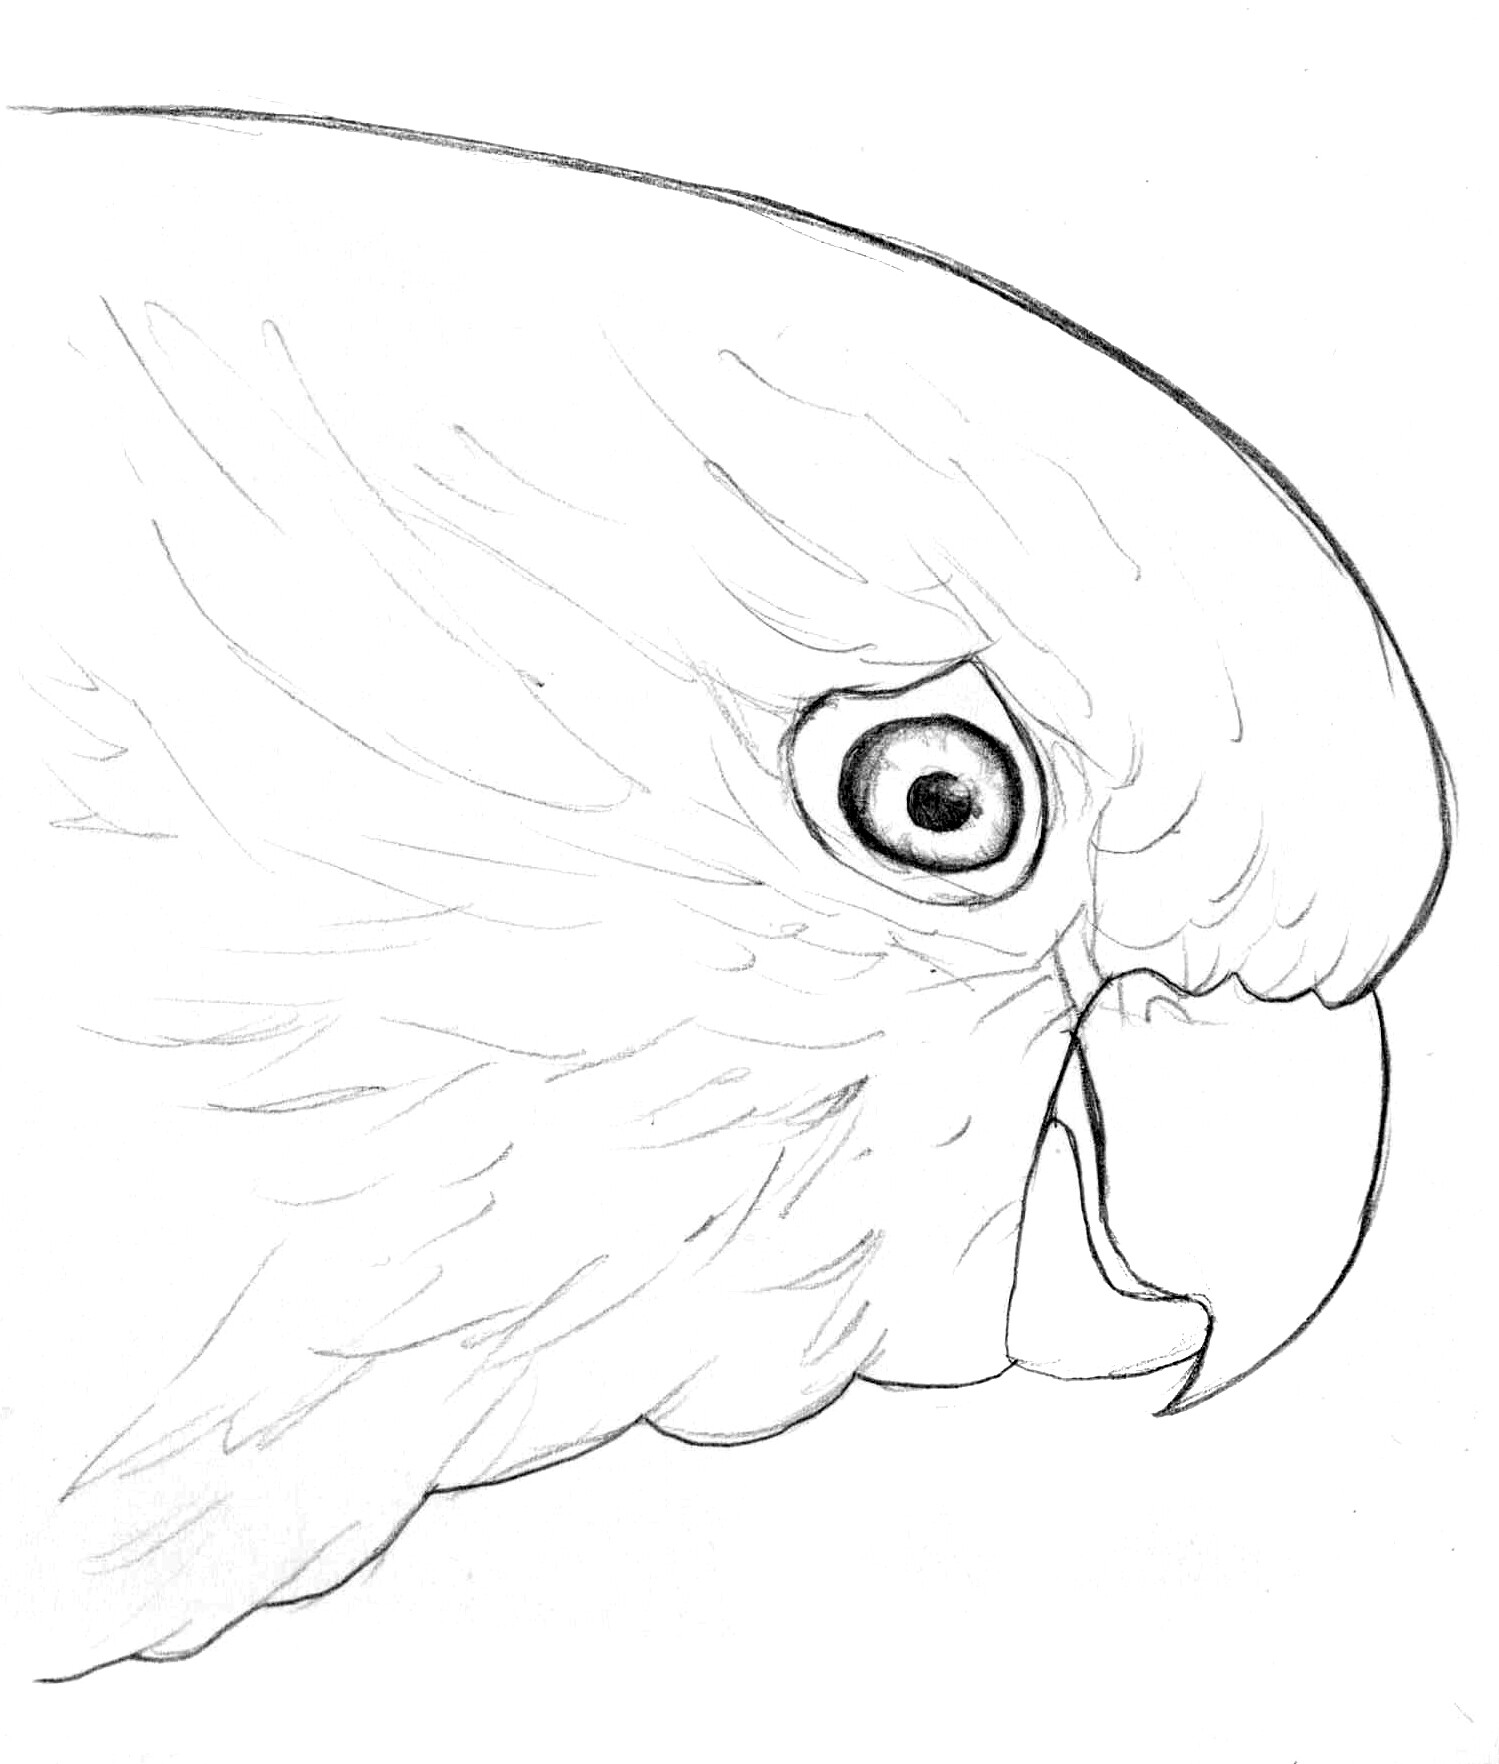
New line-arts
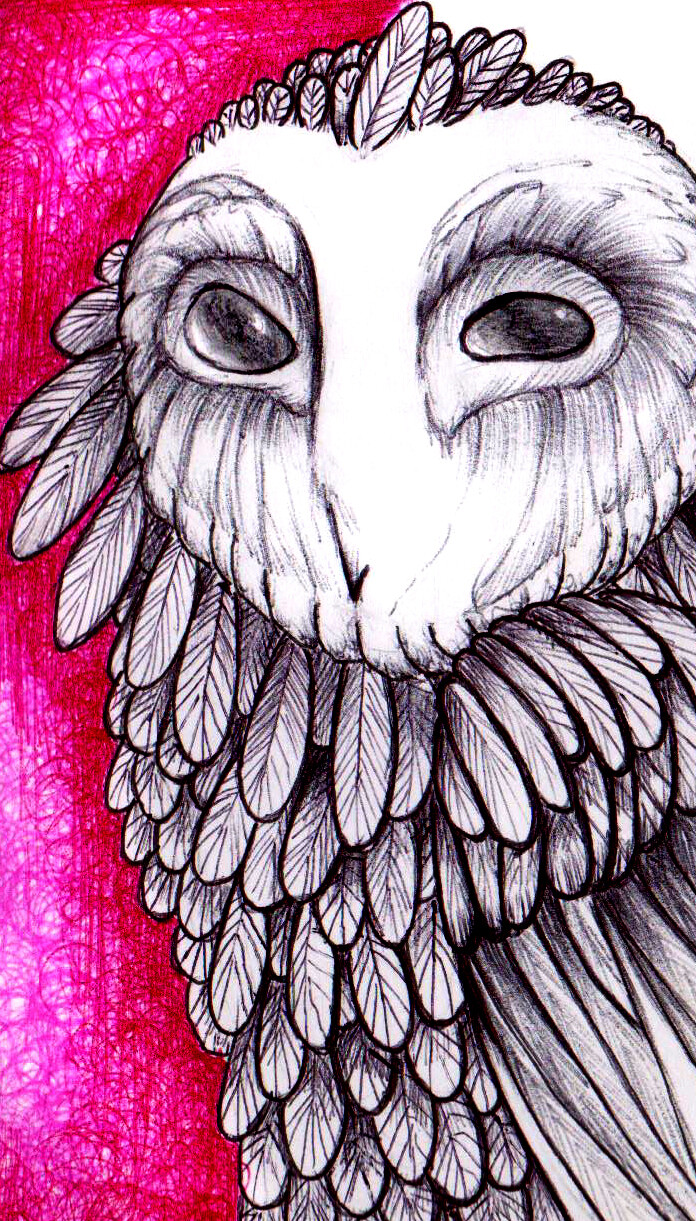
Divide the parrot’s feathers into tresses.
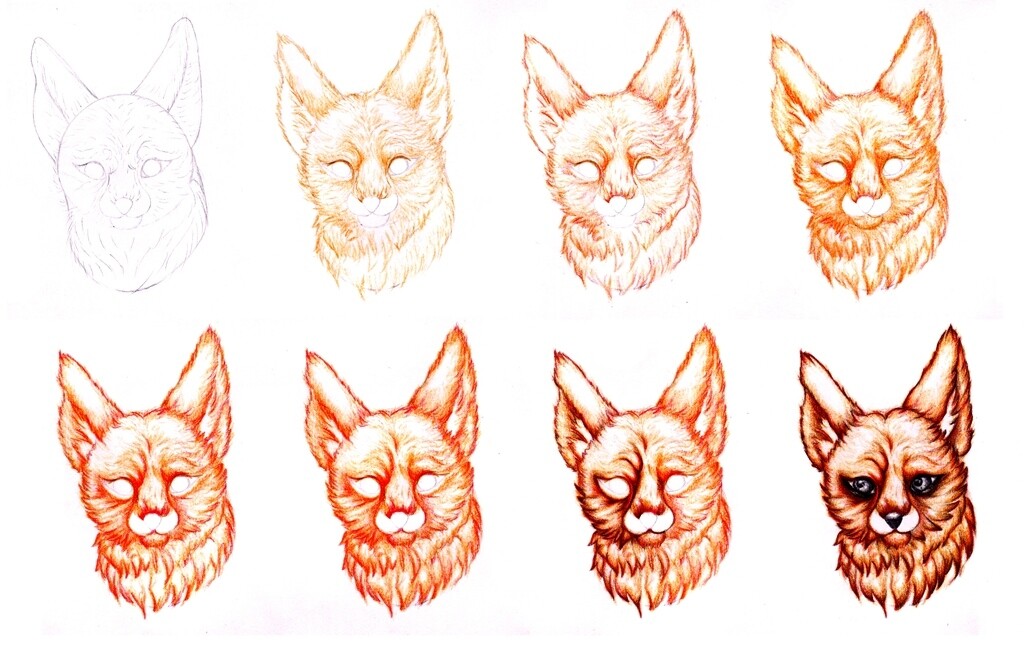
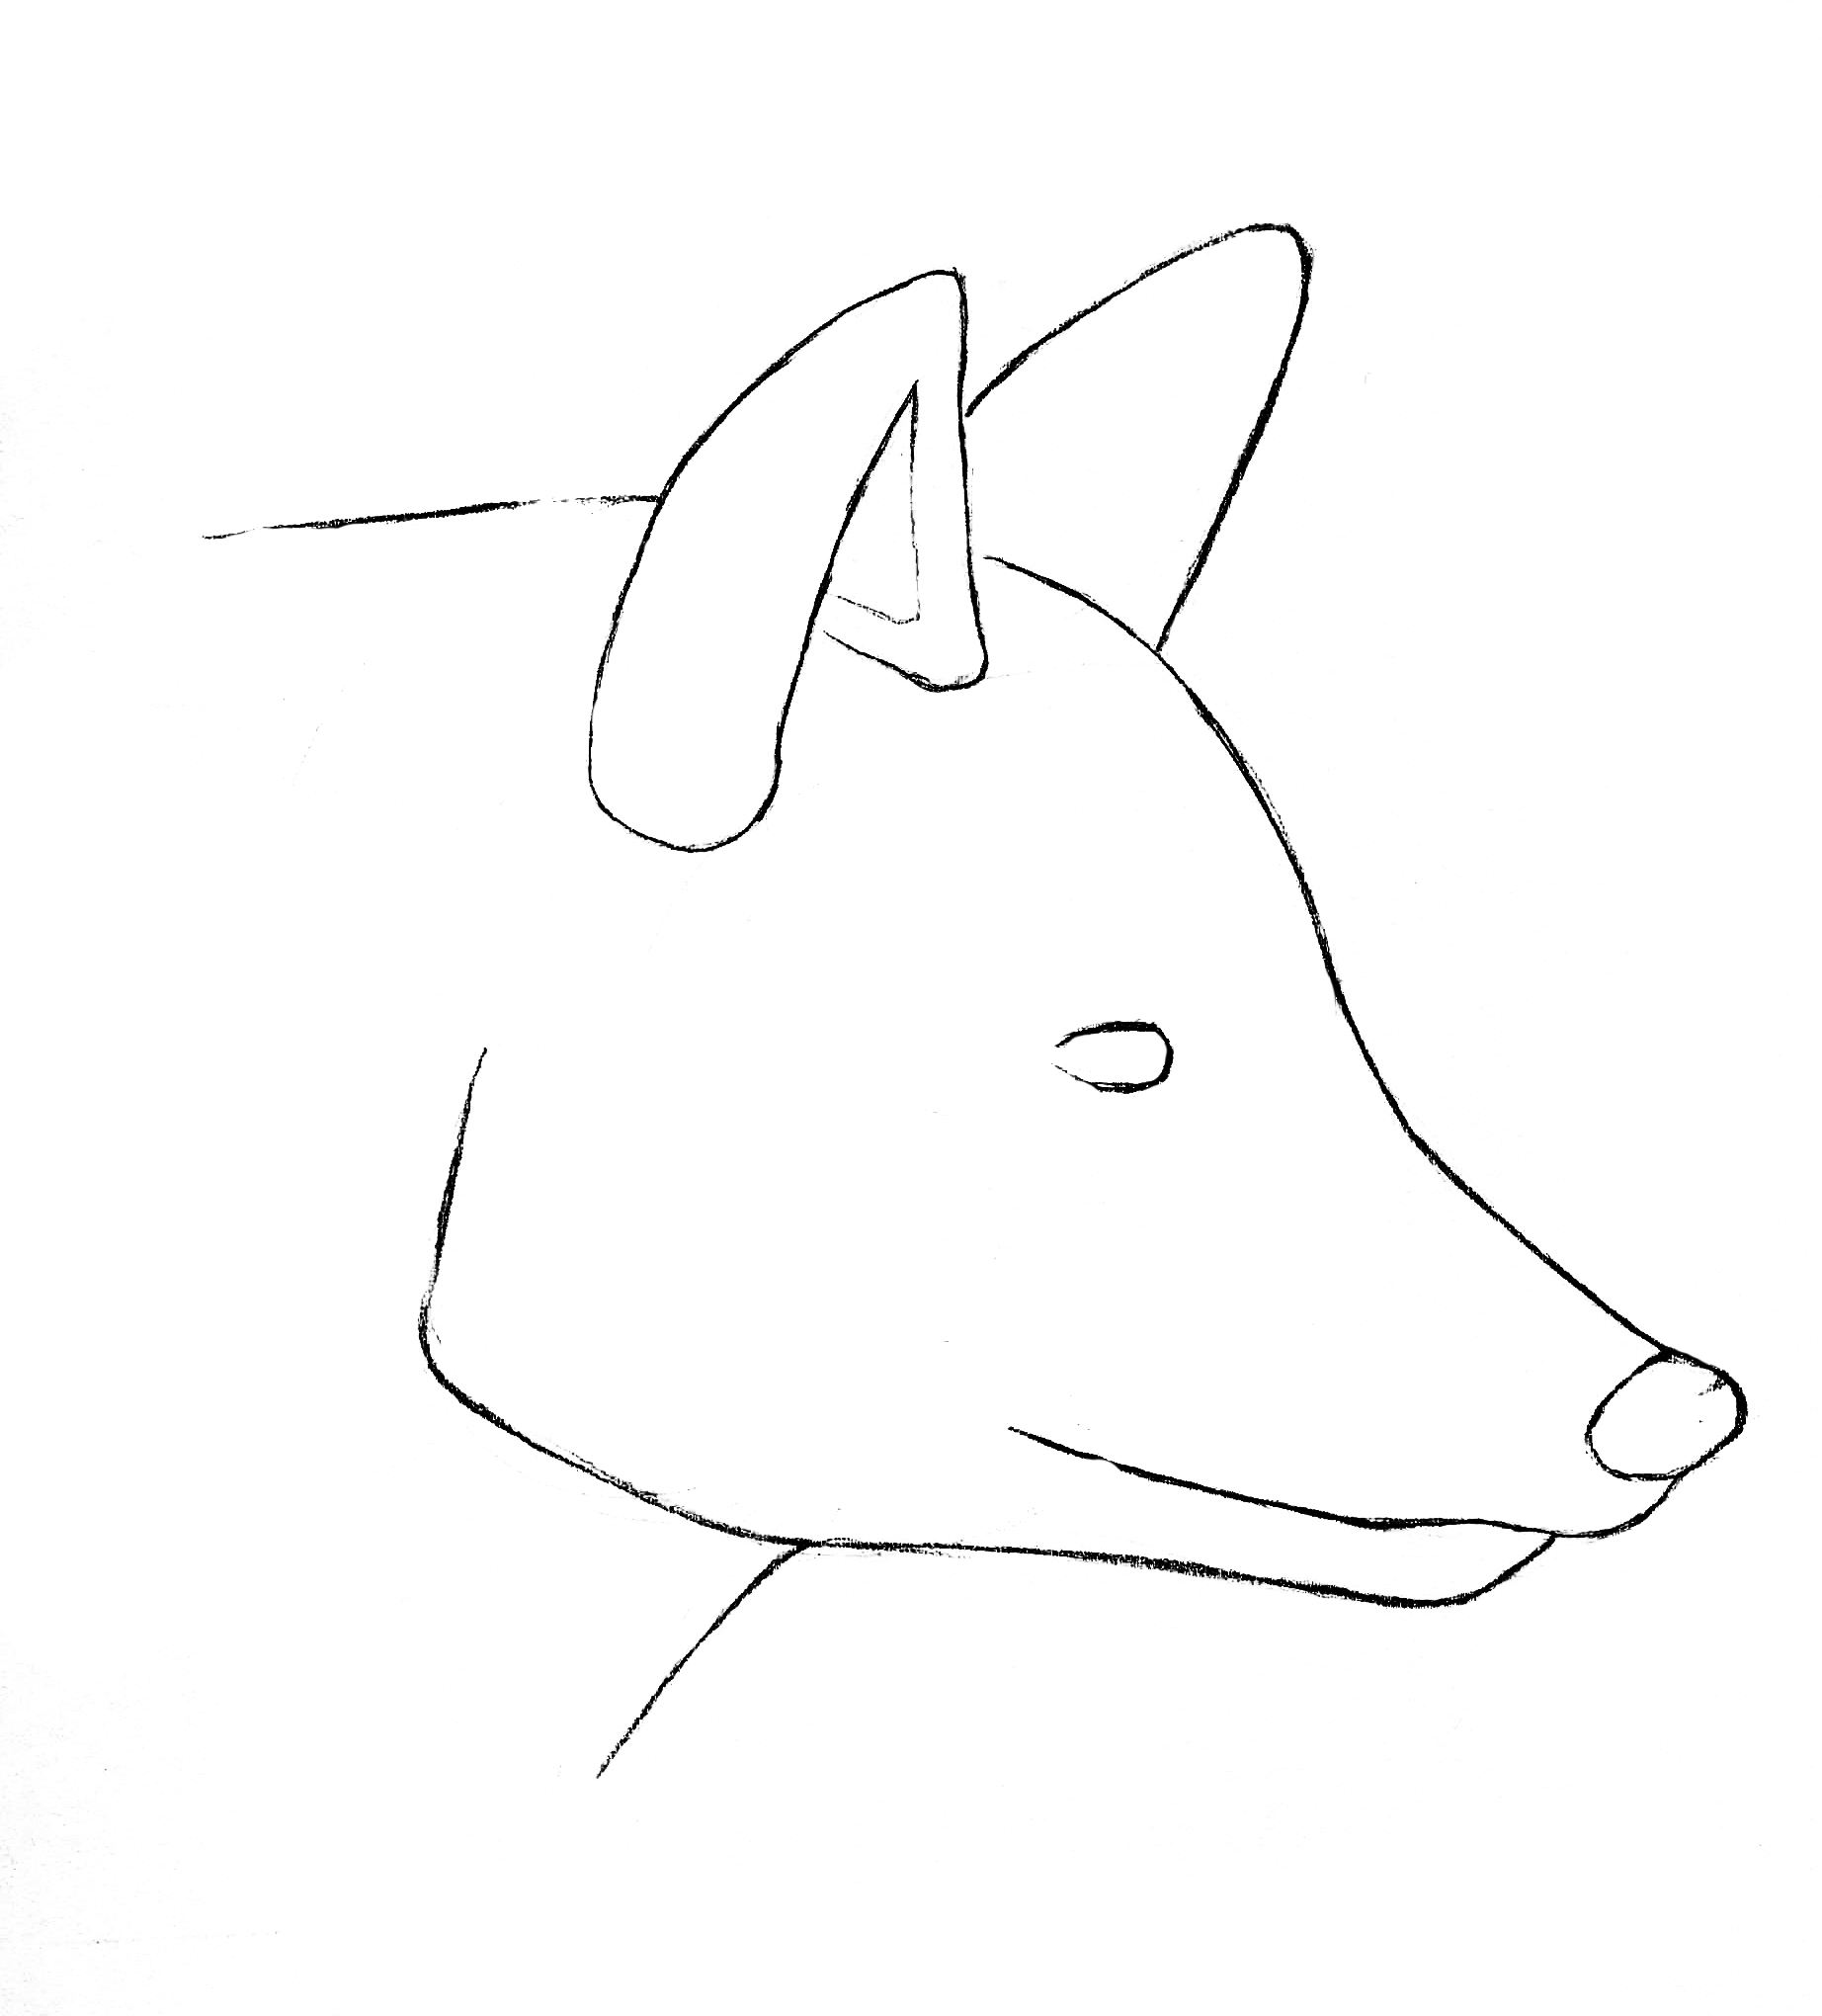
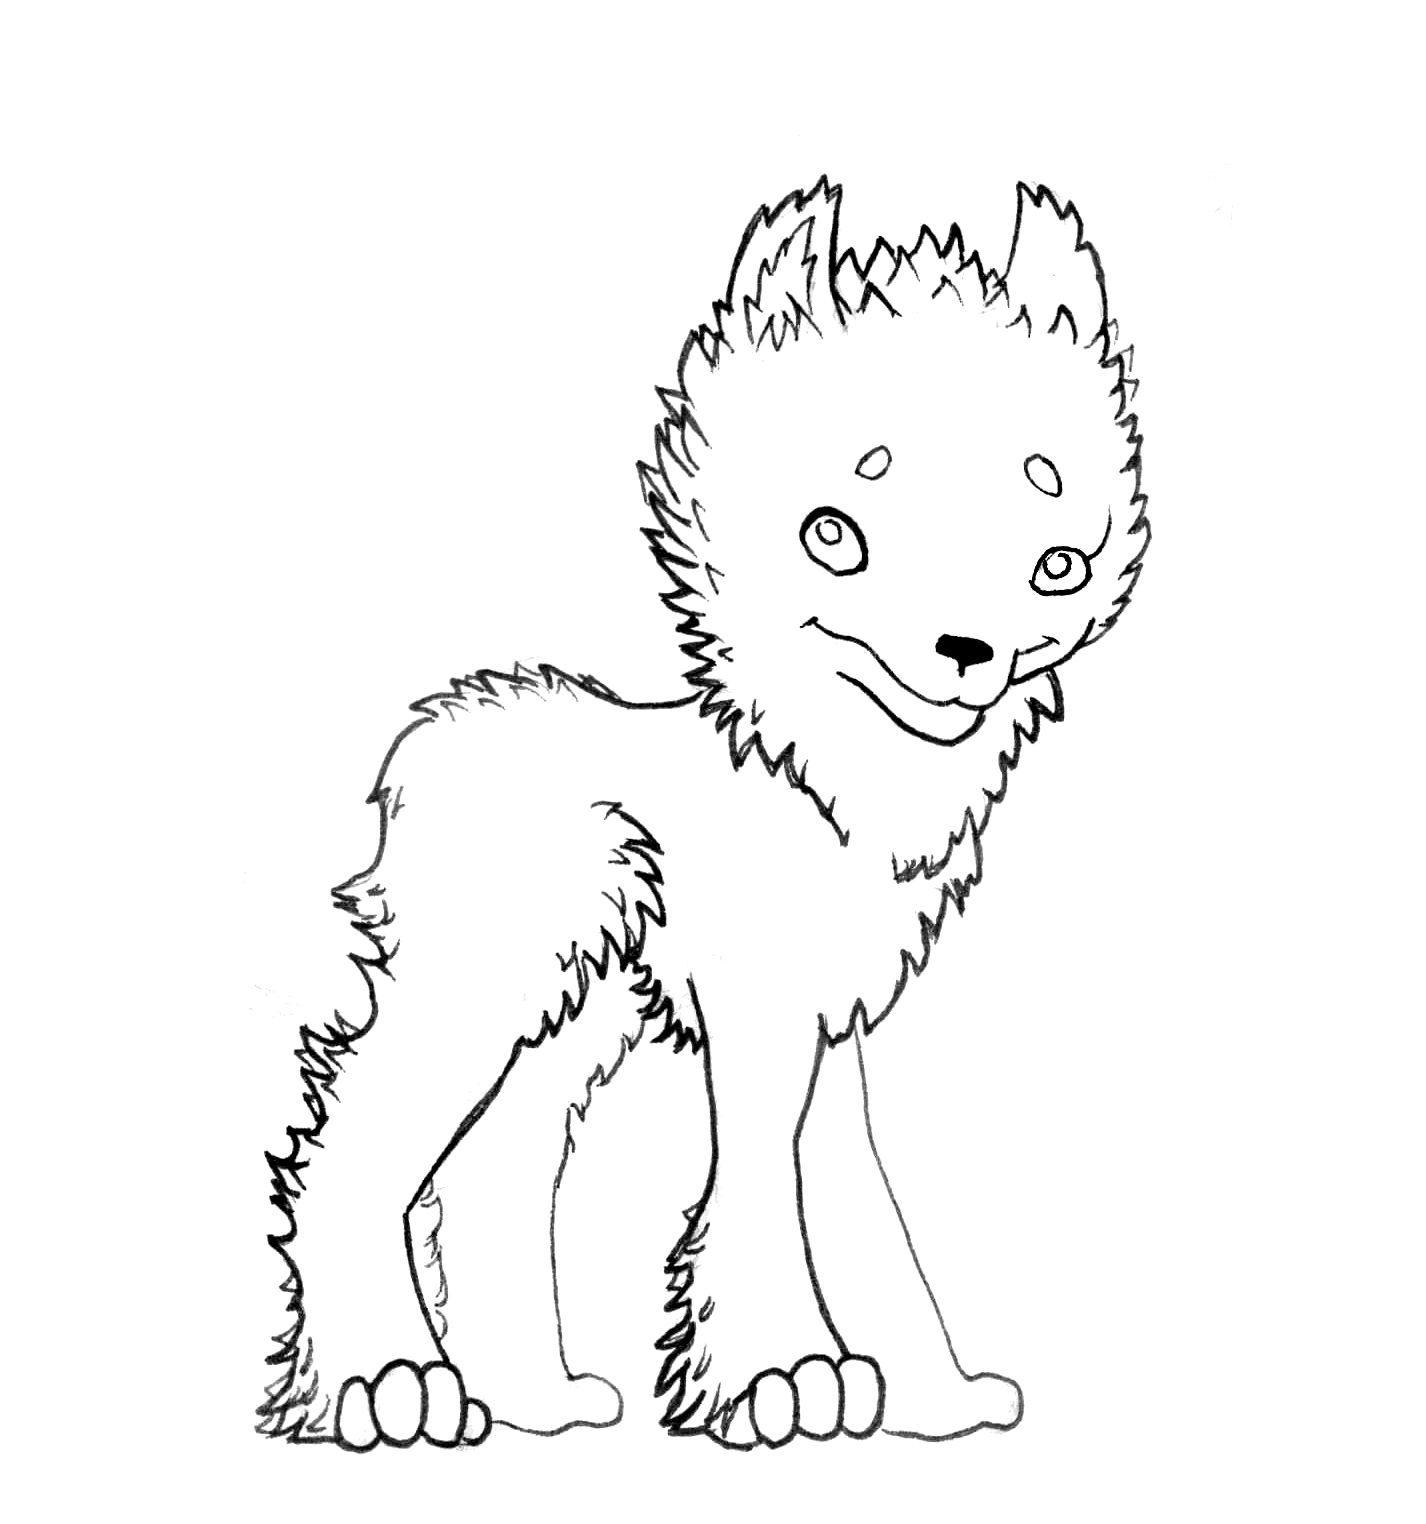
Fox
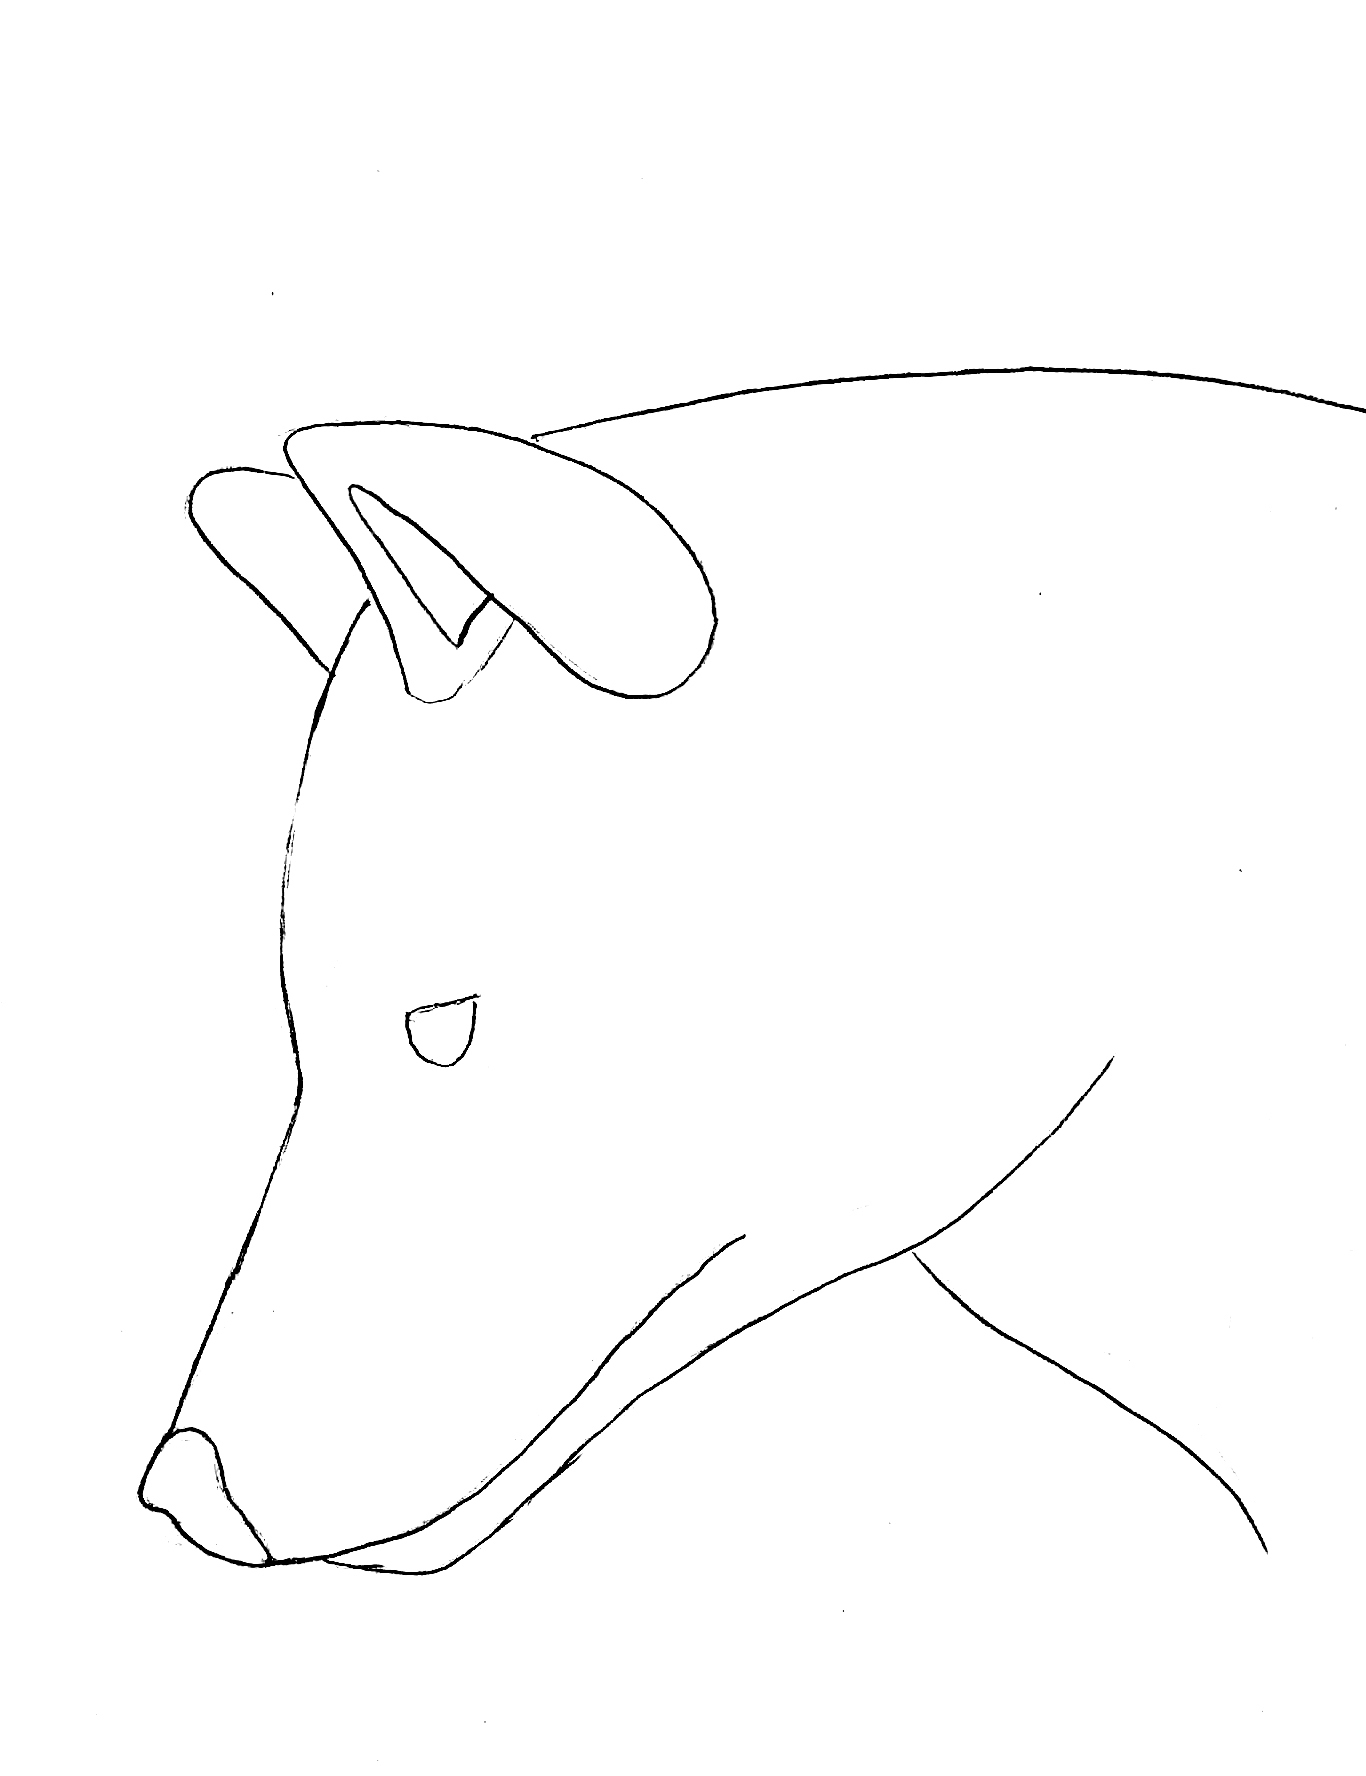
My version

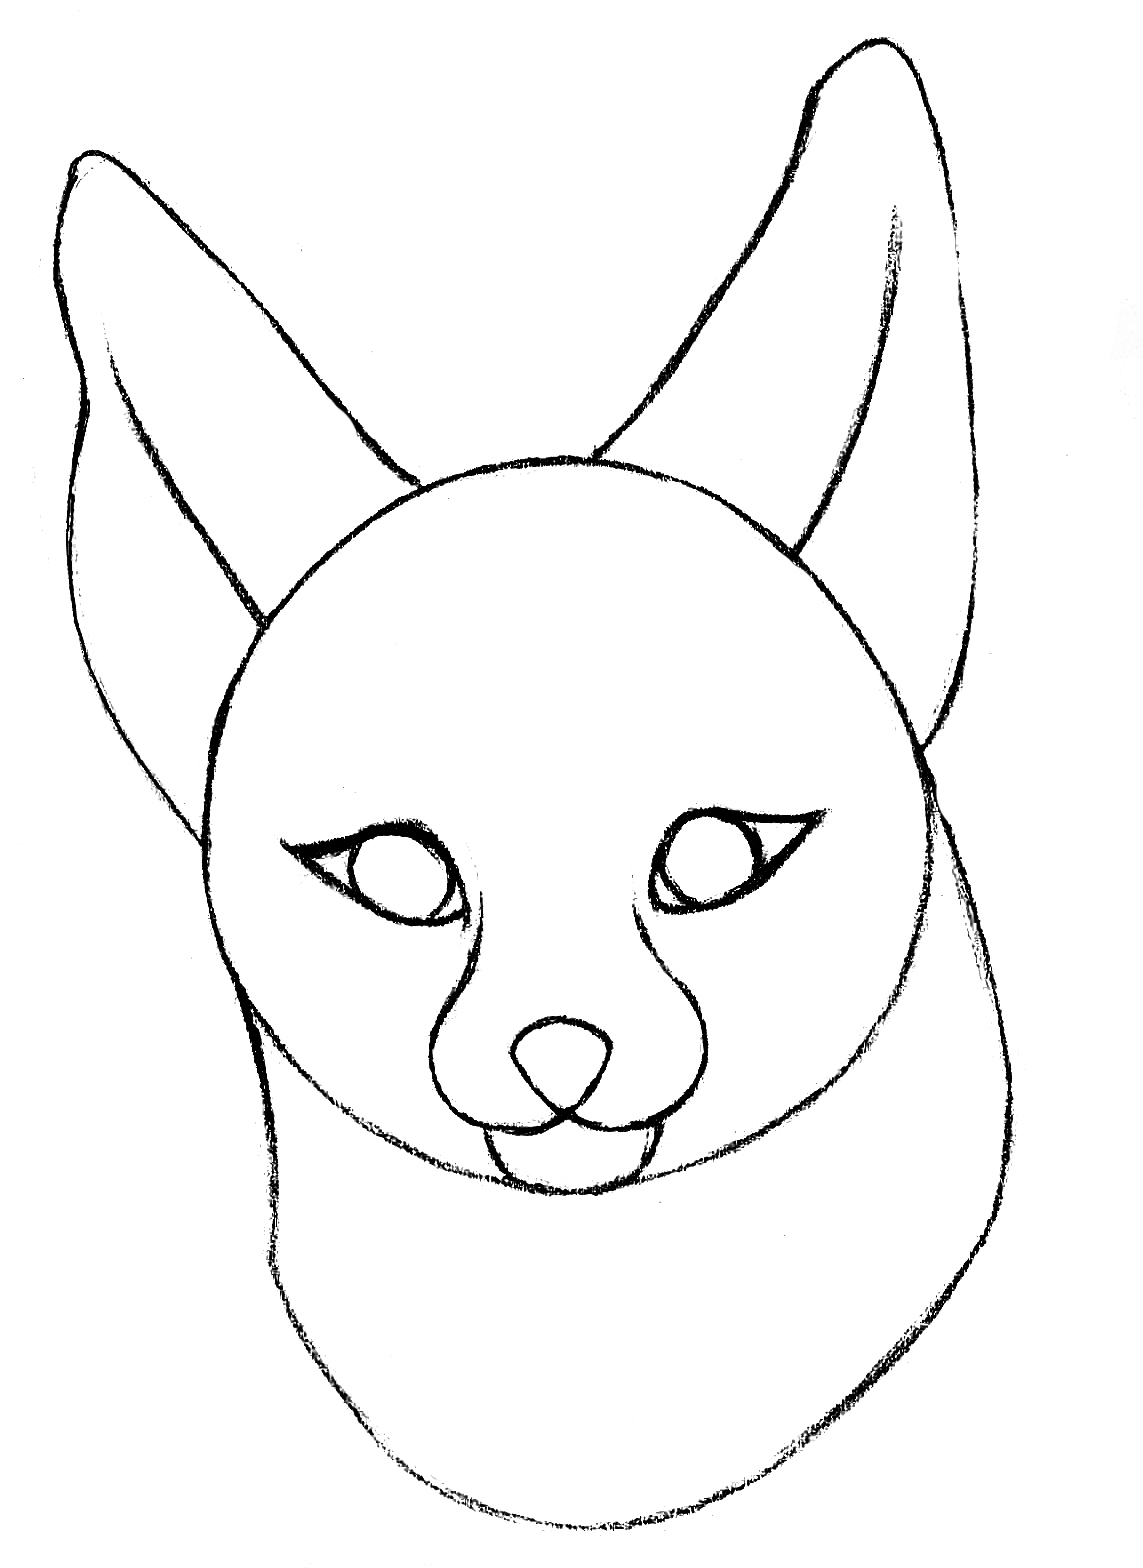
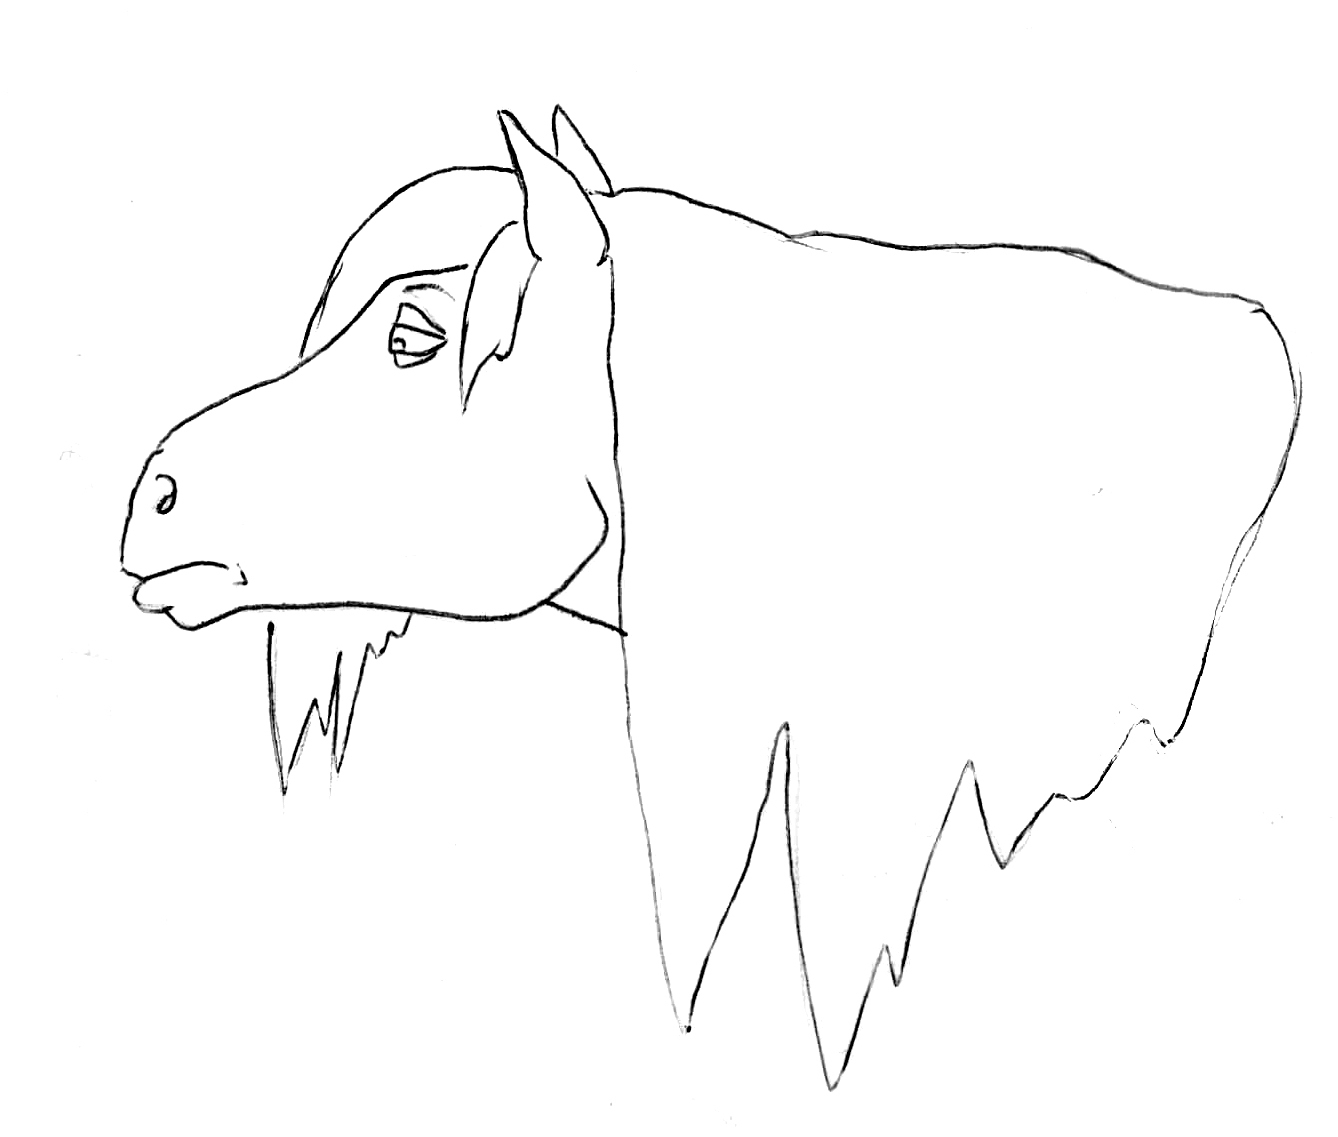
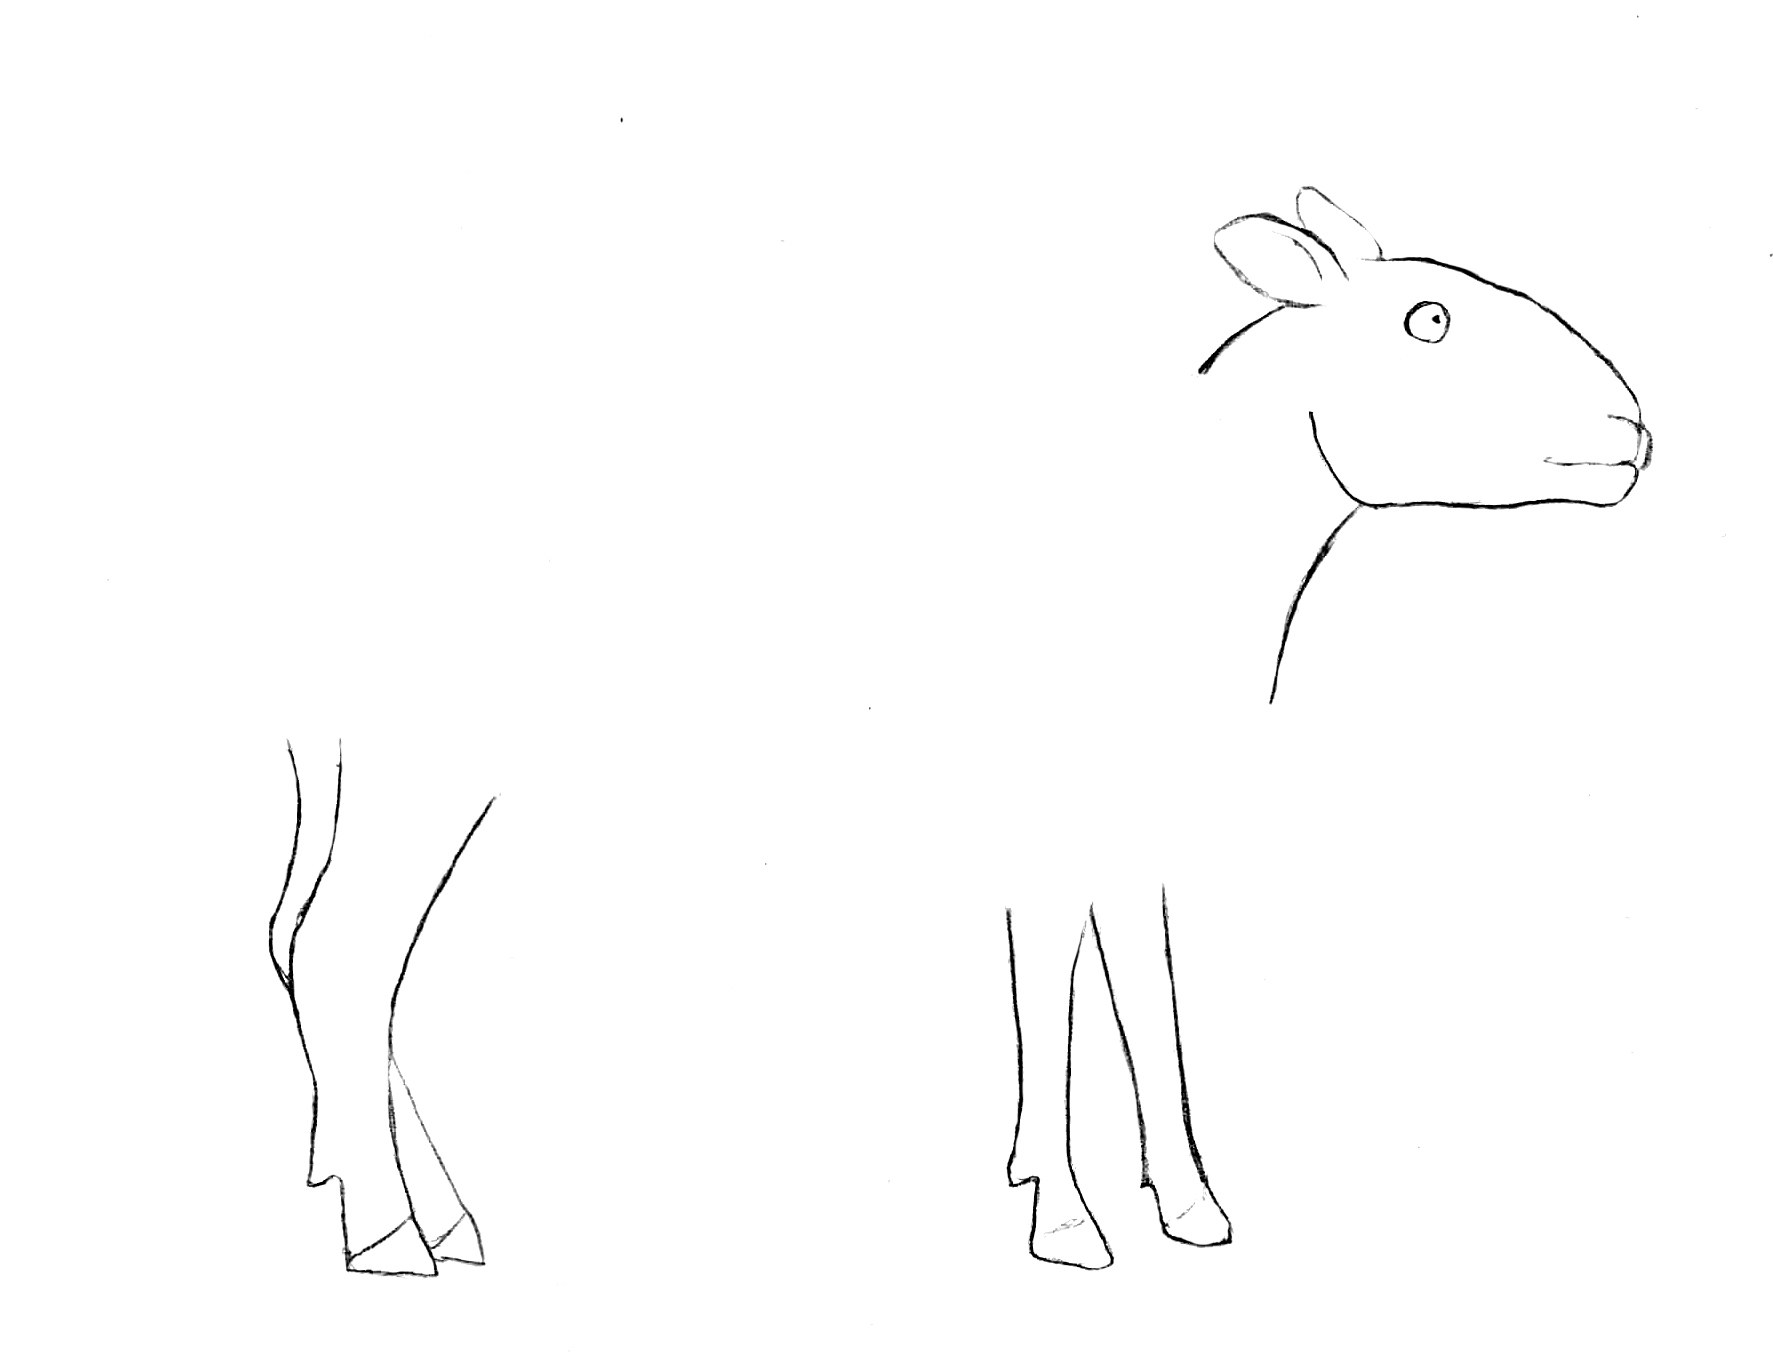
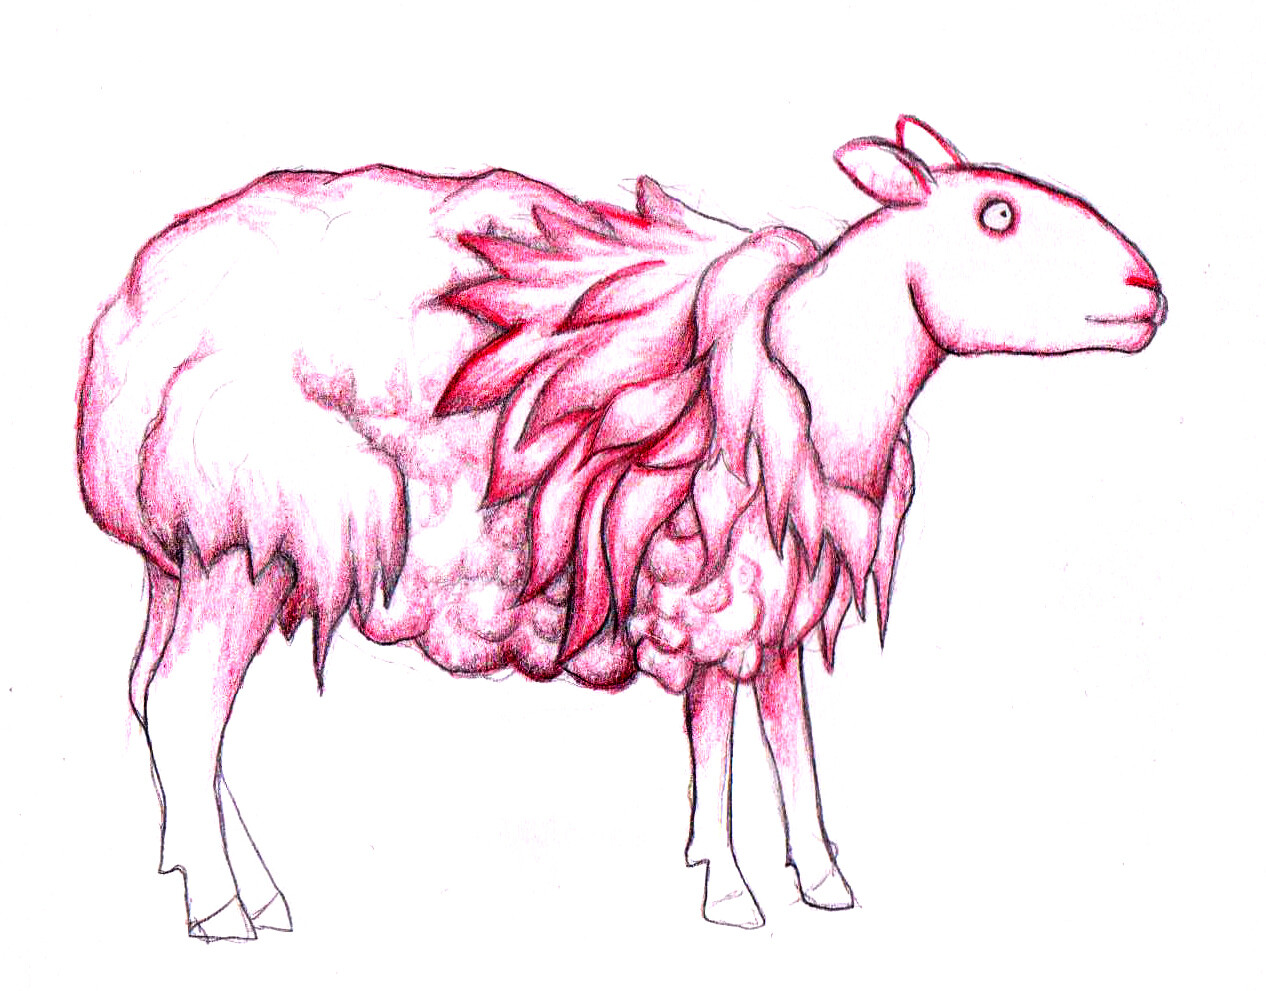
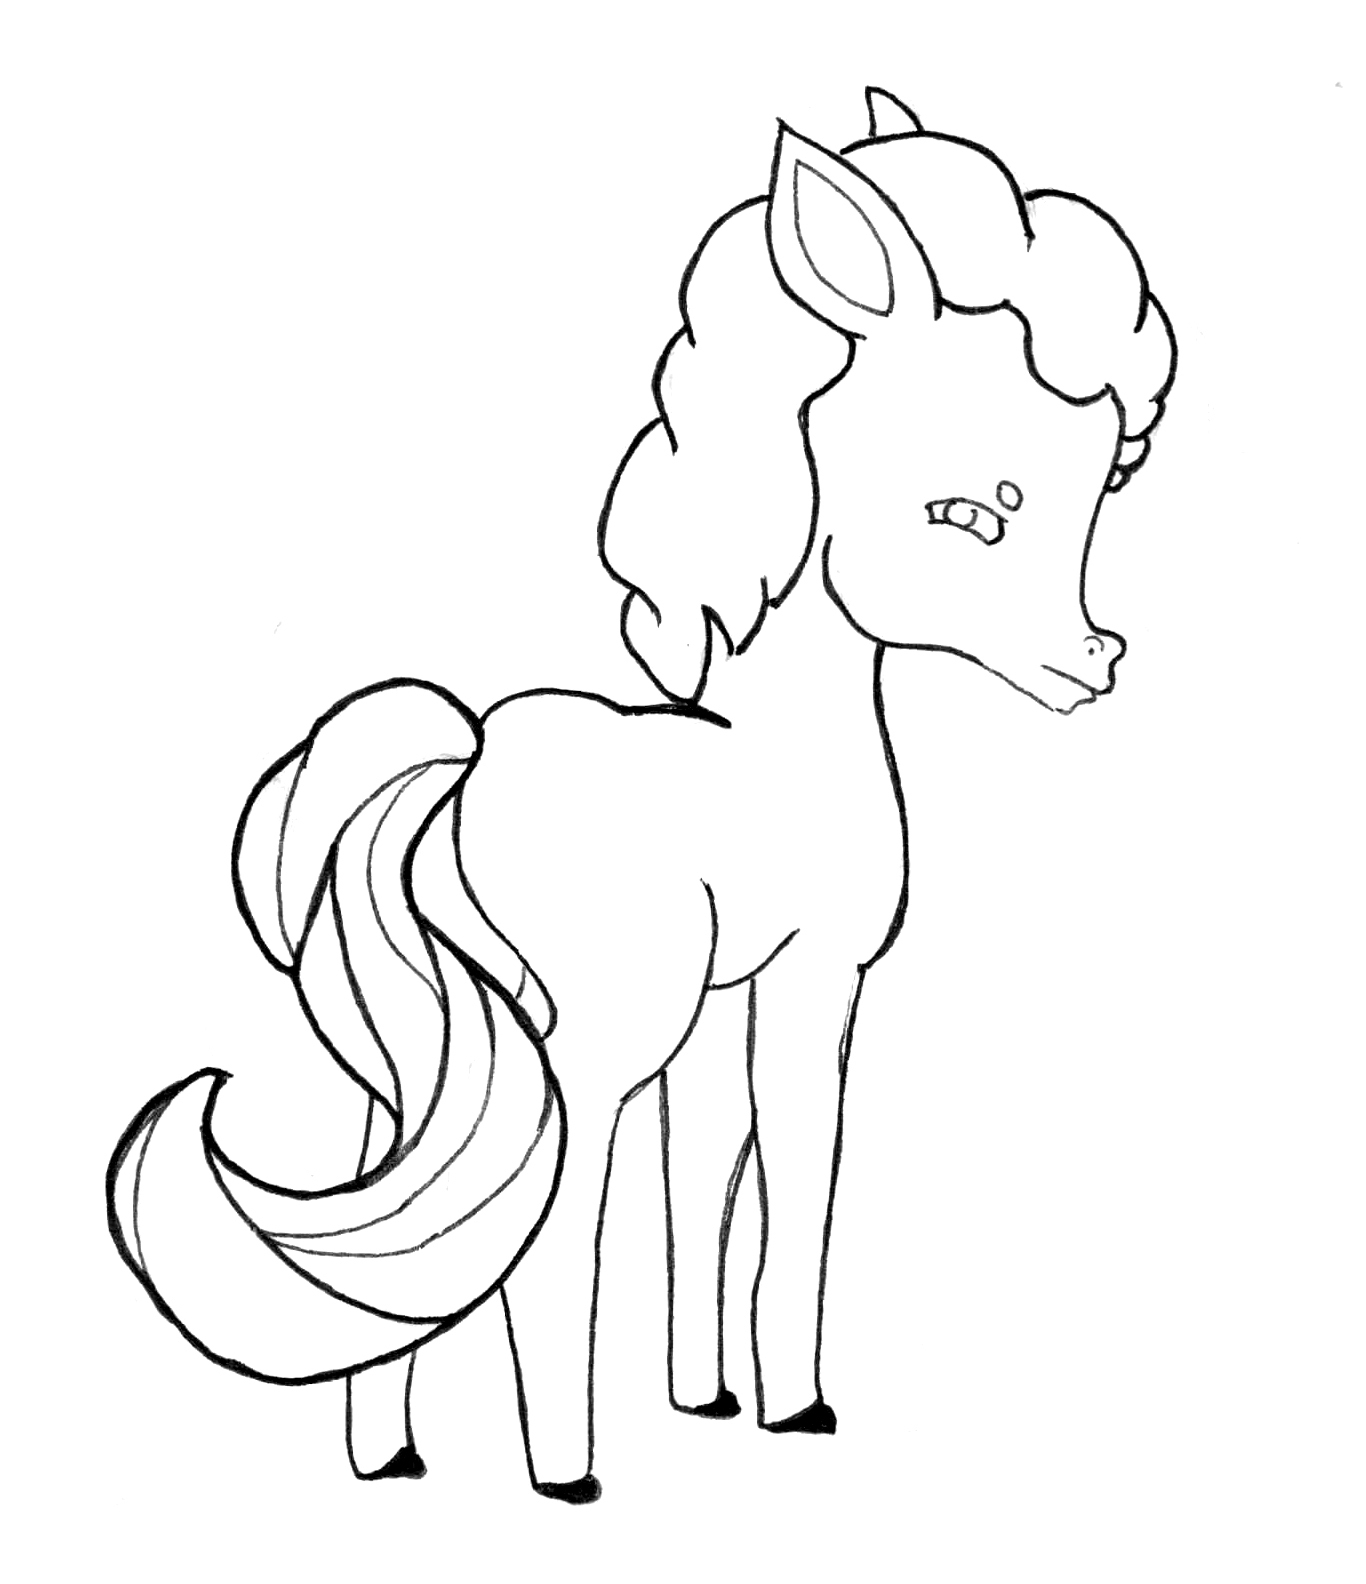
The sheep is for the variants of wool visualization.
And other
3 Likes
I love to make drawings and do sketching, and really after reading your post, I really got many ideas about how to make a perfect drawings. Infact I have a alot of drawing stuff, I customized all my stuff in Back to school students supplies, plz keep sharing your helpful tips in future.
Hey @sophiaedward64
Welcome to this unique place! 
This is a very old topic. You are the first in 3 years to post. Look here:
Please, share your drawings with us! 
1 Like
Welcome on forum!! 
1 Like
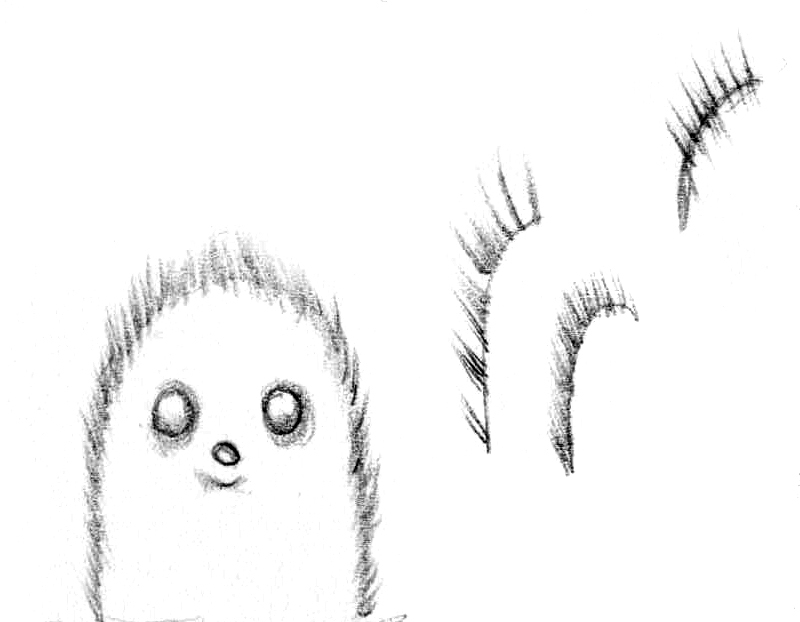
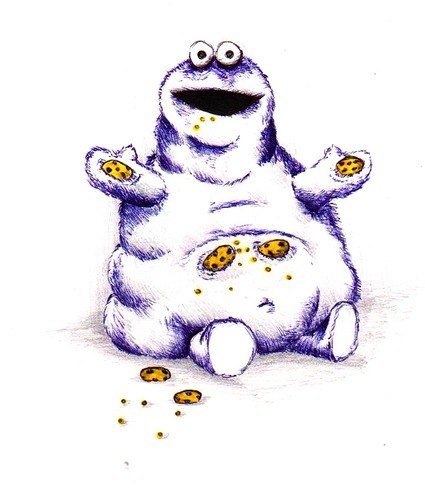
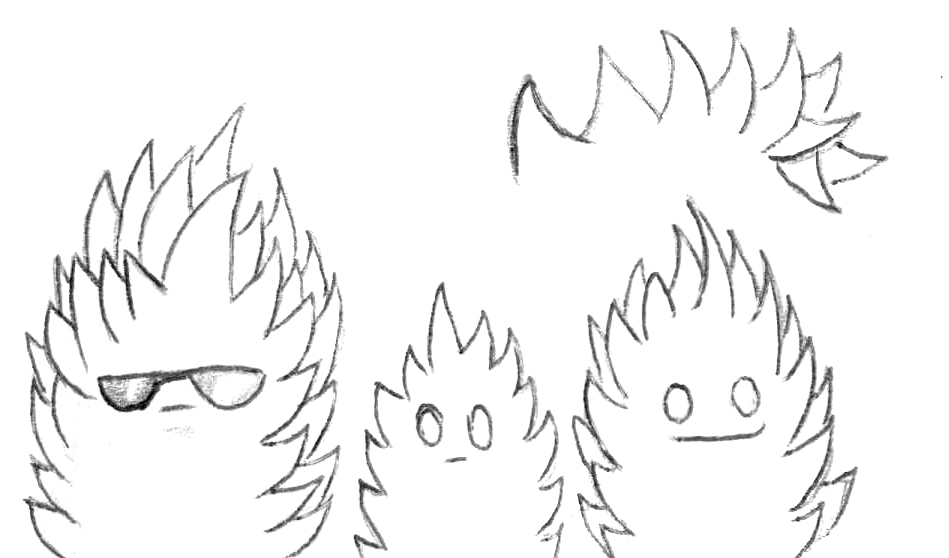
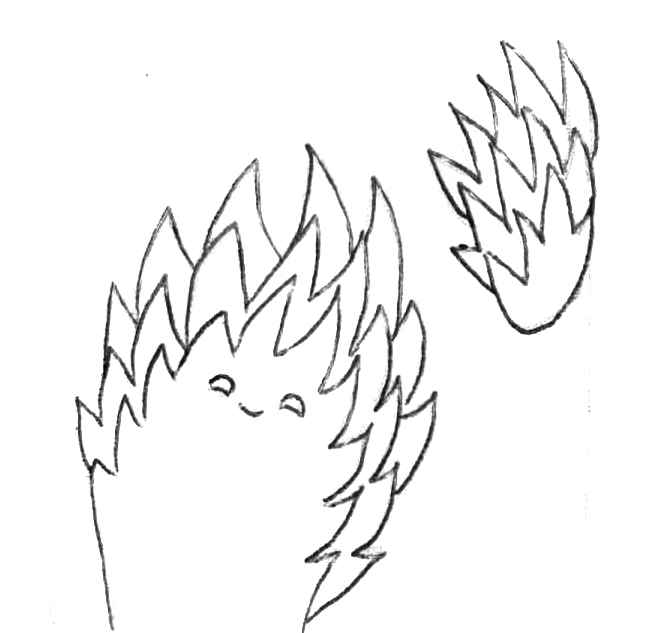
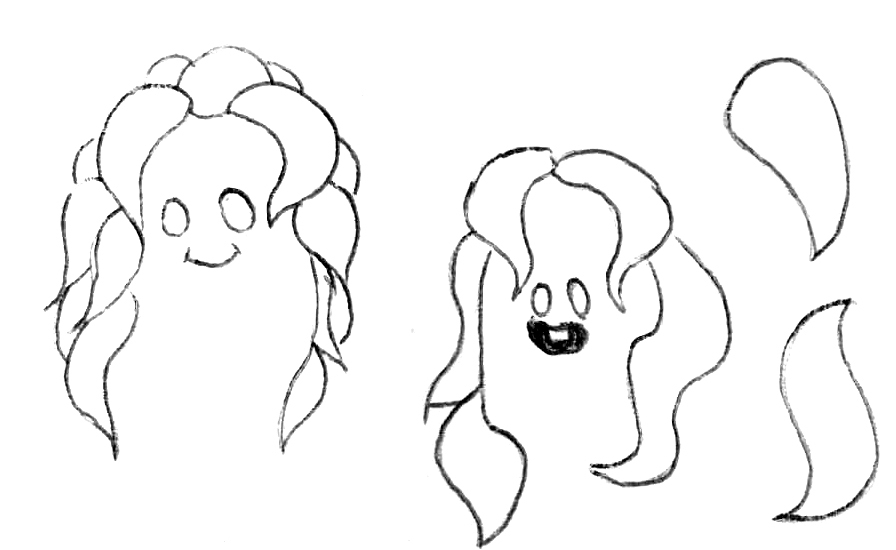
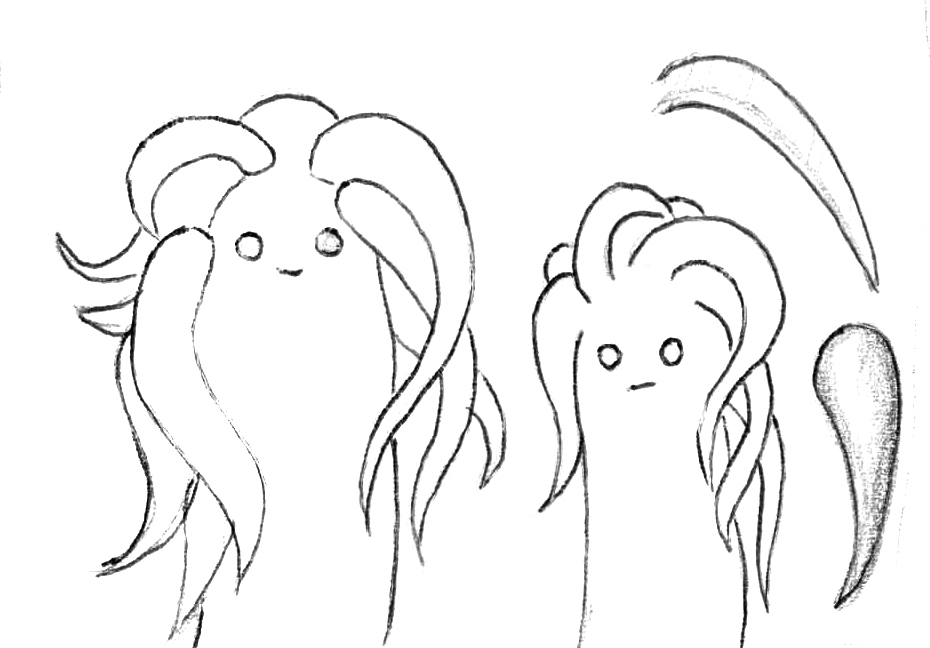
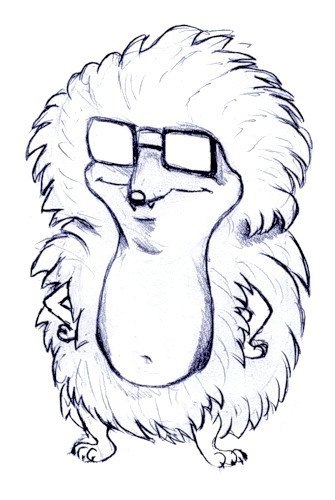
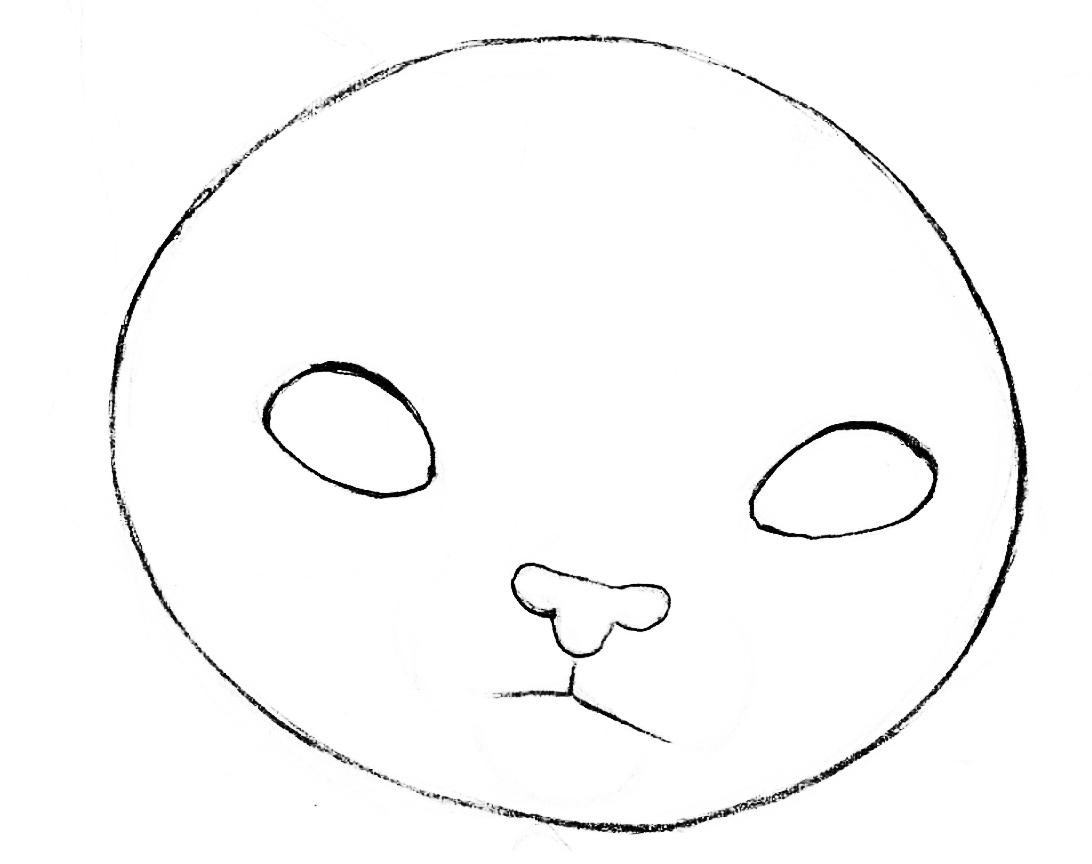
Hello class and welcome to another day of drawing with germies. Today I’m going to show you how to draw a Framos. They’re very rare species, but fascinating.
So first we are going to start with the head. Now to do this, it can be in a quick pace. A nice odd round shape can do.

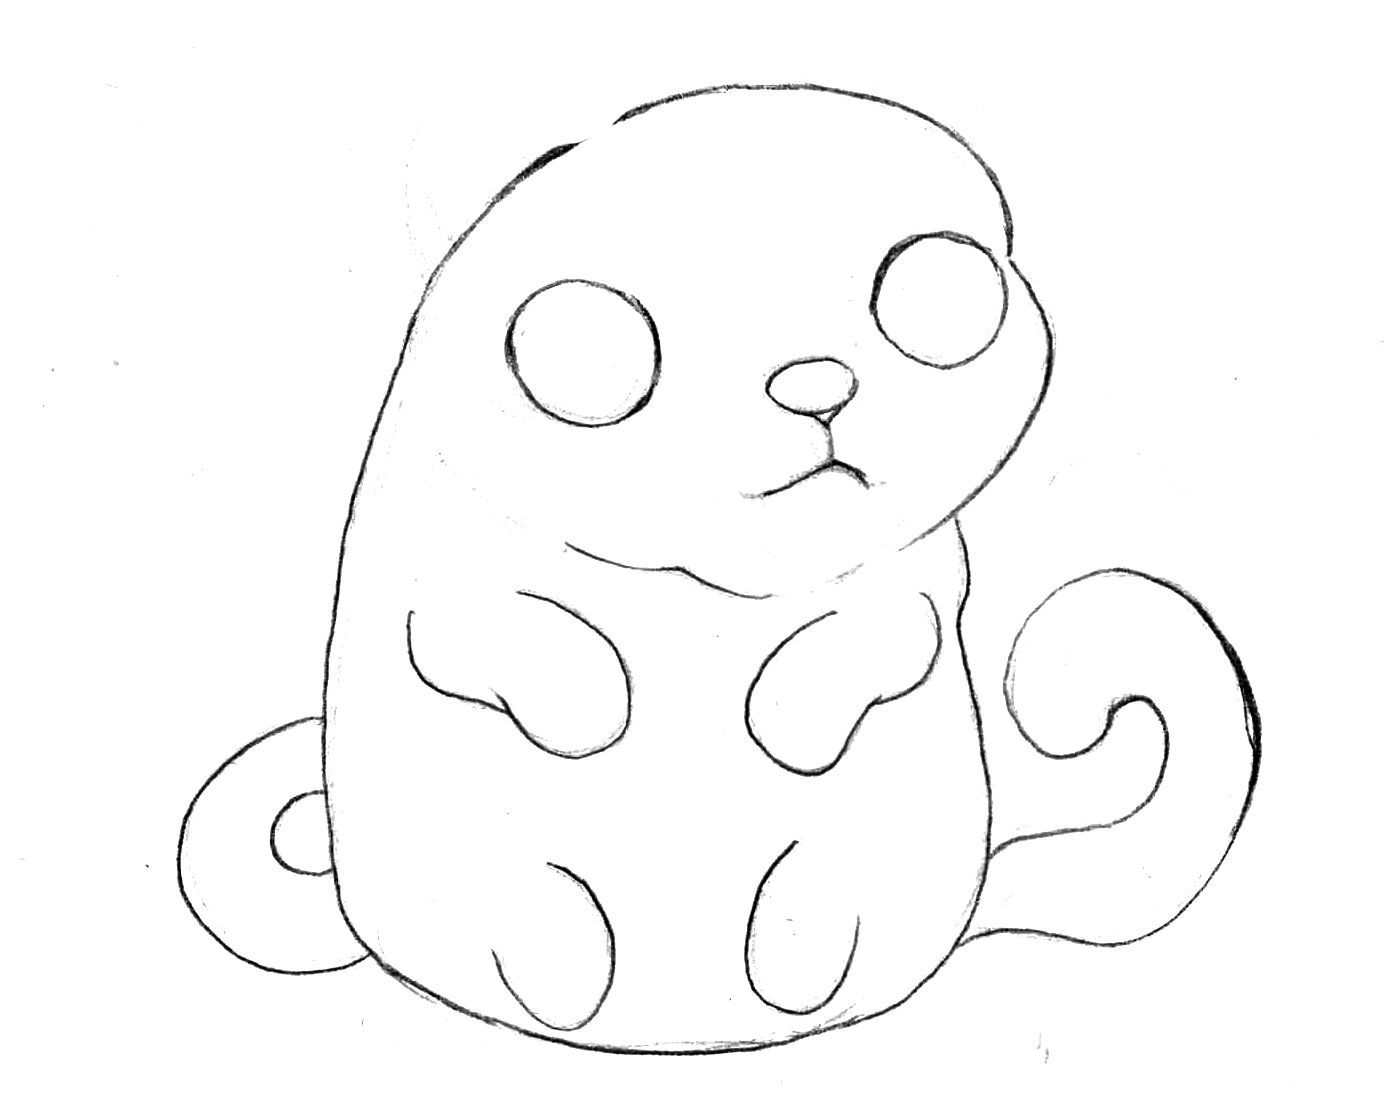
The next part is the body. And it’s like the shape of a squishy lava lamb. And when you have that you can add the arms and the legs, eyes and a mouth. Masterpiece completed.
6 Likes


 )
)