Drawing (with tutorials)

Now this topic is gonna be damn fun and interesting, because we will draw here all together. How is it gonna happen? There’ll be several fun options:

  1. I’m giving a sketch/unfinished work and you propose your ideas of what I should add to it. This way we gonna have a collective drawing, based on YOUR ideas. Besides, I will make some explanation remarks in which I’ll tell how some particular part was drawn, so you could do the same. Furthermore, those having a little experience in drawing, can copy my sketch and propose their own variant (you can show it here or not, if you’re shy. In any case, where’s no practice, there’s no progress). Also everyone can upload his own sketch here and every willing person can finish it.
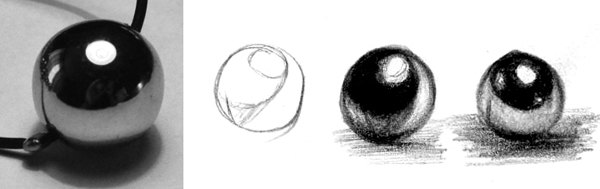
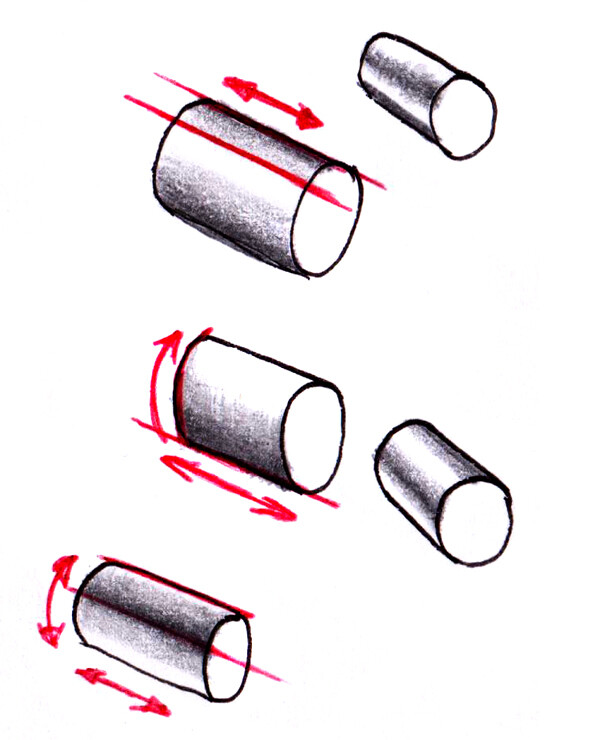
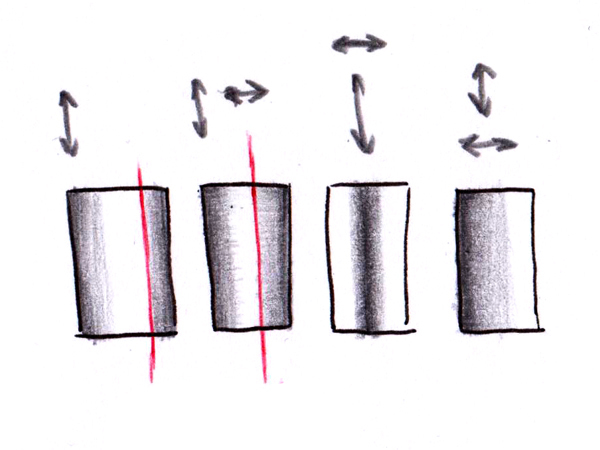
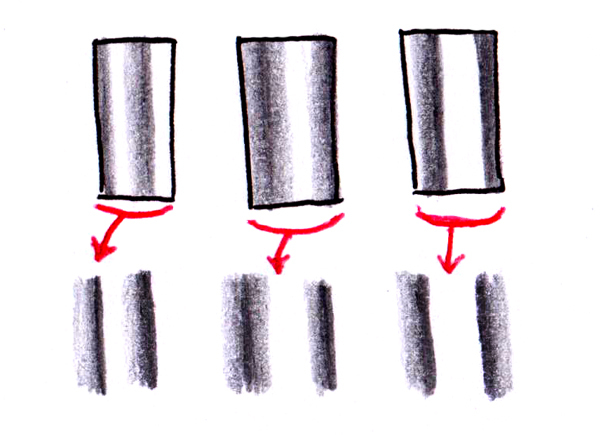
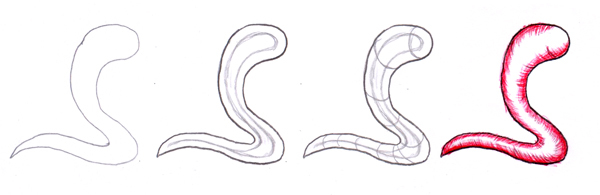
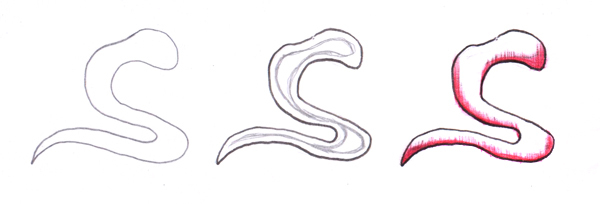
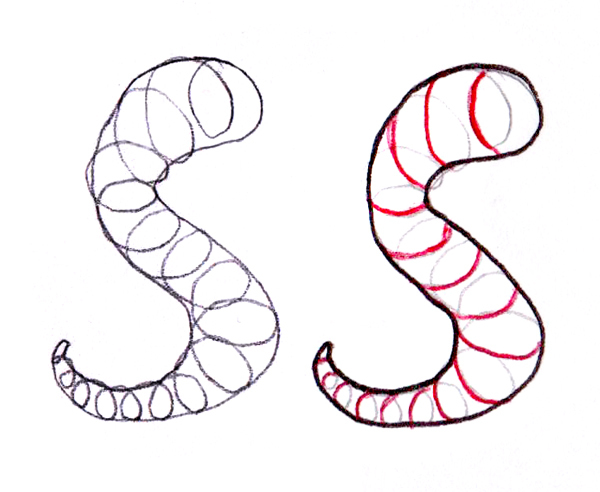
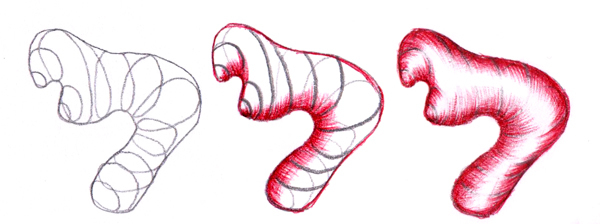
  2. Besides that, we will have different exercises for those, who do not know how to draw at all (yeap). For instance, we will learn how to di different hatching types, how to make smooth tone changings, the basics of the sketch and composition, drawing with different materials. Also I’ll tell about interesting and not always standard methods or techniques of drawing. Of course we will learn how to depict the things we got in our head and to draw by the photograph, what’s to many people’s liking. I write quite simply and understandably, providing illustrations. And again, you can show your own works to boast or ask for advise if there’s no success (or you don’t, no one will force you to do it). The practice is important though.
  3. There’s another nice idea - colorings. Sometimes I will upload line-arts, which can be
    -first: colored in every image redactor on your pc/tablet/smartphone.
  • second: print or copy and colored with live materials. It is also very useful for the skills upgrade.

So, 14’th February everyone can draw nice and cool greeting cards for their beloved, even if not having any experience in drawing.

5 Likes

Part 1
The first thing we need is the tools: pencil and paper. How to choose a pencil? Doesn’t matter which one, the main thing is - to see its markings.
http://5.firepic.org/5/images/2016-02/04/x5na678z80kx.jpg

We need to make a long gradient from white to black.
http://5.firepic.org/5/images/2016-02/04/6d2h2q1gsgs9.jpg

Why? Here is the drawing made by using only the hard pencil:
http://5.firepic.org/5/images/2016-02/04/rkaleygp2ilc.jpg
And it looks like a drawing made by using only a soft one:
http://5.firepic.org/5/images/2016-02/04/1zwxmvwinzwi.jpg
This is what happens when you use several pencils of different softness:
http://5.firepic.org/5/images/2016-02/04/y83mwld0h6hg.jpg
http://5.firepic.org/5/images/2016-02/04/g6sldhx4mgqi.jpg

The tone palette becomes longer and deeper. Pictures appear more volumetric.
I’m using several pencils with a near range of softness / hardness. For
example, 2H, H, HB, B, 2B. Or from 6H to 6B. Or even more … Why do it? To create a smooth transition of colors. It’s considered that ideally there should be 12 shades of gray in a drawing - from black to white. Over time, with experience, the need of usage some of the full list of pencils disappears.

Paper
The best option - office paper. It is the least hilly and quite smooth.
Office paper-
http://5.firepic.org/5/images/2016-02/04/gnyju2a2k1ks.jpg
http://5.firepic.org/5/images/2016-02/04/y10i6m4te0w6.jpg
Watercolor paper-
http://5.firepic.org/5/images/2016-02/04/okdowx8h4ei1.jpg
Video- paper

How can I make a smooth transition of tones? There are several options:

  1. Hatching in several layers without pressing down on the pencil (or
    pen). Every new layer in another direction. From the number of layers
    depends the tone depth.
    http://5.firepic.org/5/images/2016-02/04/zas5ranv8yjv.jpg
    2.By adjusting the pressure on the pencil (or pen).
    http://5.firepic.org/5/images/2016-02/04/qjflkuv6djdn.jpg
    Video- hatching

3.Using either Method 1 or Method 2 in combination with a blending tools.
What
kind of blending tools? Cotton sticks, paper blender, brush (most
regular), brush for the nail-art, white chalk pencil and silicon
painting brush.
http://5.firepic.org/5/images/2016-02/04/ja9iep41bior.jpg
http://5.firepic.org/5/images/2016-02/04/4ayj06jlbh0u.jpg
Video- blending

Let’s try such exercise:
Draw some circles and try to hatch them according to these schemes - with adjustable pressure and without pressure adjustment.
http://5.firepic.org/5/images/2016-02/04/179ujp65ywh5.jpg
http://5.firepic.org/5/images/2016-02/04/fao2snoa92b8.jpg
http://5.firepic.org/5/images/2016-02/04/c2otize0wdt7.jpg
http://5.firepic.org/5/images/2016-02/04/so1hb9bh0q9r.jpg
http://5.firepic.org/5/images/2016-02/04/4ms3et1gkezt.jpg
Video- schemes

So you teach your hand to hatch, literally. These movements will remain in your memory, and your hand can automatically repeat, what is required. The more often you practice such a task, the better your hand remembers those movements. This is called mechanical memory.
For example:
http://5.firepic.org/5/images/2016-02/04/2z8knq4pbmk2.jpg
I drew this art using the information from this lesson:
http://5.firepic.org/5/images/2016-02/04/o3tfxv4pk1zy.jpg
http://5.firepic.org/5/images/2016-02/04/p1d6l1a9hfbh.jpg
Try it!
http://5.firepic.org/5/images/2016-02/04/rana0hqlv932.jpg
Fullsize- here

2 Likes

Just off the opening post alone, this is the best thread I have seen on this board to date.

2 Likes

I immediatelly will make a VERY LOUD CALL OUT; WOW, thank you so much, you must be a very, very, very nice person…LOL

that´s my style right now, but I´ll GROW!!!
set blogpost out right now! You gave me energy to do so, so thank you, artist @Coon

edit @coon, blogpost setted…lol, that´s the way I like it …:heartbeat:

1 Like

Nice, I like to draw too. Really refreshing this thread of yours, hope to see more :slight_smile:

1 Like

Thanks :smile:

I am very very responsible person :laughing:

This is the magic of left-handed people))) I’m left-handed, like Chester. I’m really glad that my lessons would be useful.

I wrote 5 articles, now doing illustration. There will be many of interesting things. Articles will be many and a different theme. From “how to draw a pyramid” to “create a design of dragon” and “human anatomy”.
And where can I see your drawings?

So tomorrow is grocry shopping I will buy the stuff, pencils and everything else looking nice in the creativity shop, the cool on your leesens @coon is, that I can take it if I got time, and tomorow I have time, sooo, first lesson for me and looking fwd to the next, I´ll show my first trys sure here guys, get ready to

Lol I believe - you will have good drawings :smiley:

Part 2
Now we consider the definition of the volume. What is it, why do we see the volume? The volume consists of light, shade and all in between (halftone - halflight, halfshadow).
Let’s draw a circle. Inside it we will draw a few circles of different sizes. The largest one, after the main, we shade the darkest color. We need to make a smooth transition to the smallest circle, because this one is the highlight on our ball, that means, the most lighted area.
http://2.firepic.org/2/images/2016-02/06/hdr2ql2p4lfw.jpg
We can do it as in the previous exercise, or we can use the circle lines, as the guide-lines that show the edge of the next tone. The more circles, the more tones, hence the more volume in an image. Eventually, your drawing should succeed to a ball.

I’ll tell you a secret - I love balls very much. Of a different kind: glass, metal, plastic, rubber, because each material will have a different highlight and its own light and shadow relations. Different materials have varying degrees of reflectivity. The matte surface does not have such a highlight, as a ball of glass. I make sketches of balls - I indicate the location of the highlight, which depends on the distance from the ball, and the highlights intensity and balls location in space, mark the border of light and shadow.
This can be done from photographs from the internet and just looking around the room. For example: light bulb partly consists of a ball; the glass of the photo lens is also round; it can be a vase or plastic eye of a plush toy etc. Sketches of the different materials are very useful and can be required in further work.


http://2.firepic.org/2/images/2016-02/06/vmfcawrq7em2.jpg
Fullsize- here

1 Like

Wow I’ m on grocery Shopping Even the material Part two Looks awesome ca later @coon

1 Like

The next part will be even more interesting :relaxed:

1 Like

Part 3
Let’s draw a cylinder - it is a parallelepiped with a circle in cross-section. Divide it in your mind in half lengthwise - it will be a border of shading, which you can not cross.
And now, hatch the cylinder with lines, parallel to the circle, do not forget about the border. The border has an interesting feature - it can be moved. We can make it longer or wider, shift to any edge or to the center. Experimenting with kinds of hatching, you can achieve interesting results. For example, if you do not use the cross hatching (not hatch parallel to the circle). In such way, many comic artists copy the surface of the metal. By the way, there are many different books on the study of comics-style, and they describe methods of hatching to simulate different textures.


Now, let’s draw a little more complex picture. Draw a snake. Primitive, like a worm. Mark the border of the hatching inside of it with a pencil. It will turn into a snake in a snake, which repeats its outline. Inscribe in its head a circle as we did in the cylinder. Draw a few circles on the entire length of the body. These will be our reference points to define the direction of hatching. And we begin to hatch our snake from the outer line TO the border of hatching, paying attention to the guiding line. This exercise is the most important part of the drawing. When you learn how to hatch according to the guide lines, you can create a volume in your drawings.

Try to draw another snake, but this time without guiding lines. I mean, we need a line art, in which we mark the hatching border and hatch in one direction only, as we did in the previous lesson, with the basic schemes of hatching. As you can see, this snake doesn’t have such a volume, as that one drawn with the guide lines.

Small life-hack: use the spring. Inside each form you can put a spring, which will guide the direction of hatching and helps not to get lost in the volume depicting.


1 Like

WOW even interessting and motivating again, and I ever thought, they can draw cause they´ve the talent, but it´s even technique also…lol thankx again, you are a very nice tutor, :relaxed:

1 Like

My Birthday


Pic for my daughters Birthday Tom

2 Likes

Your daughter’s birthday is Phoenix’s birthday (Feb 8)? My birthday is Mike’s birthday (Feb 11).

1 Like

How funny is thaat? [twice I met Mike, he speaks always a long “a” in words like thaat…so we mmake an interims birthdaaypaarty, and Phoenix, born out of the ashes, really nice :heartbeat:

2 Likes

And I on my birthday to draw pictures. I thought that I would paint all day, but I have drawn it within 2 hours :joy:

1 Like

Wait so when is your bday @Coon?