
I did a mindstroms project at the end of the first term of my first year. In short, my intentions are to replace the receiver with an arduino, because the receiver just sends PWM signals to the servo and ESC, if I get the arduino to send out those PWM signals based on what the sensors are picking up, I can make it autonomous (in theory).
Mobile delivery meaning like what amazon is toying with using drones? Might be nice to research to see what they’ve done if you haven’t already
That would be just to get your location right? Or does it already give you a way to control your device(banshee)? I haven’t played at all with arduino, literally all I’ve used is vex, mindstorms, and another setup that I was able to use at university while I was doing that project but I don’t even remember what it was-it was already being used by university
Essentially, except it’s a land vehicle that can navigate a pre-determined map and do live recalculations for any changes such as blockages.
Altering the pulse width alters the throttle and steering input. So if the snesors pick something up, they send the info the the arduino and then the arduino adjusts accordingly. This is only a protoype idea just to get it to do basic movements.
1 Like
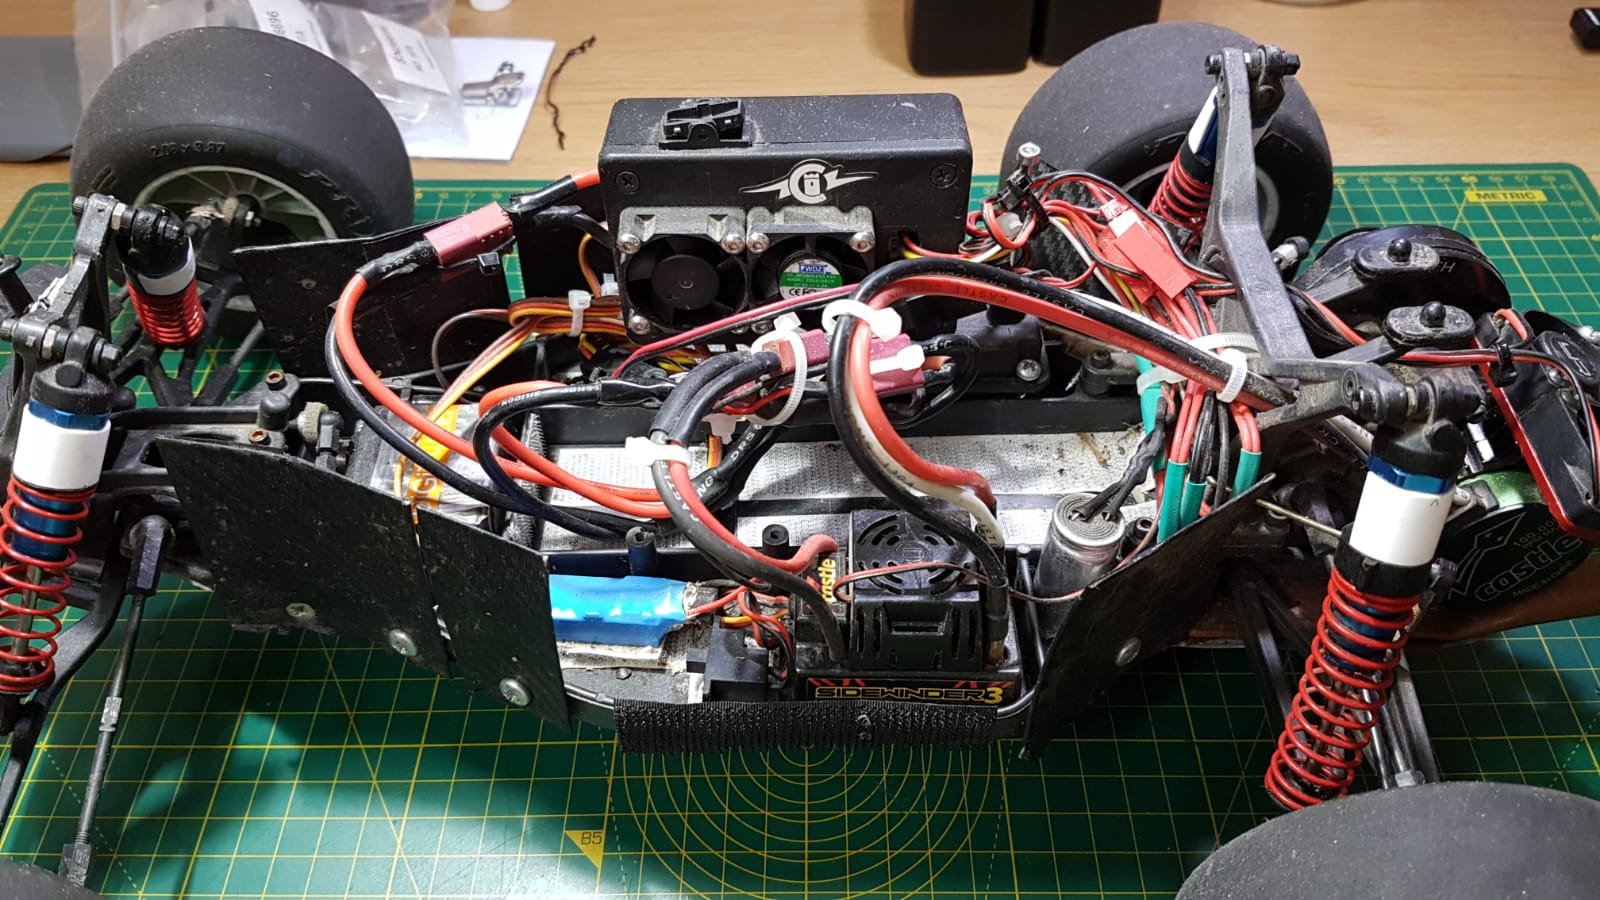
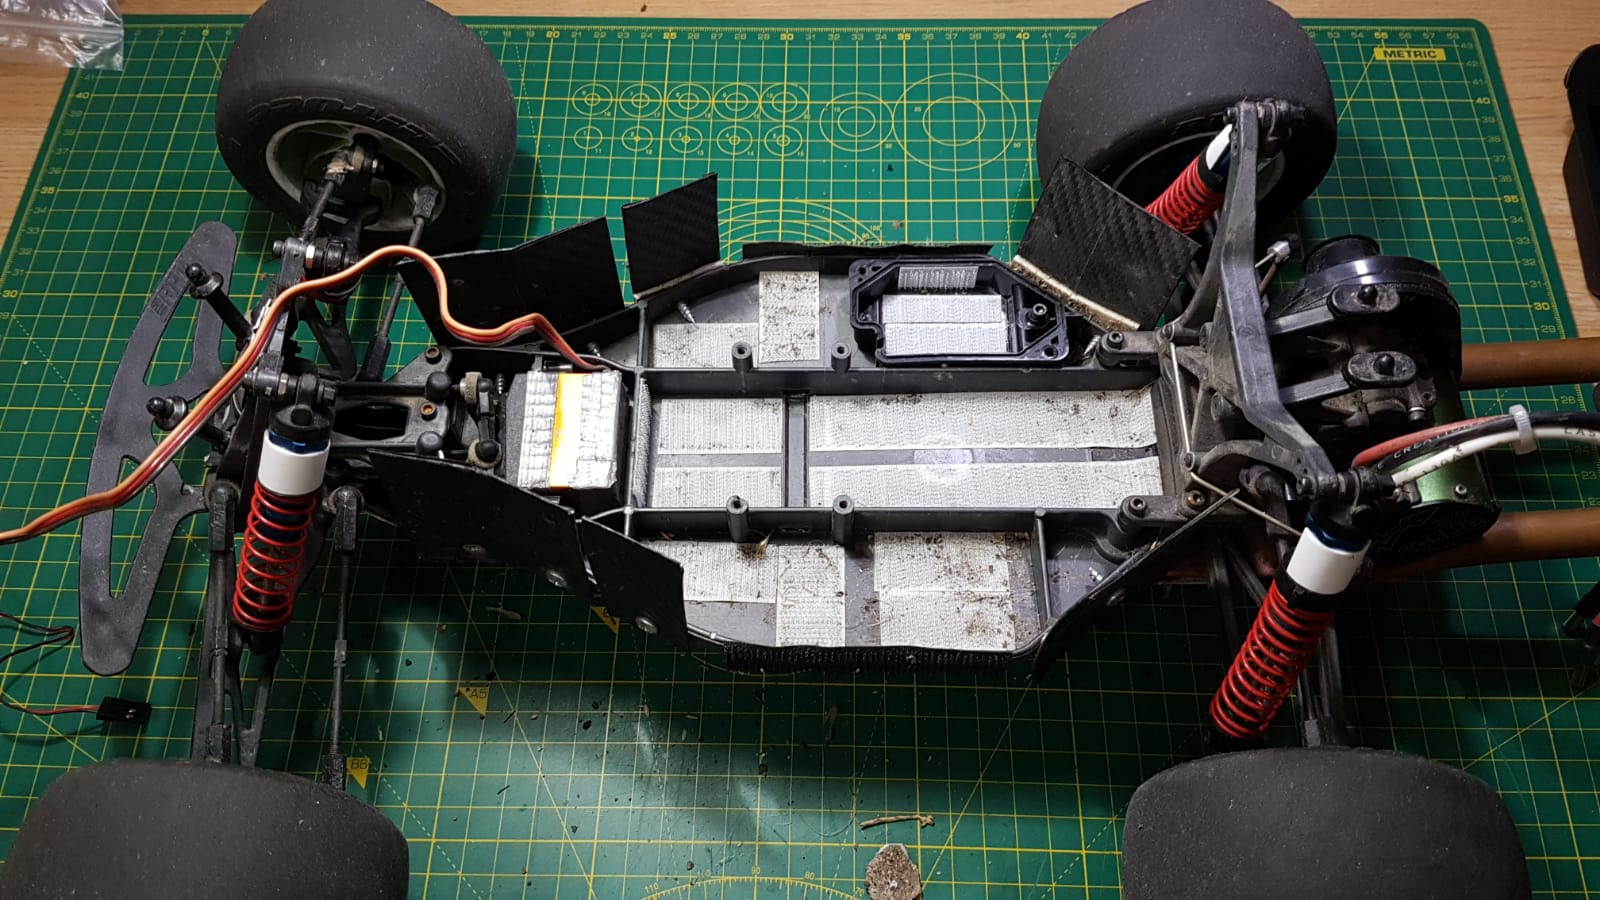
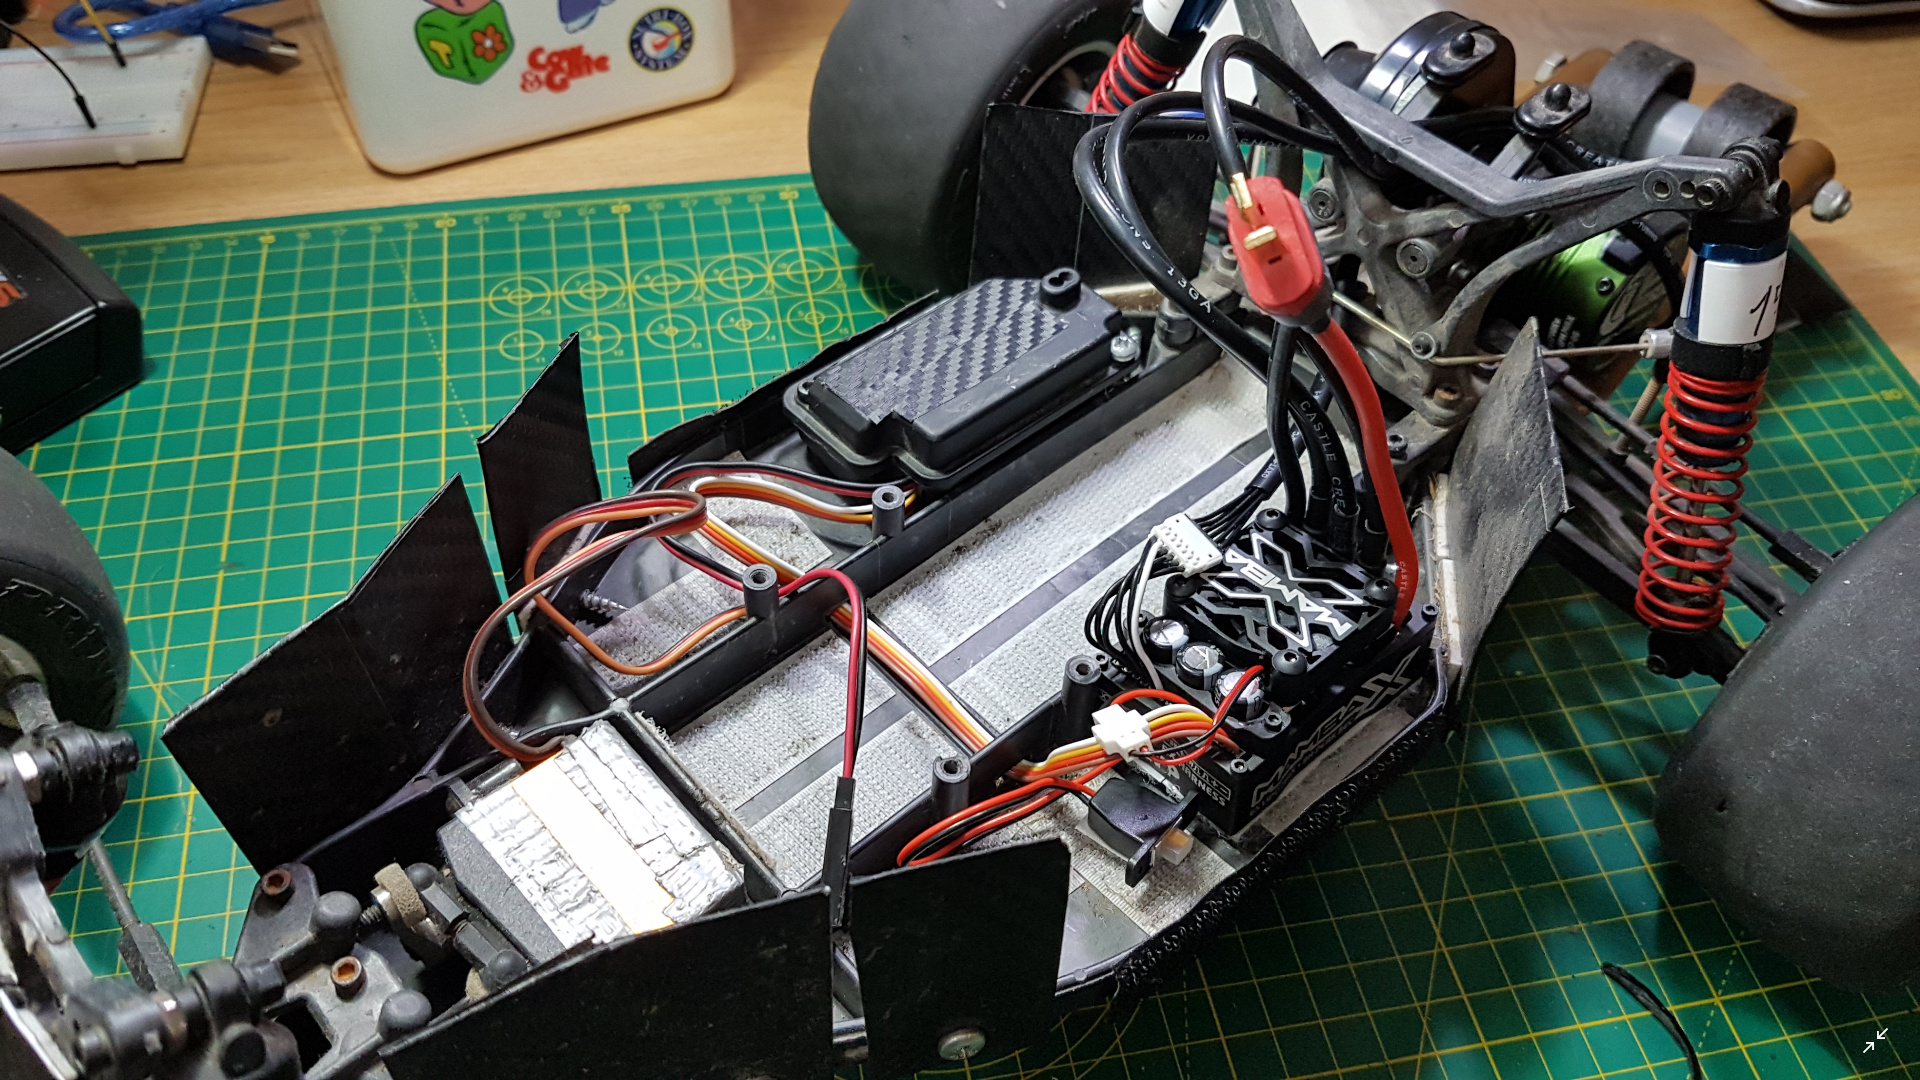
Spent the evening stripping Banshee’s electronics again. It’s really annoying considering how much effort I put into routing and poistioning the wires. I’ve taken out everything apart from the servo, ESC, motor and battery and I’ll probably be running the battered test shell too. I’ll be adding a microcontroller and various sensors as my dissertation progresses, though I probably won’t be posting many updates on it. The only other thing I did was to add 4mm extra pre-load on the rear suspension bringing it to 21mm. This might be the last you’ll hear about Banshee until around May next year.
Before:
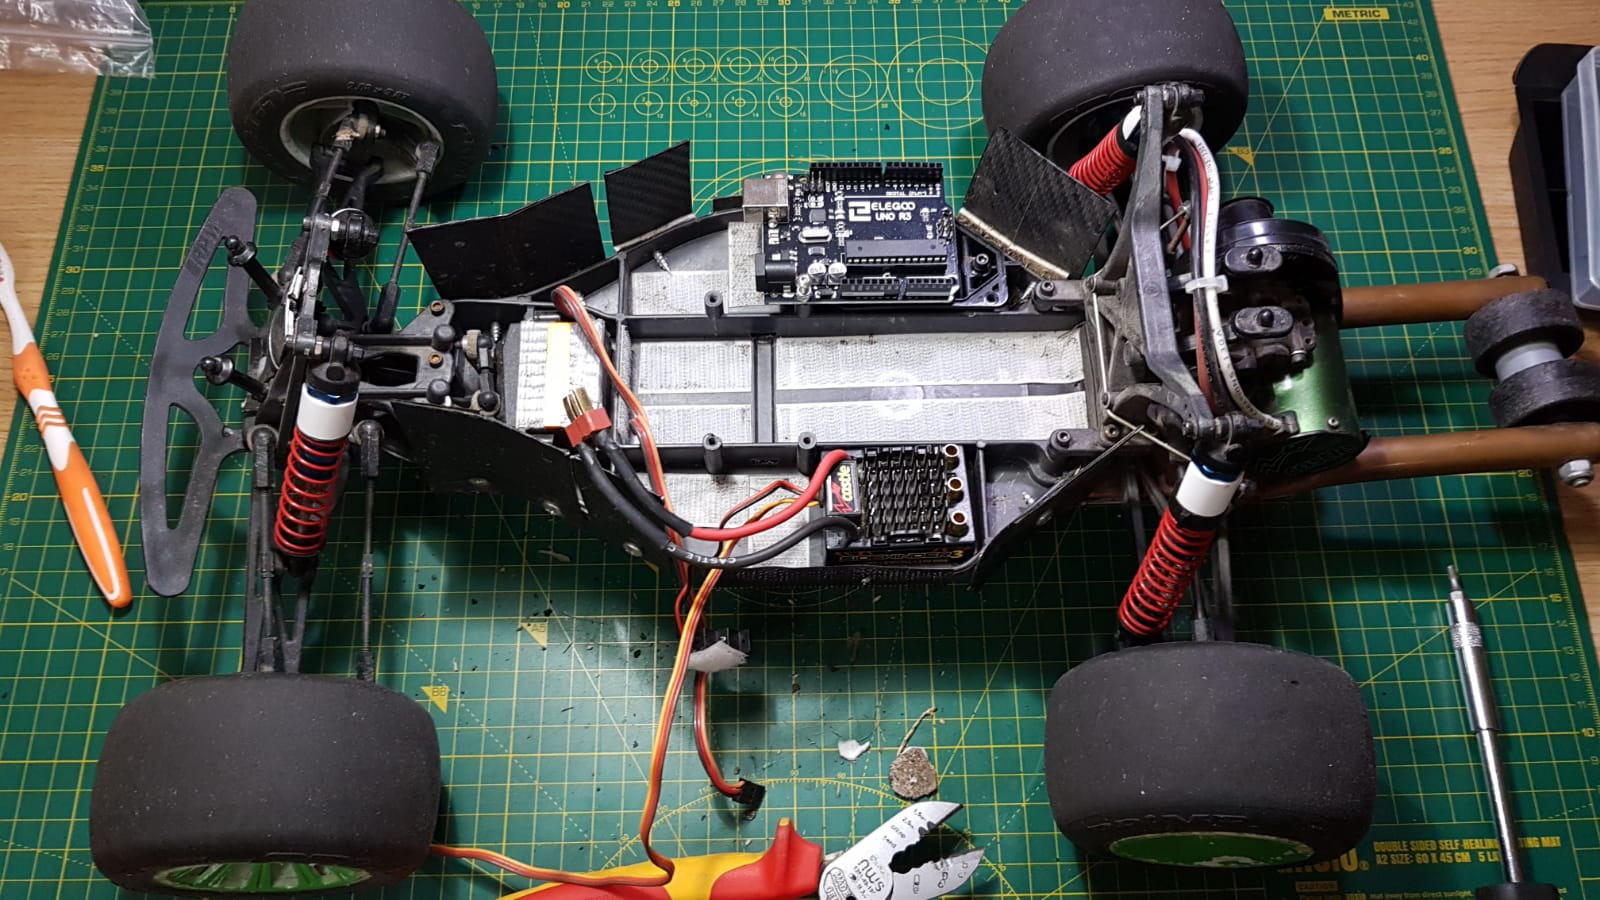
After:
Microcontroller added (it’s a cheap Arduino rip-off):
6 Likes
Poor Banshee… all that work on it and it’s all gone… 
Temporarily, I dread the day I need to redo the wires.
1 Like
RIP Banshee… for now 
Banshee’s not dead, it’ll just have a slightly different purpose over the next few months.
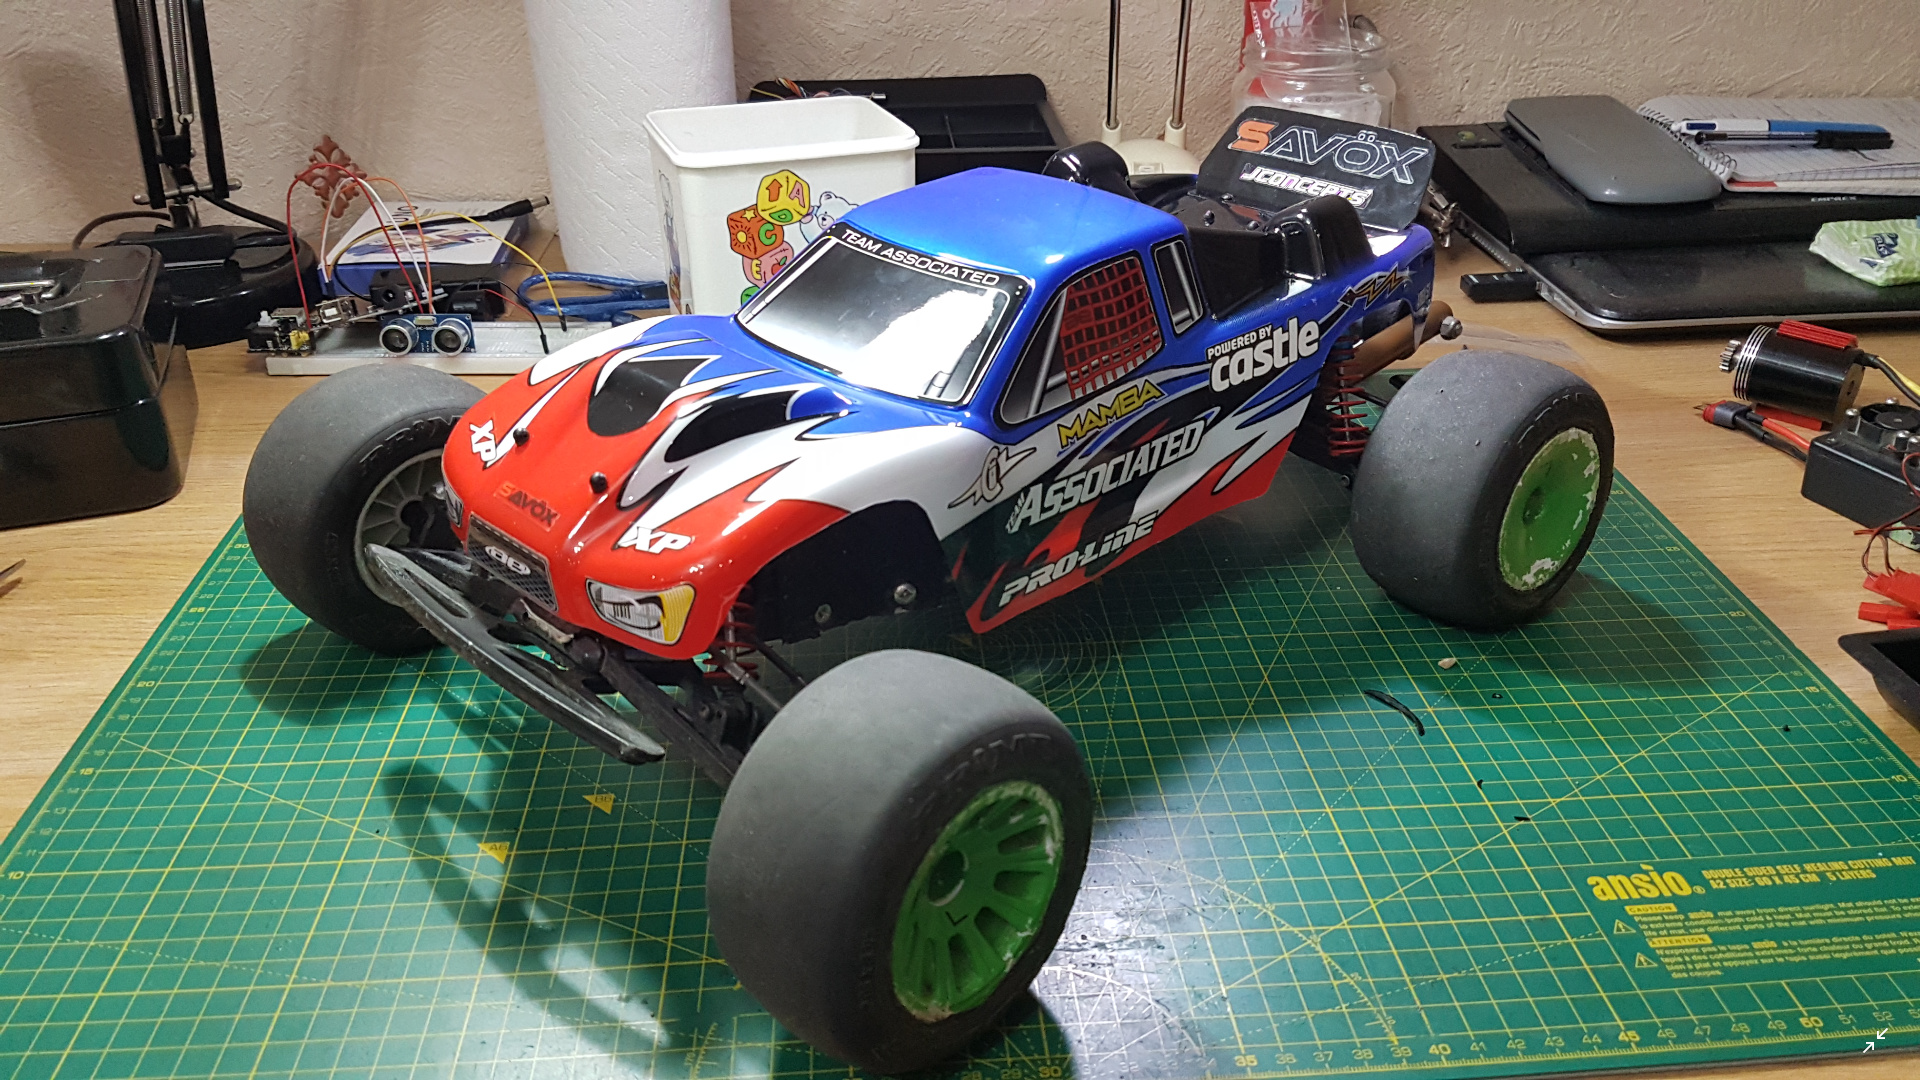
In other news, I got a new toy…sort of. I’m leading an autonomous car project for the society I’m in in uni and we got a cheap RC truck as a chassis. I took it home to check it and run it over the weekend to make sure everything is in order.
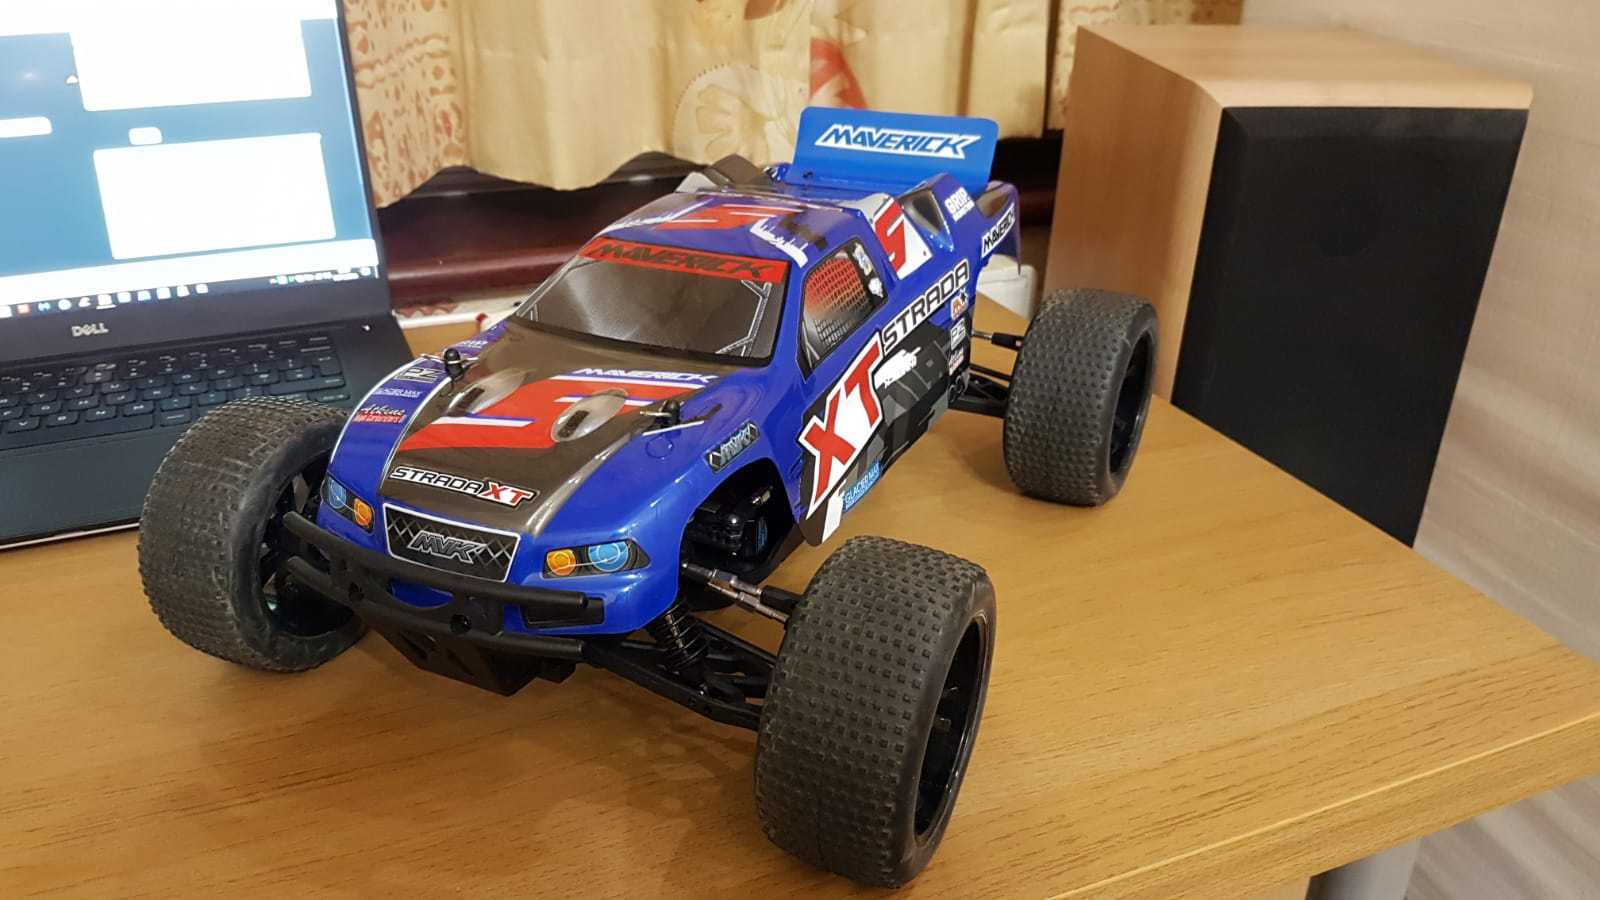
I’d just like to say, right off the bat, that Banshee is awesome. I know it’s a good truck (one of the top back in it’s time and can still hold its own against its modern equivalents), but I never knew how good until I got to actually see a cheap truck in person. There’s a reason the base version costs £250 as opposed to £130 for the Maverick (that’s not a project name, it’s the brand).
I only fiddled with the Maverick for maybe 15 mins and I ran into a ton of problems and issues that I need to fix. For one, the ENTIRE suspension setup is completely wrong. From the positive camber to the fact that the shocks bottom out before the chassis does (that’s bad because the shocks take a battering). Then there’s the way the wires were routed through the chassis, but worst of all was one of the screws. It was so tightly screwed in that I had to lean my entire body on the screwdriver with my shoulder while very slowly undoing the screw a couple of degrees at a time.
Compared to Banshee, the Maverick is a cheaply built, crude, clumsy, hulking mass. This isn’t a personal project, but I figured I’d do a quick comparison between a cheap and expensive RC truck. I’ll also do a very brief PRR on the Maverick during the weekend. The only thing the Maverick has over Banshee is 4WD compared to RWD.
Here are some rough comparison pics. The Maverick’s crudity doesn’t fully come through.
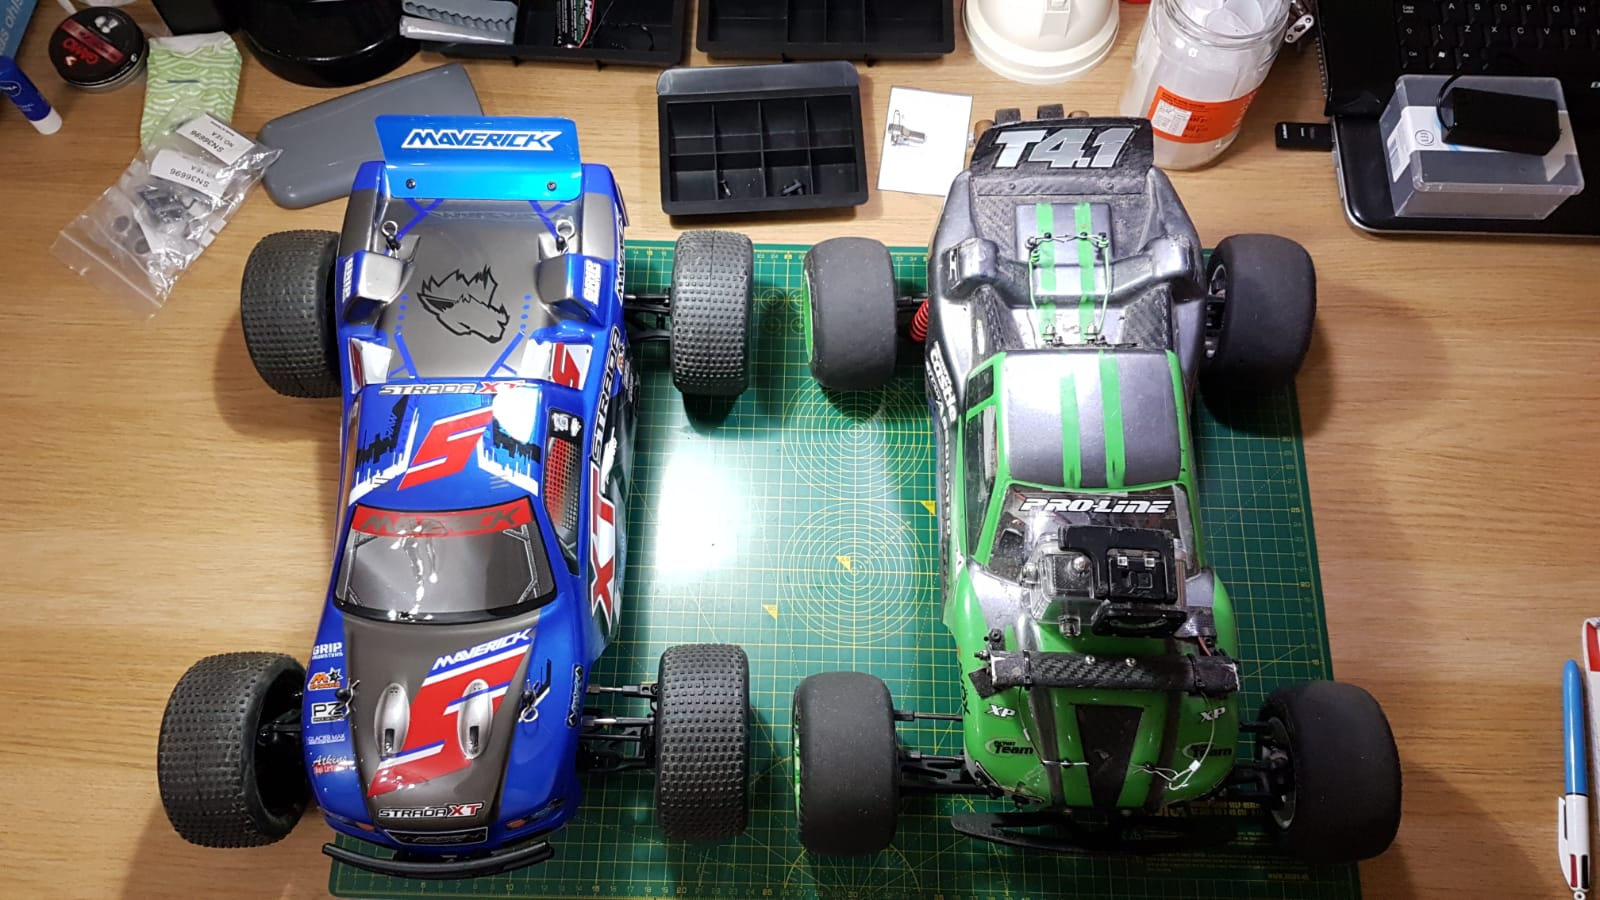
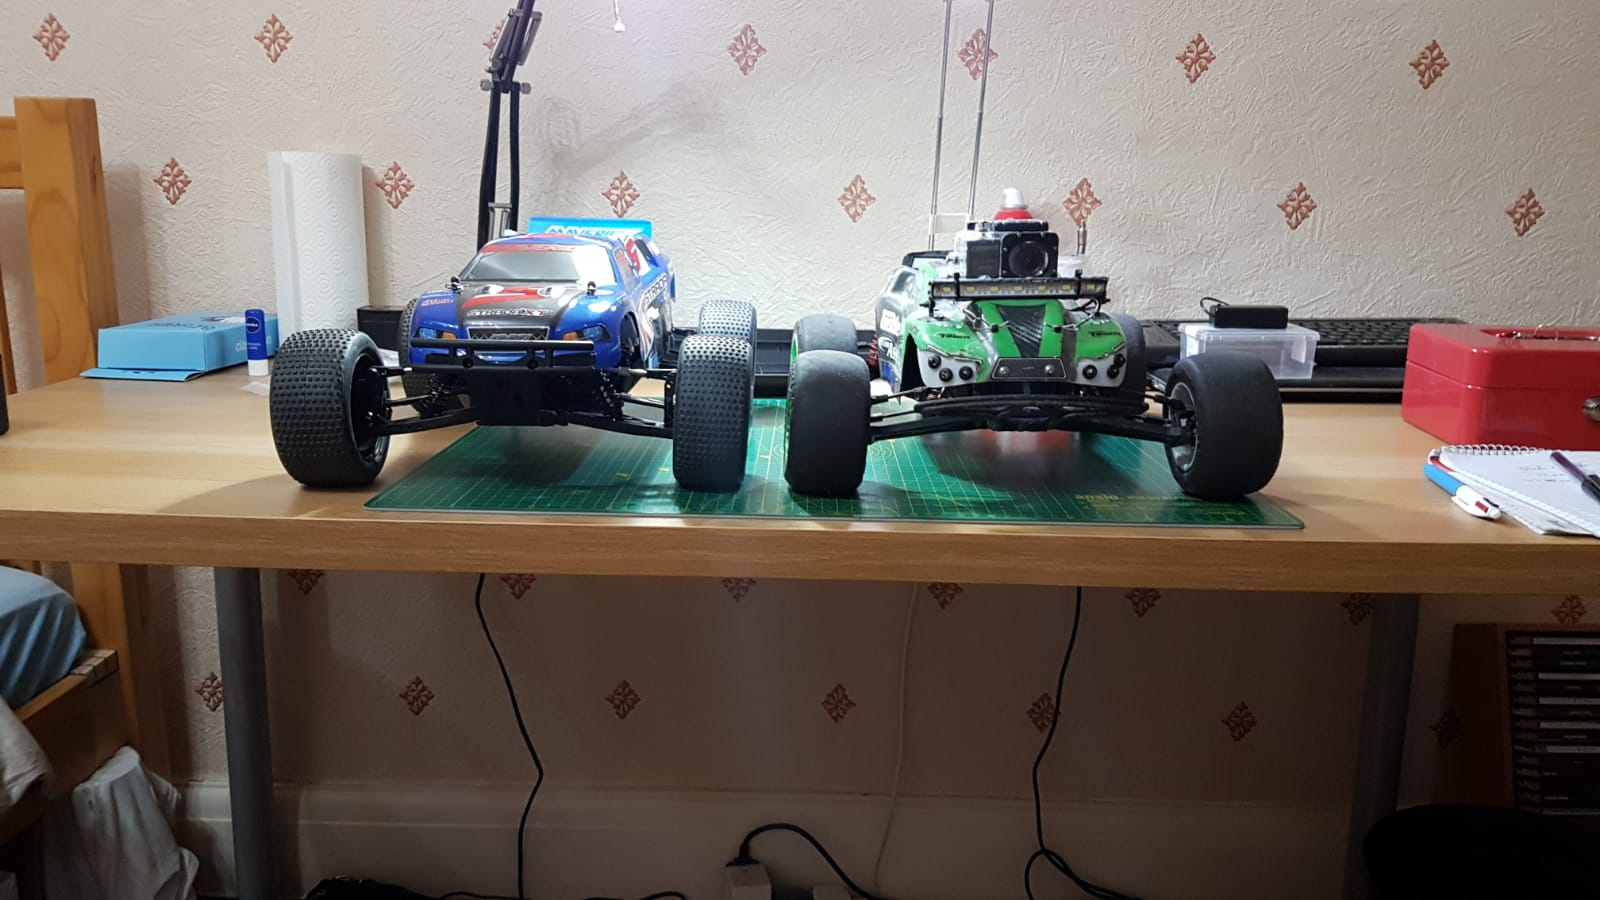
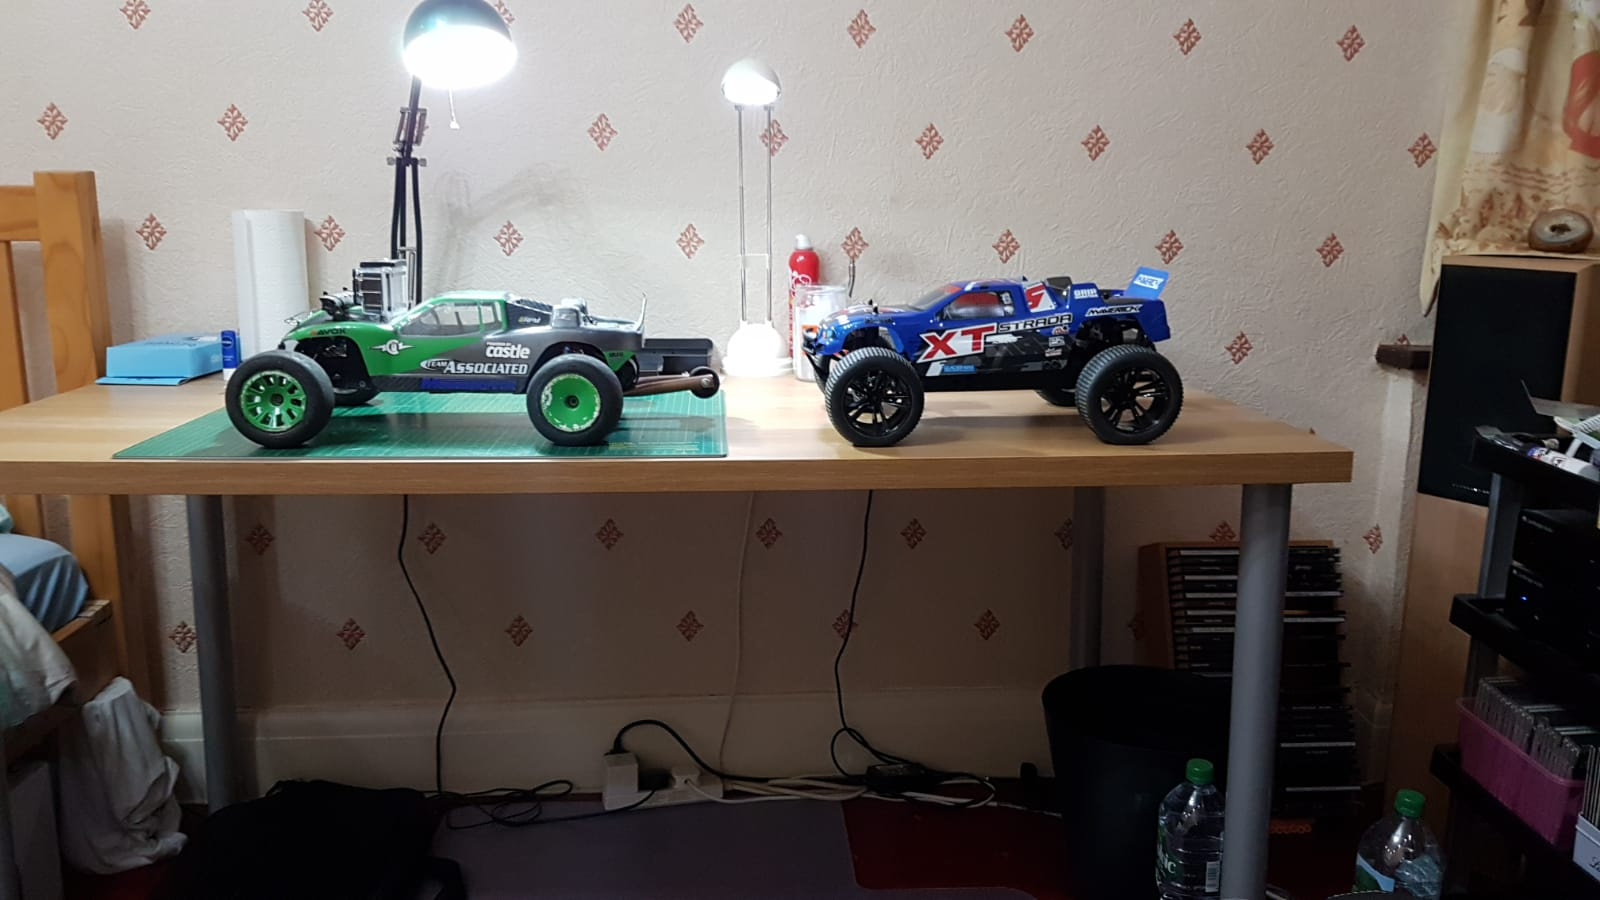
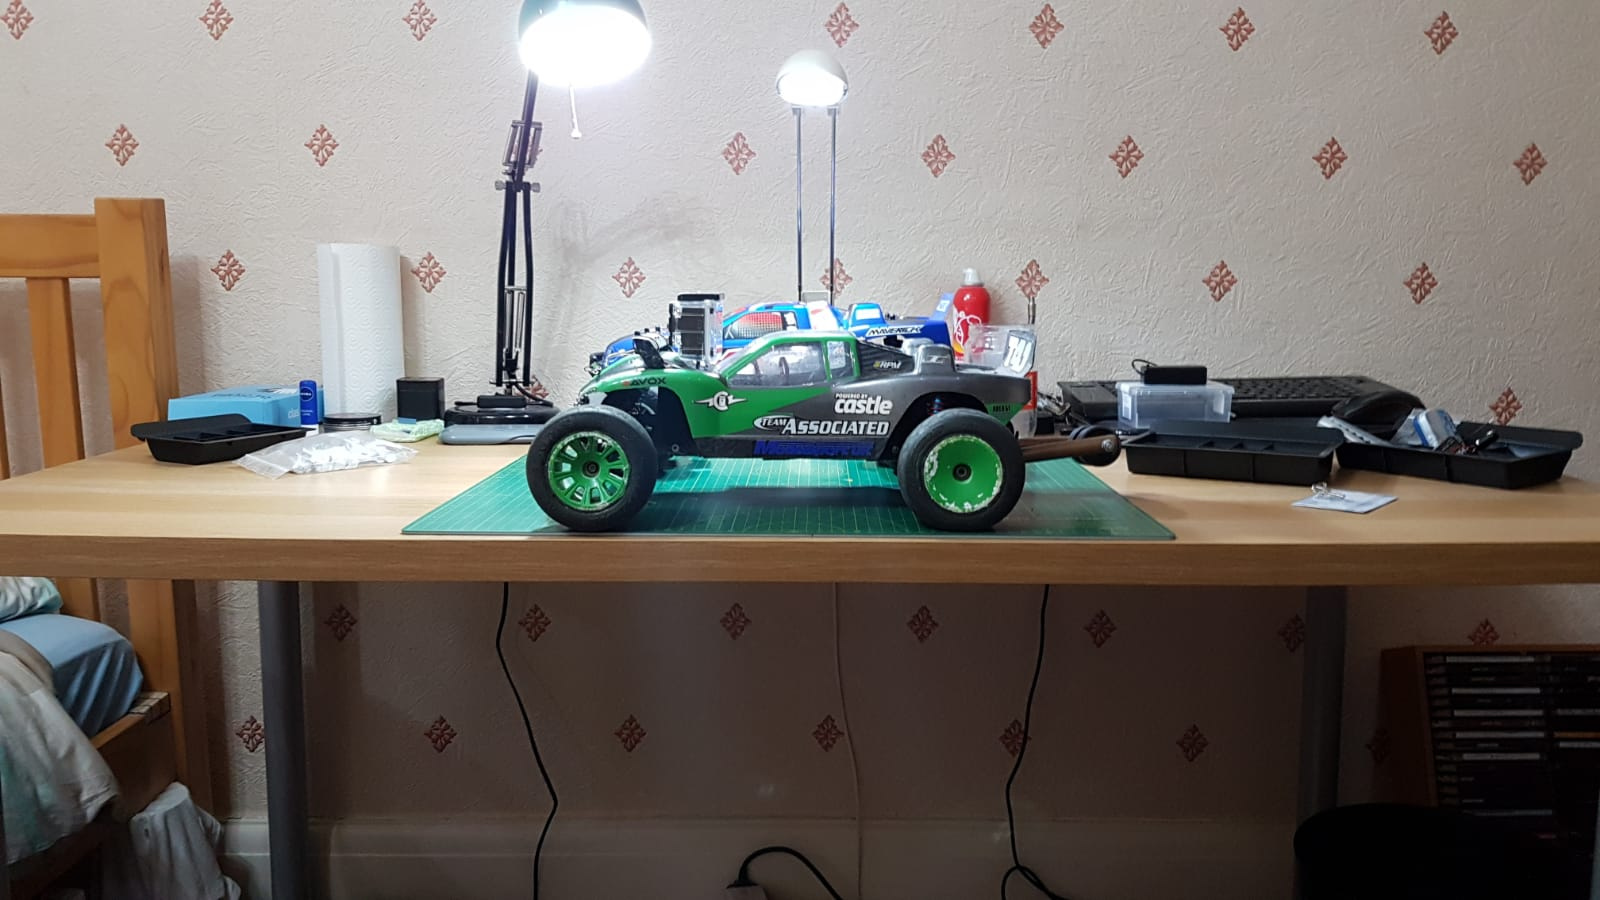
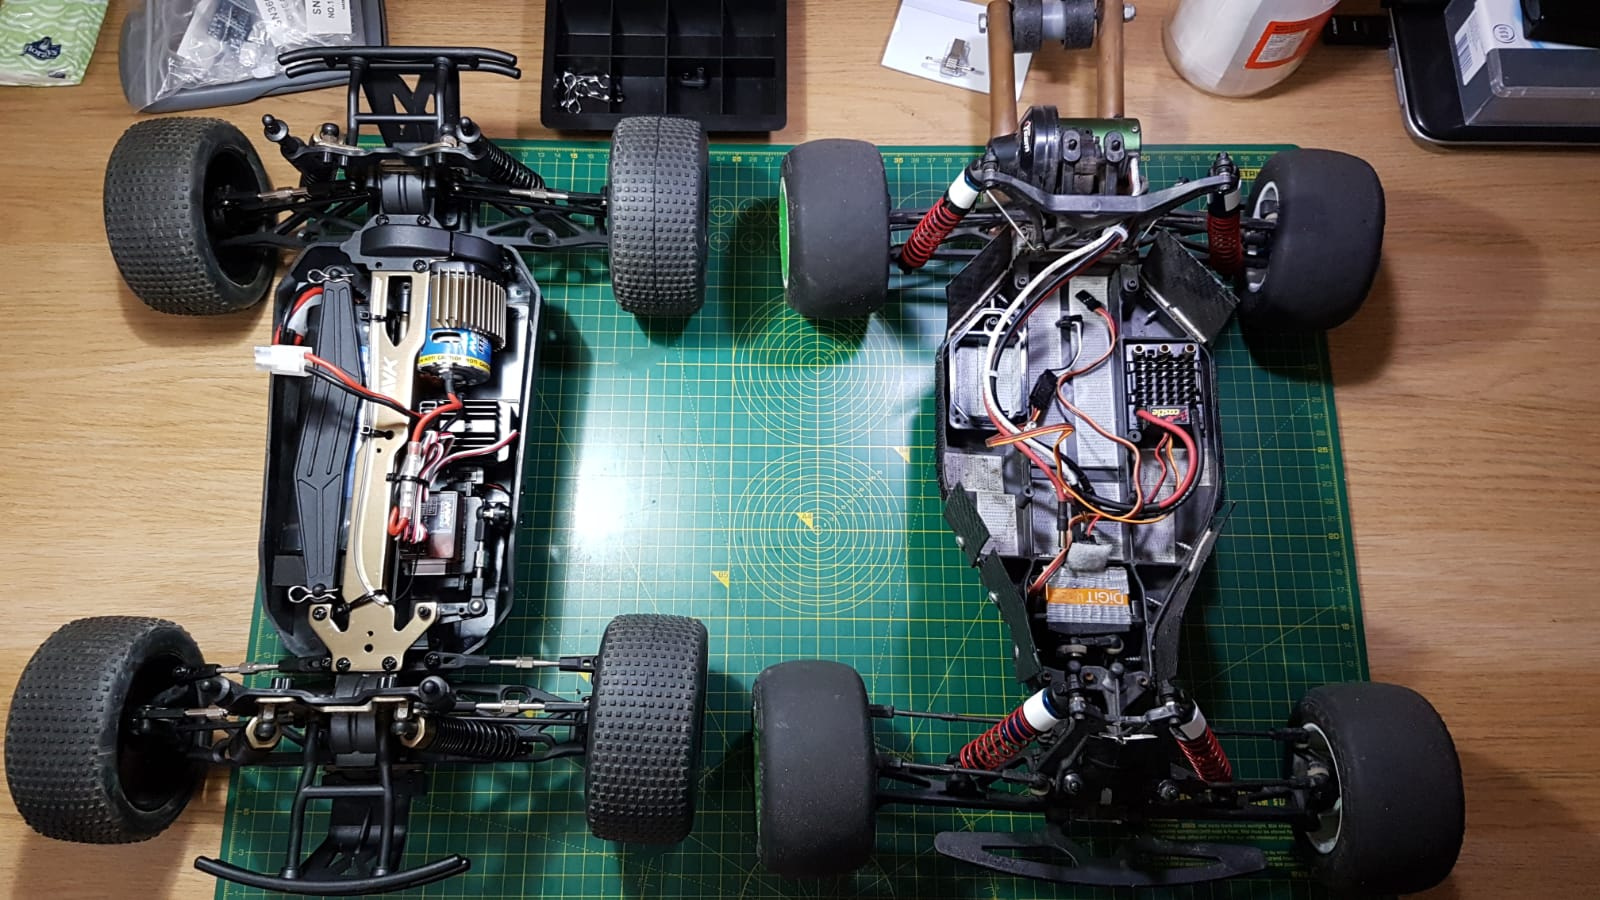
4 Likes
Banshee is better!! It’s pretty clear that Maverick is cheap!  Also Banshee has its own style and it’s fun to drive…
1 Like
Completely forgot about this. Took the Mav for a run yesterday, it was as you’d expect. It topped out at about 18MPH, I expect it to go up to about 20 as the motor and batteries get broken in. I discovered some things since the last post I made. Not only was the suspension set up by tools, but the whole truck seems to have been designed by an estate agent or a farmer, clearly it was somebody who had no clue what they were doing.
No matter how I tuned the suspension, I could not get the chassis to bottom out* before other components. I managed to do it on the front, but the side effect was a stupidly low front ride height. As it turns out, it wasn’t the shocks bottoming out before the chassis, it was the dogbones (the drive shafts going from the diffs to the wheel stub-axles) bottoming out in the stub axles. That’s not good at all, it puts extra strain on various components and causes early failure, it is a very bad design.
As well as having badly flawed suspension, the truck has the turning circle of a small moon, that’s again, because of the front stub axles and the amount of articulation they allow the front wheels around the end of the dogbone since the truck is 4WD. I cured that problem easily by ditching the front dogbones and making it RWD only. The downside to that is that braking is diminished (as you only have rear wheel braking) and that it now understeers like a pig when going around medium corners at full throttle, that’s down to the cheap and rubbish stock tyres. Again, the 4WD compensated for it before. Despite the understeer, it’s far more agile than when it’s 4WD.
However, all of that is irrelevant, because it’s not going to be used as an RC truck, it will be turned into an autonomous vehicle, and considering that I’m leading a team of inexperieced students of varying backgrounds, slow and crappy is essentially ideal for it. As an RC truck, this is an ‘AVOID AT ALL COSTS’ type of truck.
*Bottoming out is when the suspension is compressed to the point where the truck or chassis cannot go any lower. Such as when you land a big jump, the truck bottoms out and the chassis hits the ground. When an RC car bottoms out, you want the chassis to bottom out before anything else because it best dissipates the impact force.
2 Likes
I have something kind of crazy possibly planned for Banshee, no idea if I actually want to act on it though. I’m thinking of perhaps buying a more hardcore ESC and motor combo for Xmas, the motor will be the same 5700KV rating, but it’ll be sensored and the ESC will be 6S capable. What that means is that I can try to push my luck with the motor (which is 3S max) and go 4S. My logic being that the motor’s RPM limit is 100K RPM, and at 4S it’s below that limit.
However, I do not know what the current draw and temps will be like. The sensored motor and the ESC have a telemetry capability (so it can give you info on current draw, temps and various other things), but I want to try 4S with the hardcore ESC and my current sensorless motor which has no telemetry. I don’t want to use the sensored one with 4S to begin with in case it goes wrong and I fry the better motor. Obviously I don’t want to fry any motors, but if I’m to test it, I’d rather kill the older one.
If I decide to go through with it, Banshee’s theoretical top speed will go from an insane 70 MPH to a positively idiotic 93 MPH!
5 Likes
Update:
I caved and bought the combo, I just need to find a battery now. I won’t be going for anything especially big as I’m really pushing the electronics, the bigger the battery, the longer it lasts which means more strain on the motor. You won’t be hearing about it any time soon though since I’m getting it for Xmas and even then (depending on how far along my dissertation has come) I might not run it for a couple of months. Rest assured though, there’s 80% chance that the next update (or first run update) will be a tale of disaster as either the magic smoke escapes my old motor or my tyres explode or the clutch plates, pads and spur gear melt into each other and become one component or something equally spectacular happens.
2 Likes
The combo came in earlier today, the battery came the other week. I’ll try and go for a run as soon as I can, I’m quite busy these days. First impressions of the ESC and motor are good, the motor is almost like my old one, bar the new sensor capabilities. The ESC on the other hand is a massive improvement over the old one. The Mamba is solid since it’s made of aluminium with a quality feel to it and the telemetry and programability being more extensive than I first thought. With that said, my old Sidewinder 3 was also a very good ESC, but the Mamba X is on another level.
Getting the Mamba also means that I can ditch a lot of the wires in the truck, mainly because I don’t need an external BEC or capacitor and because the fan plugs into the ESC and not the receiver. And because of the way the wires are mounted on the new motor, I might have to ditch the cooling system too, or replace it with just a heatsink.
1 Like
I finally had time to work on Banshee this weekend, so here’s an update. Strap in, this is a long one (don’t worry, there’s pictures too).
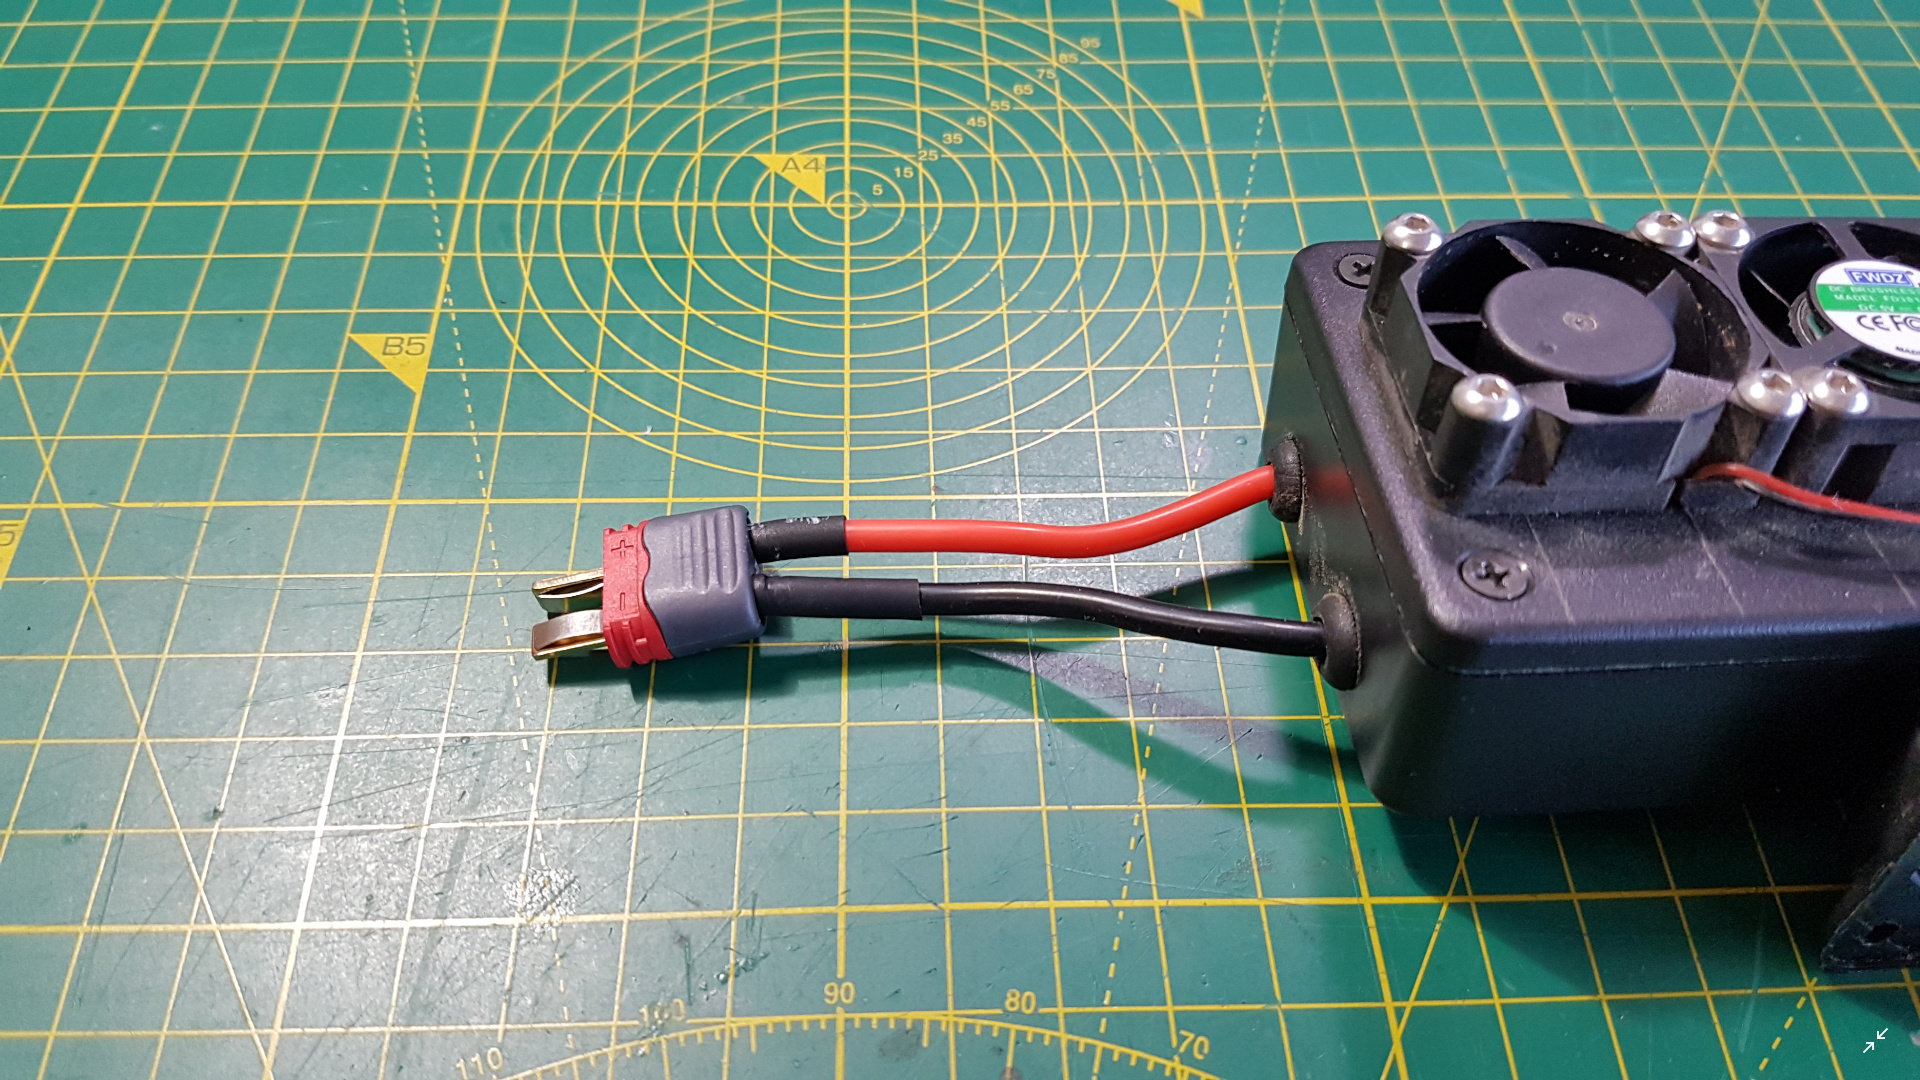
I spent Saturday soldering on new connectors to the ESC, battery and cooling system as well as making a parallel Y lead with the new connectors too (which turned out to not be needed due to the cooling system elimination). Deans connectors are the bane of my existence, I can never get a good solder joint on them, they’re a complete pain to solder, especially with lower gauge wire. Soldering the battery was one of the scariest things I’ve ever done. I accidentally shorted it twice, luckily all was fine, but I’m never trying to solder 10 AWG to deans plugs ever again.
The new deans plugs that I got are quite nice, better than your usual ones. These have larger plug insulation with grips, so it’s easier to grab them, the contacts have a very smooth action and they come with wire caps / covers that clip onto the ends. It said that they can take upto 10 AWG, and indeed they can, however, unless your solder joint is perfect, the end caps will not clip on. Other new things are obviously the ESC, motor and battery.
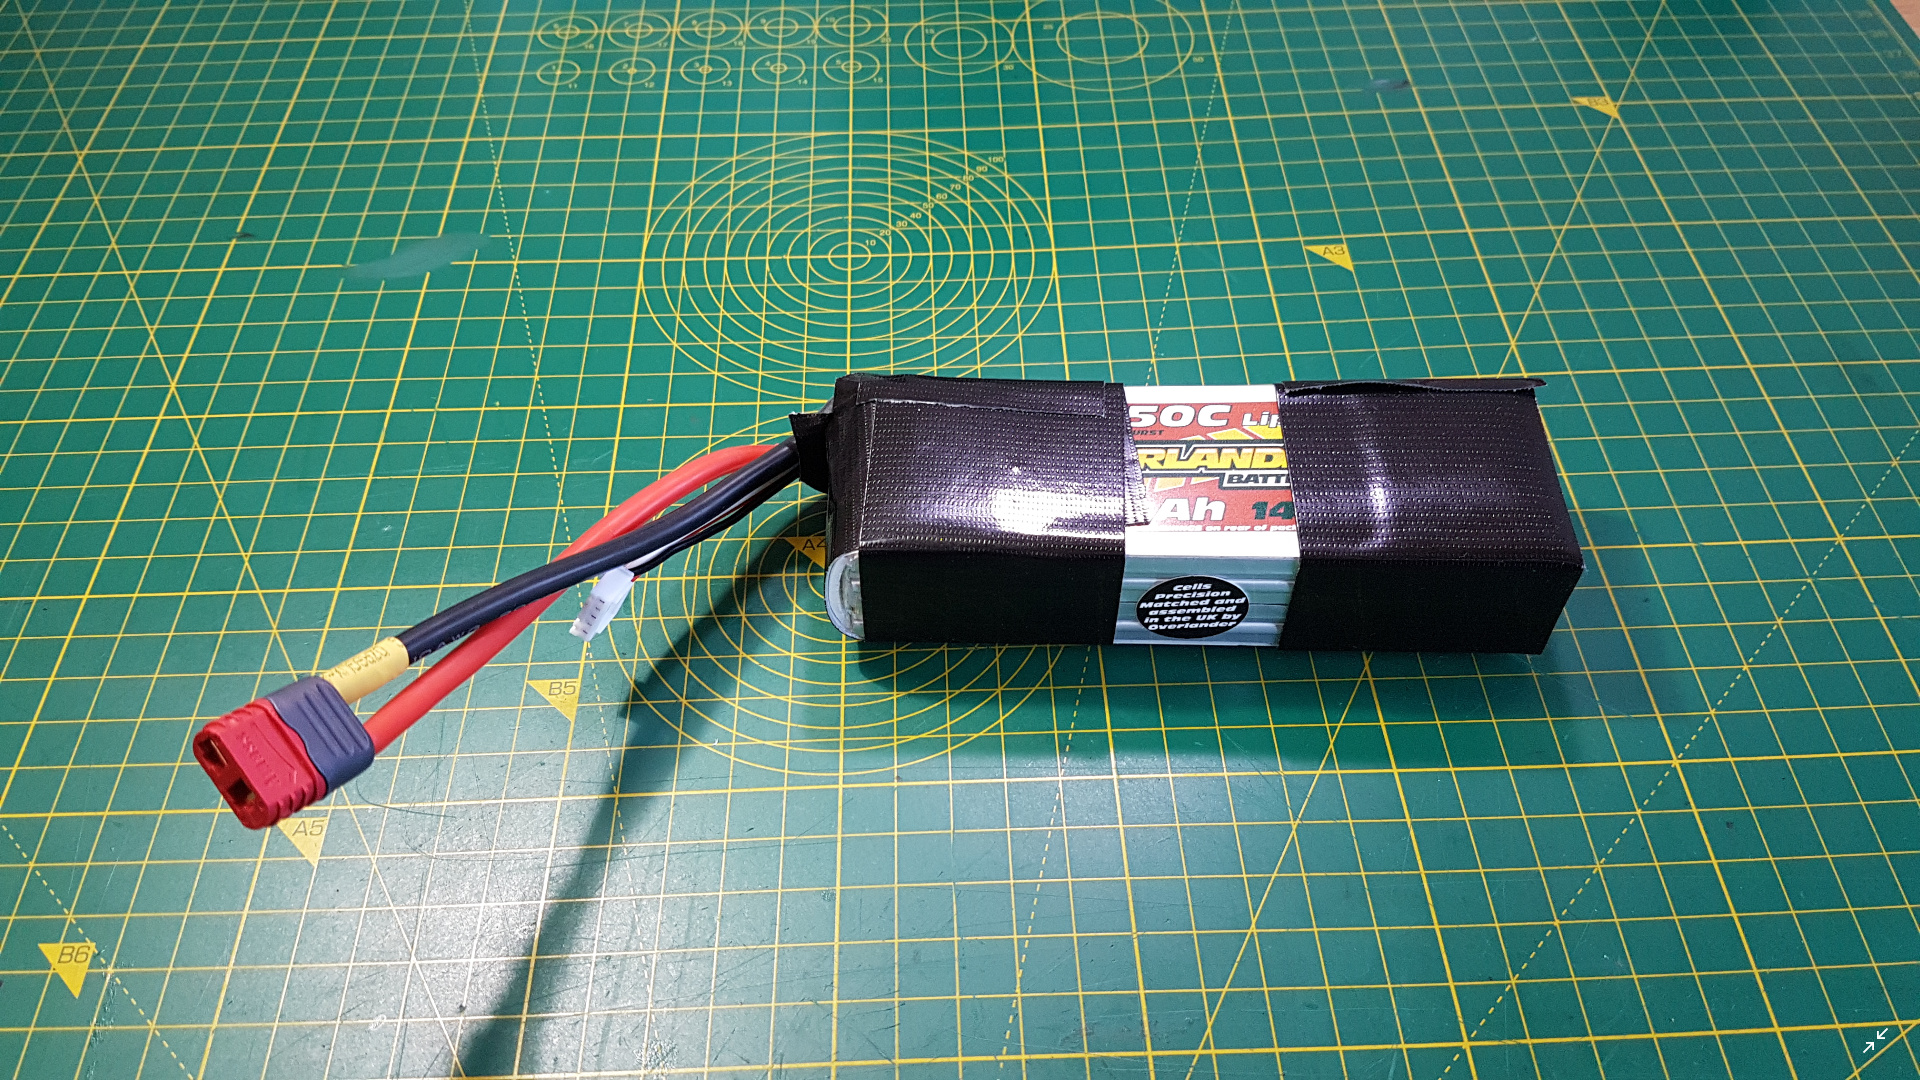
The new battery is an Overlander 3700 mAH, 50C / 95C, 4S in a softcase. This is a lot smaller (capacity-wise, physically it’s slightly smaller) than my 3S which was 5300 mAH for two main reasons. The first is price, batteries cost a fortune, and the more cells they have, the more expensive they are, the higher the capacity, they higher the price as well. The second is that the motor isn’t technically designed to be run on 4S (it’s recommended limit is 3S, but 4S is within the max RPM limit), so a smaller battery will run out faster and put strain on the motor for a shorter time. Of course the reduced capacity meant that I had to go for a higher C rating (again, higher C is more expensive) to be able to supply enough current. My old 3S is 35C / 65C, that means 185.5 A continuous discharge, the new 4S can do 185 A continuosly. Where they differ is in the burst current, the 3S can do 344.5 A, the 4S can do 351.5 A. The only thing that annoys me about the 4S is that it didn’t come in a hardcase.
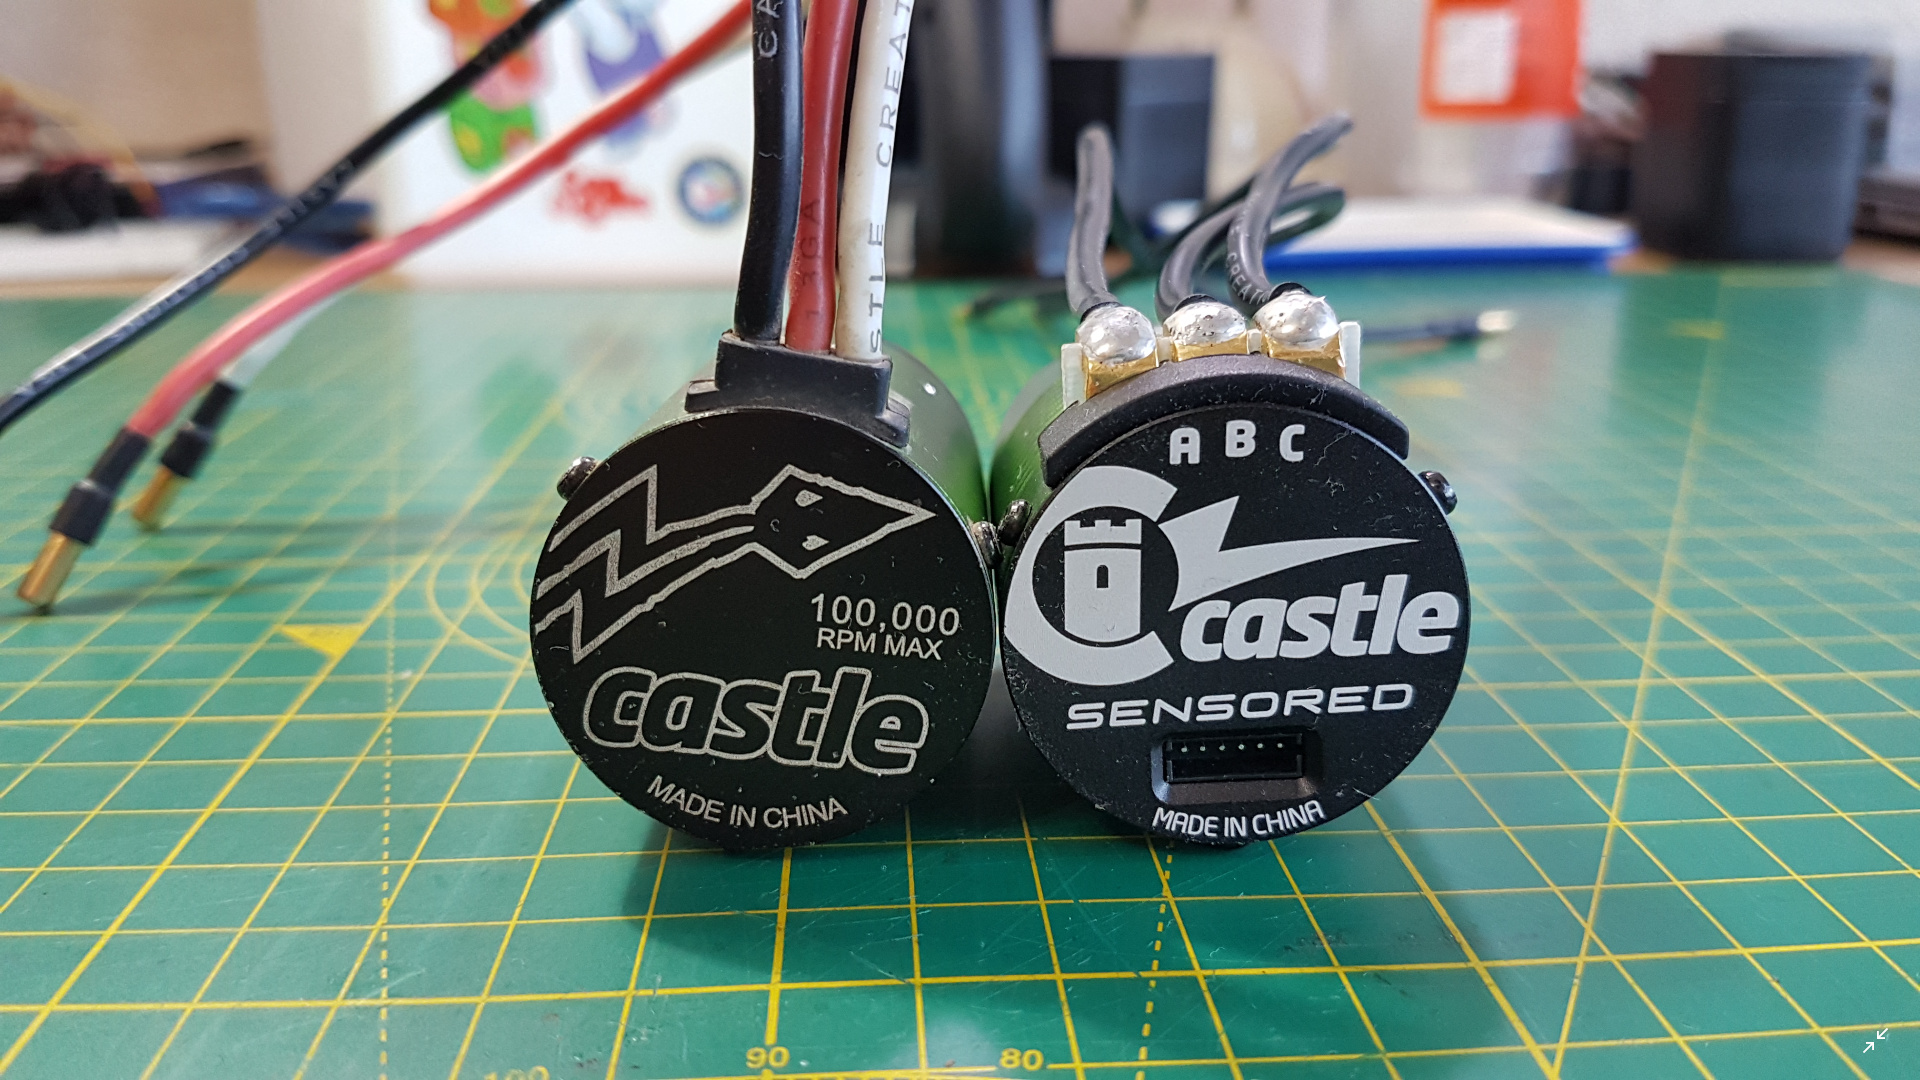
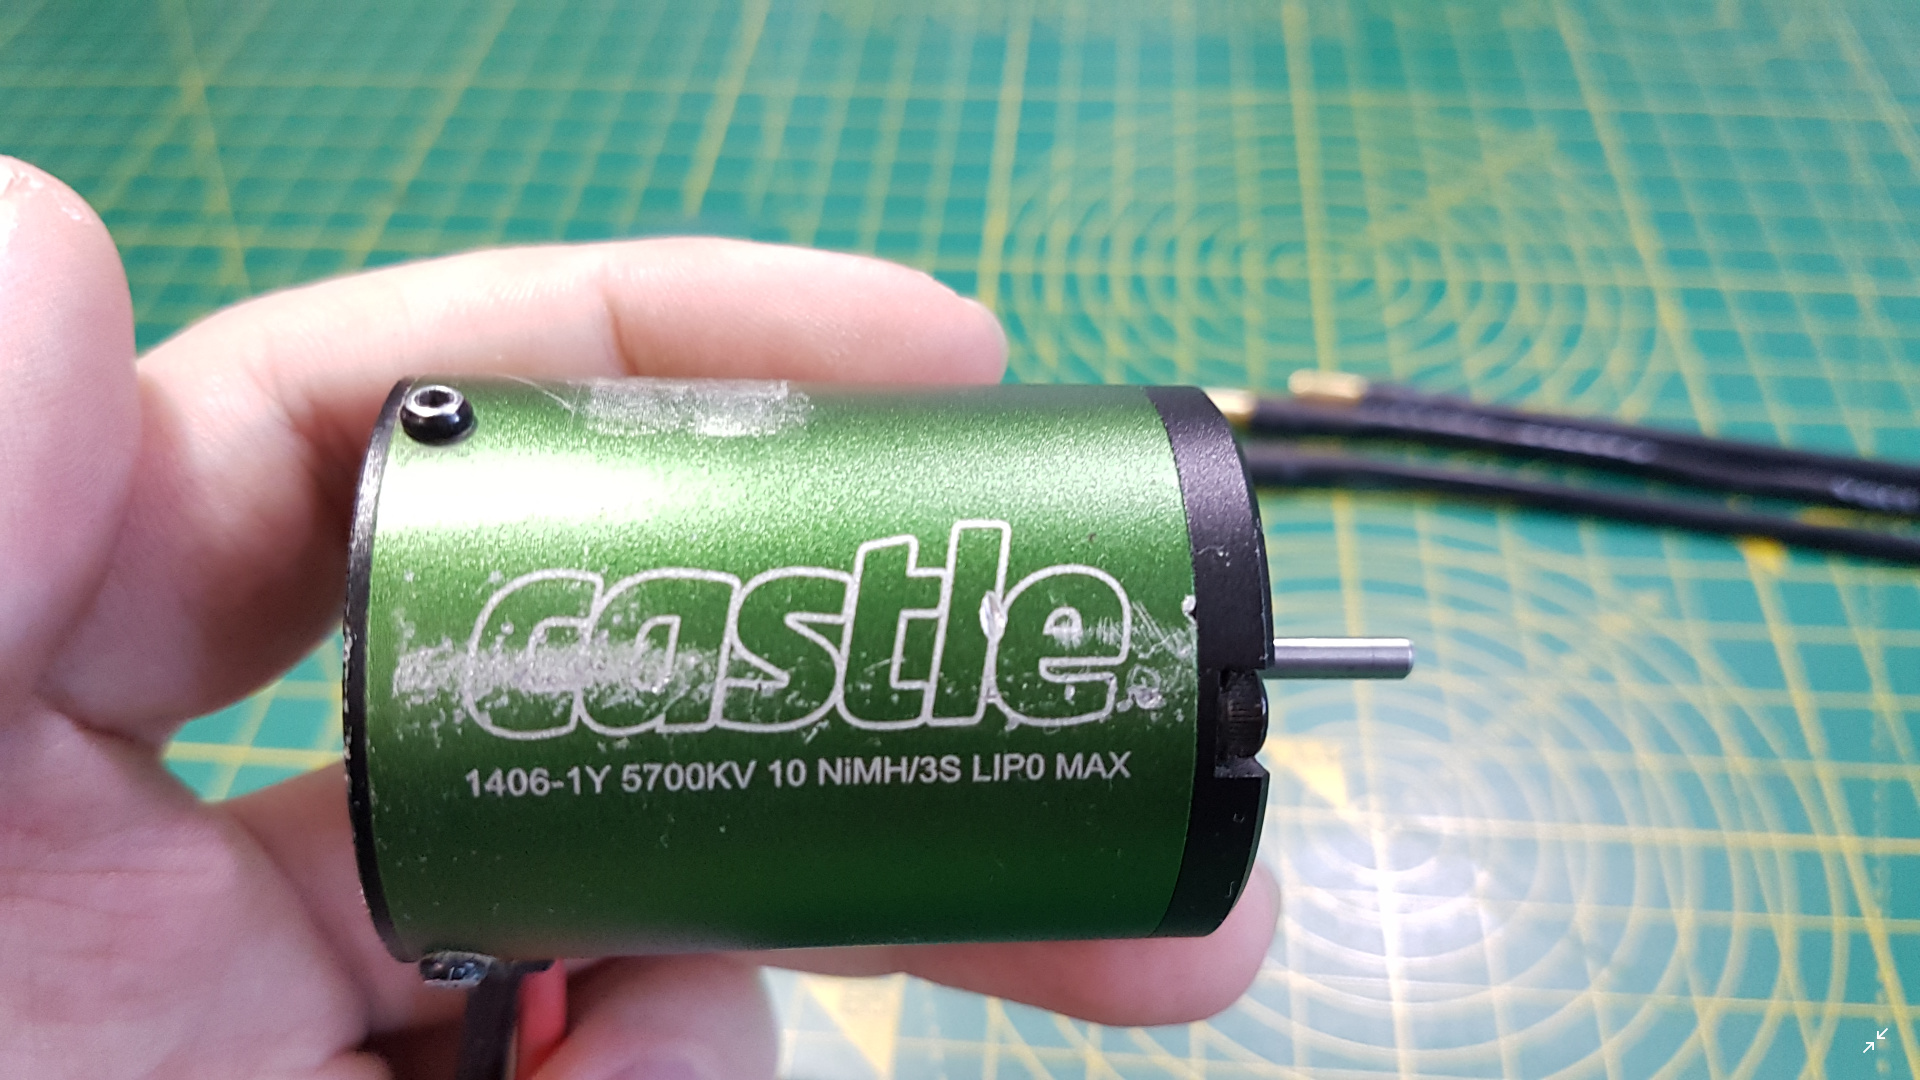
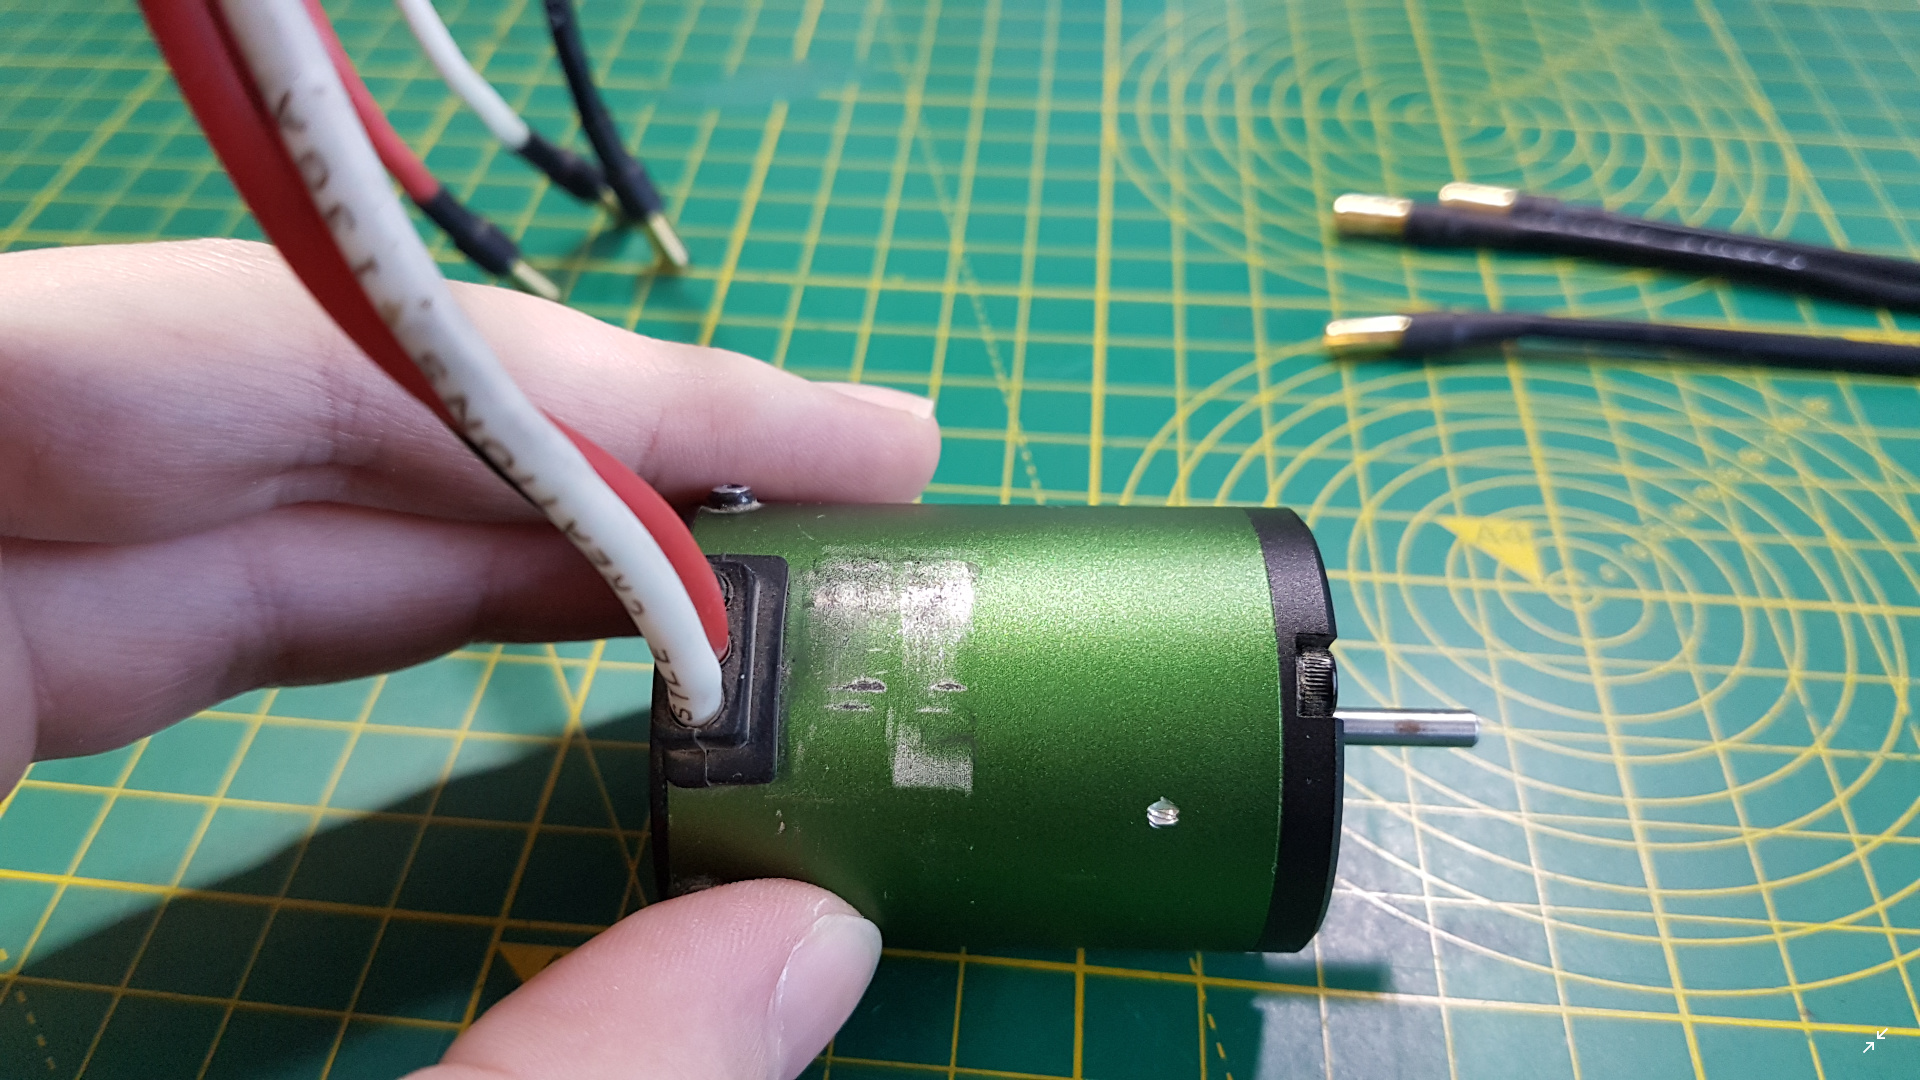
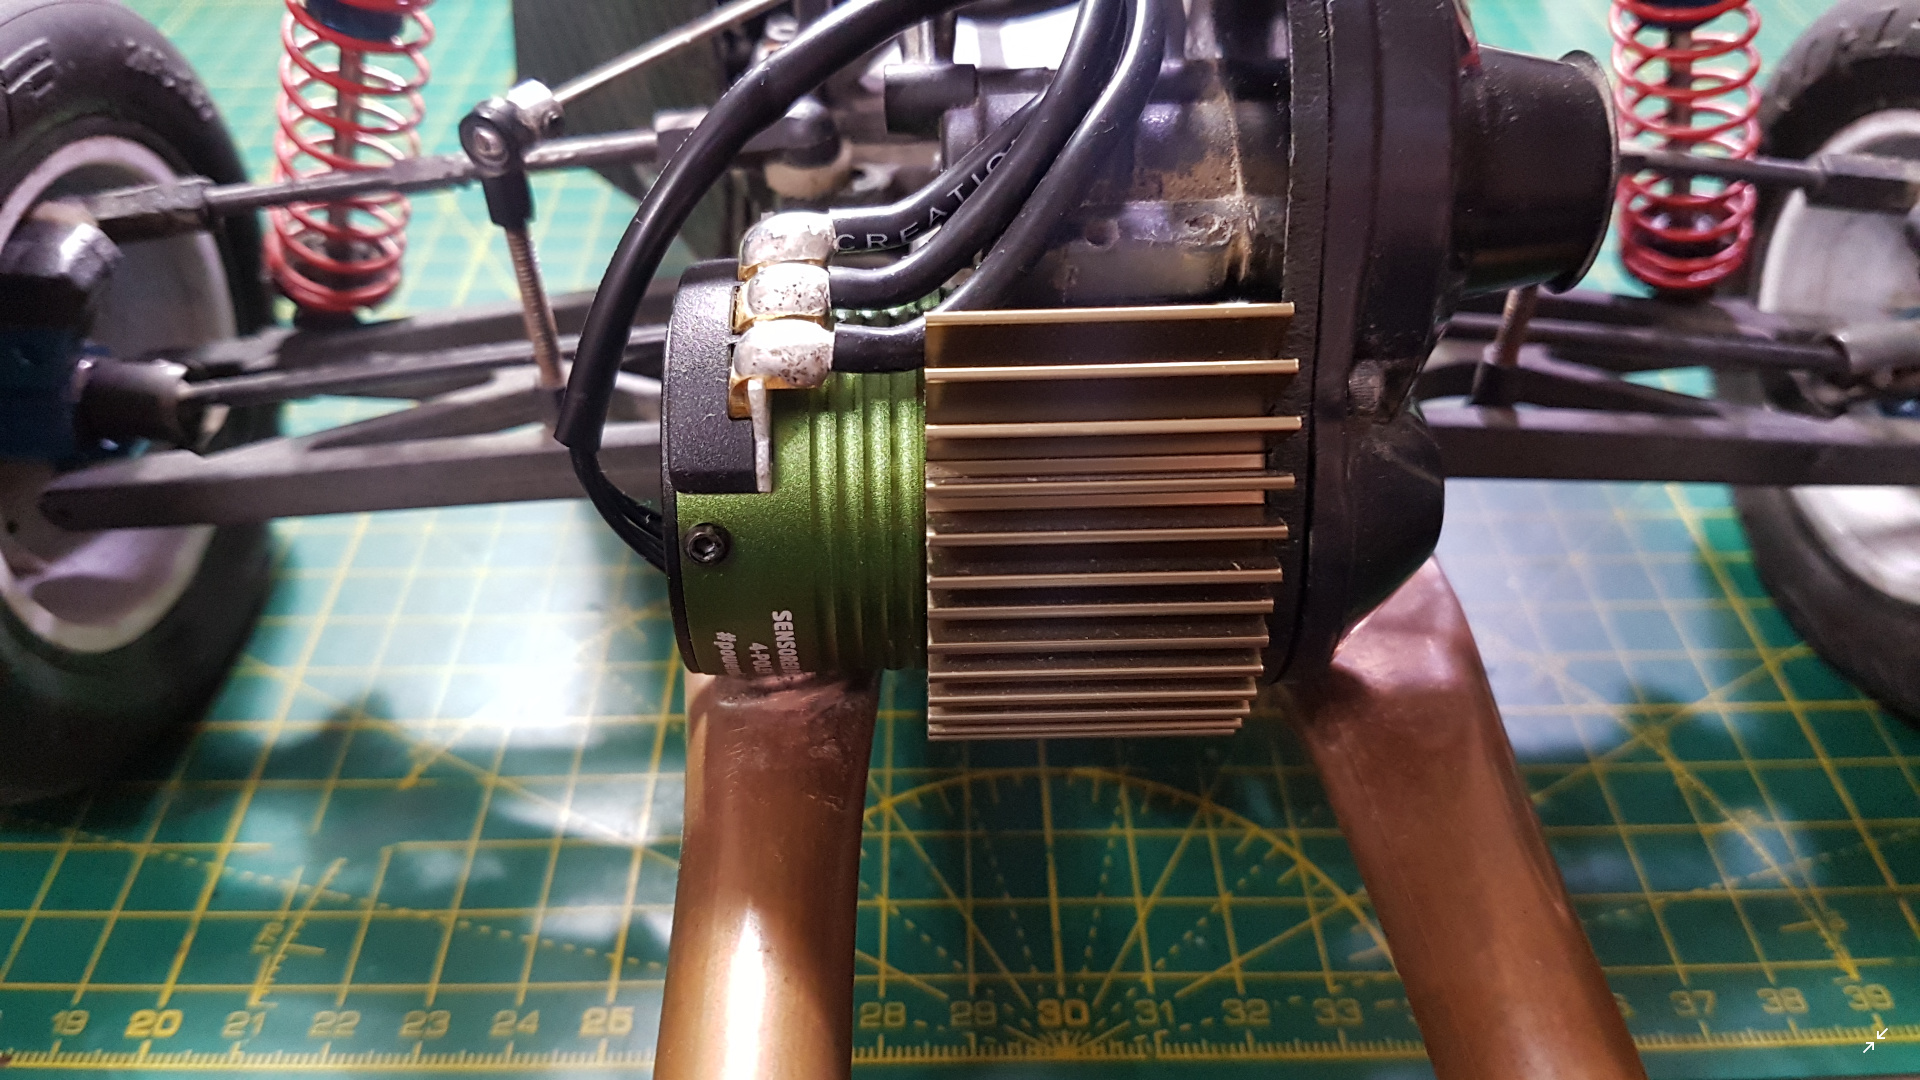
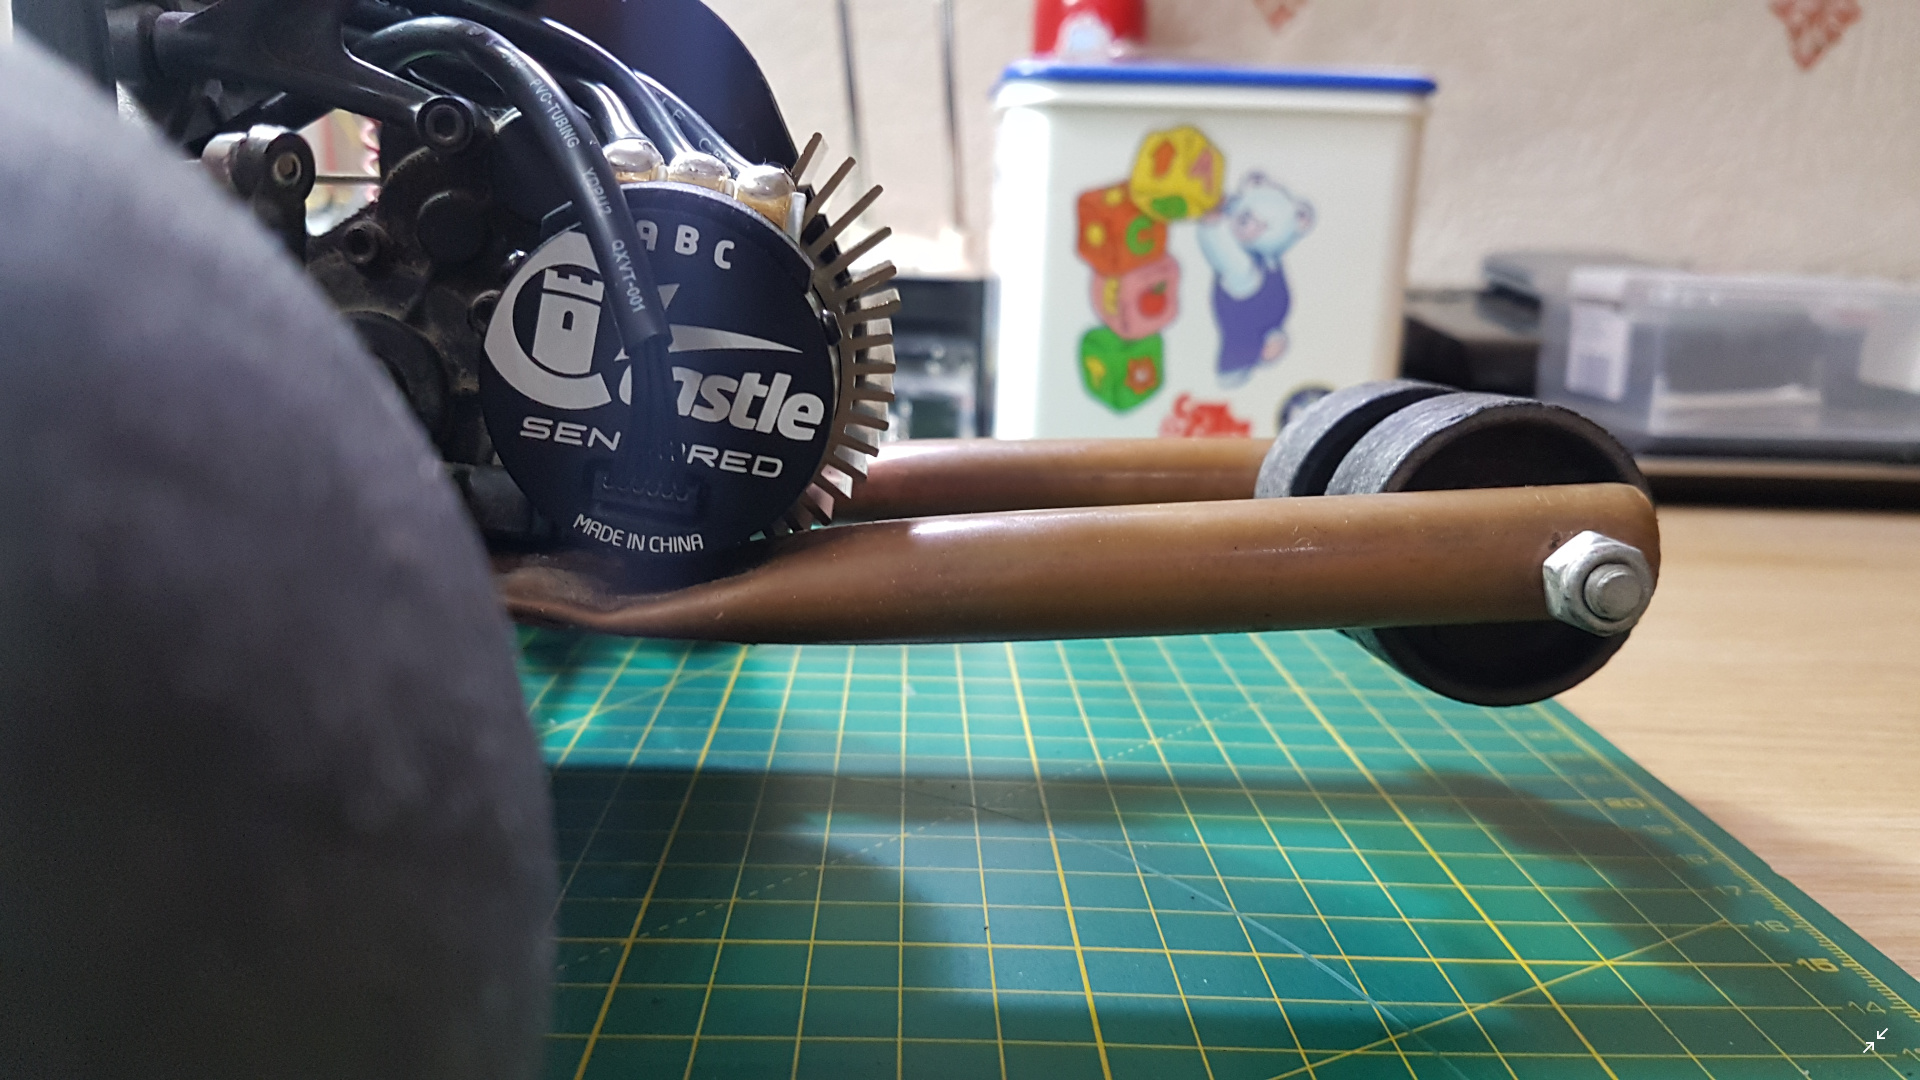
There’s not too much to say about the motor, it’s a Castle Creations 1406, 5700KV, 4 pole motor like my last one, however, the difference here is that this one is sensored. That means that it’s much smoother at low throttle inputs and the truck can crawl more slowly than before. The added sensor also means that the ESC can monitor things such as RPM, temperature and other parameters (more on that in a moment). Like the old one, this one is also waterproof. The only bad thing about this one is how the wires are attached to the motor, on the old one they entered the side of the can perpendicularly through a grommet and the connections were internal. On the new one, the connections are on external tabs that are parallel to the can. That means that I can no longer fit my motor fans because of the wires and the mounting location of the motor on the truck. I’ve ordered a new heatsink with no fans, I’m just hoping it fits.
The biggest change is the ESC, the new one is a complete beast. The old one was a Castle Creations Sidewinder 3, the new one is a Castle Creations Mamba X. The S3 was pretty hardcore, it was sensorless, but was programmable, waterproof and 3S capable, paired with the old motor, the truck was a rocket. The MX is on another level, it’s sensored, made entirely out of aluminium (the S3 was plastic), 6S capable, waterproof, programmable (has even more features than the S3), has a more hardcore BEC (so I don’t have to use an external one), has a smaller footprint and volume than the S3 (not by much, but it’s smaller), can have some of its settings changed from the Tx as you’re driving (if you set it up so) and most interestingly, it has data logging capabilities.
The data logging is fairly extensive and monitors the following list of 10 parameters:
- Battery voltage
- Battery ripple
- Battery current
- Controller temperature
- Controller throttle input
- Controller motor power output
- Motor RPM
- Auxiliery wire mode
- BEC voltage
- Motor temperature
The ESC can sample at up to 10 Hz, I have it set to 1 Hz, because of memory usage. All of the parameters are selectable (so it can monitor as many things as you tell it to), if you select everything at 10 Hz, the recording time is just under 8 mins. At 1 Hz it’s just under 78 mins. Of course, the fewer things you monitor and the lower the sampling rate, the longer the record time.
Having the MX now means that I get to eliminate every extra wire I had on the truck (apart from the lighting system), so it looks nice and clean again. Unfortunately, that means that I’ve also had to ditch the cooling system because of the motor. If I’m honest, I’m not sure it had any effect, it might have just been a placebo. I guess I’ll find out if I ever even needed it when I got for the first run. I’ll be running on 3S first as usual so that I can get baseline readings on the telemetry.
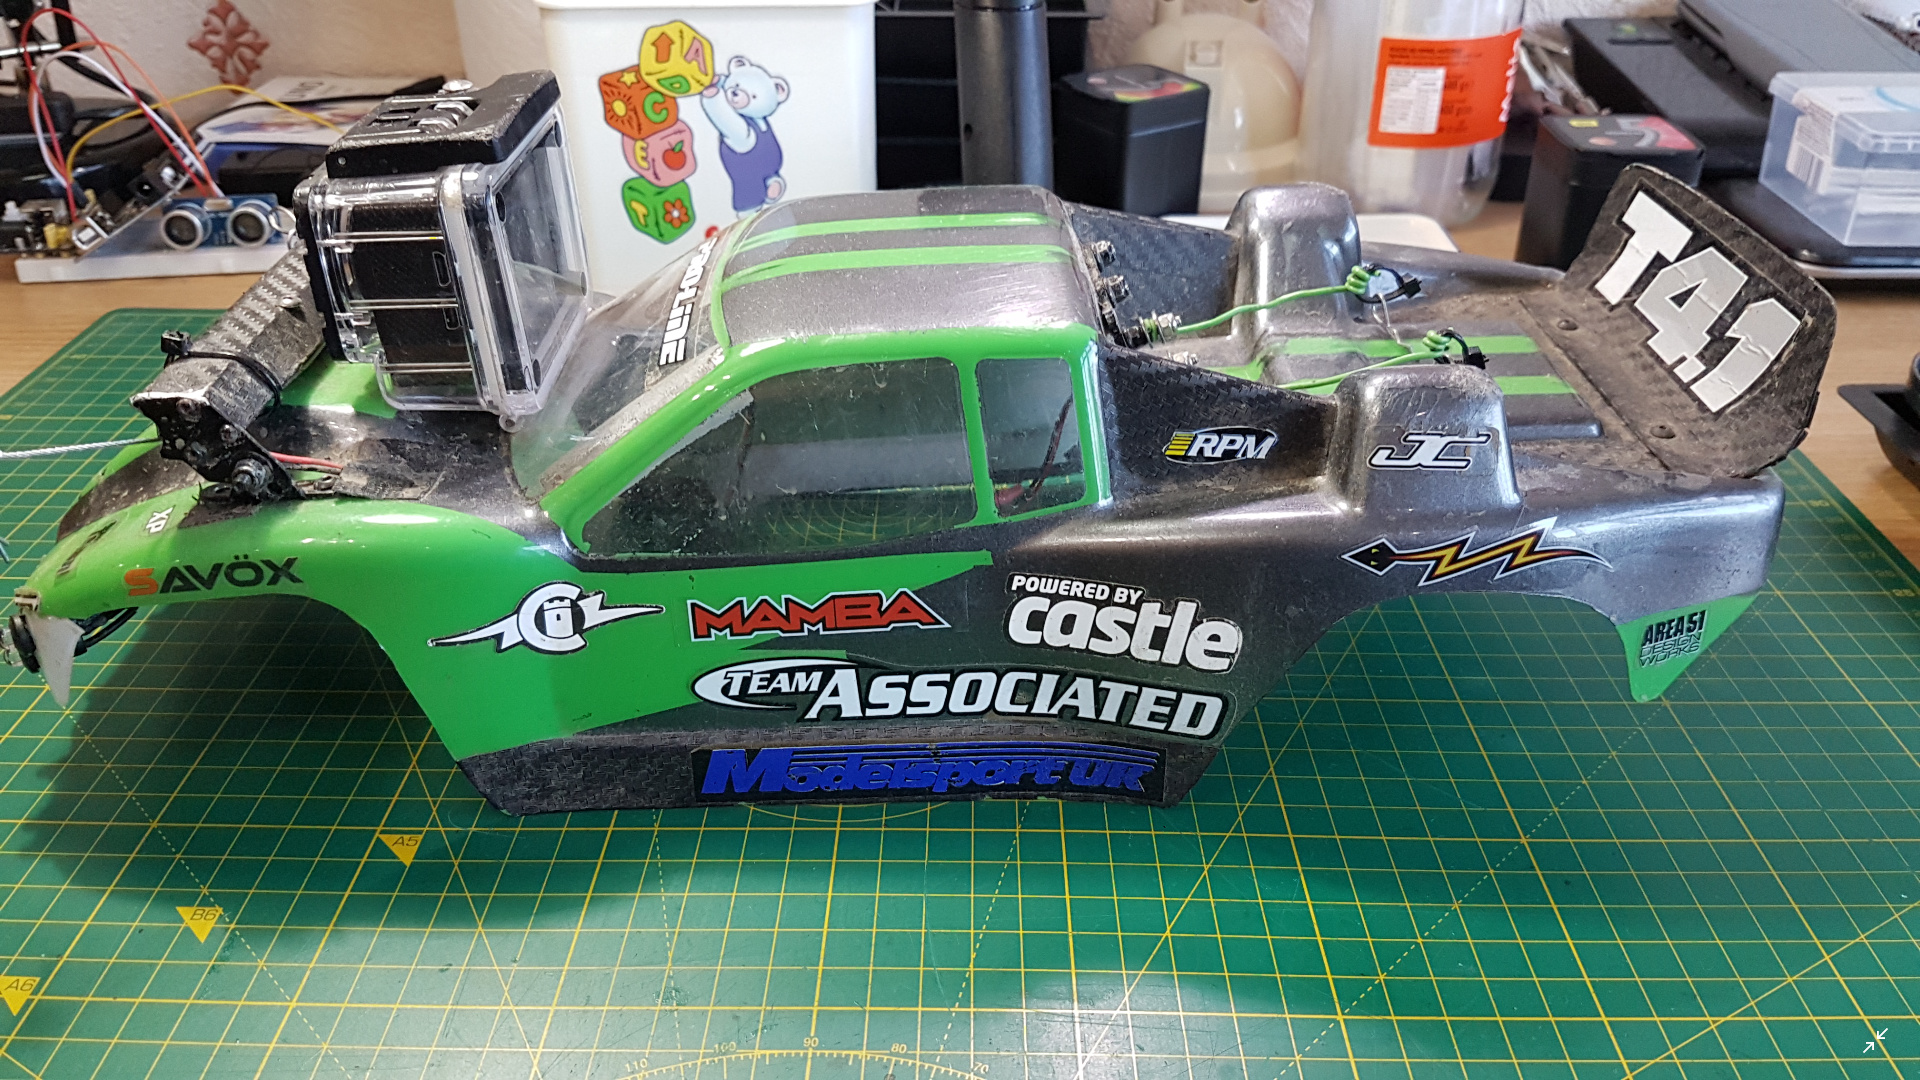
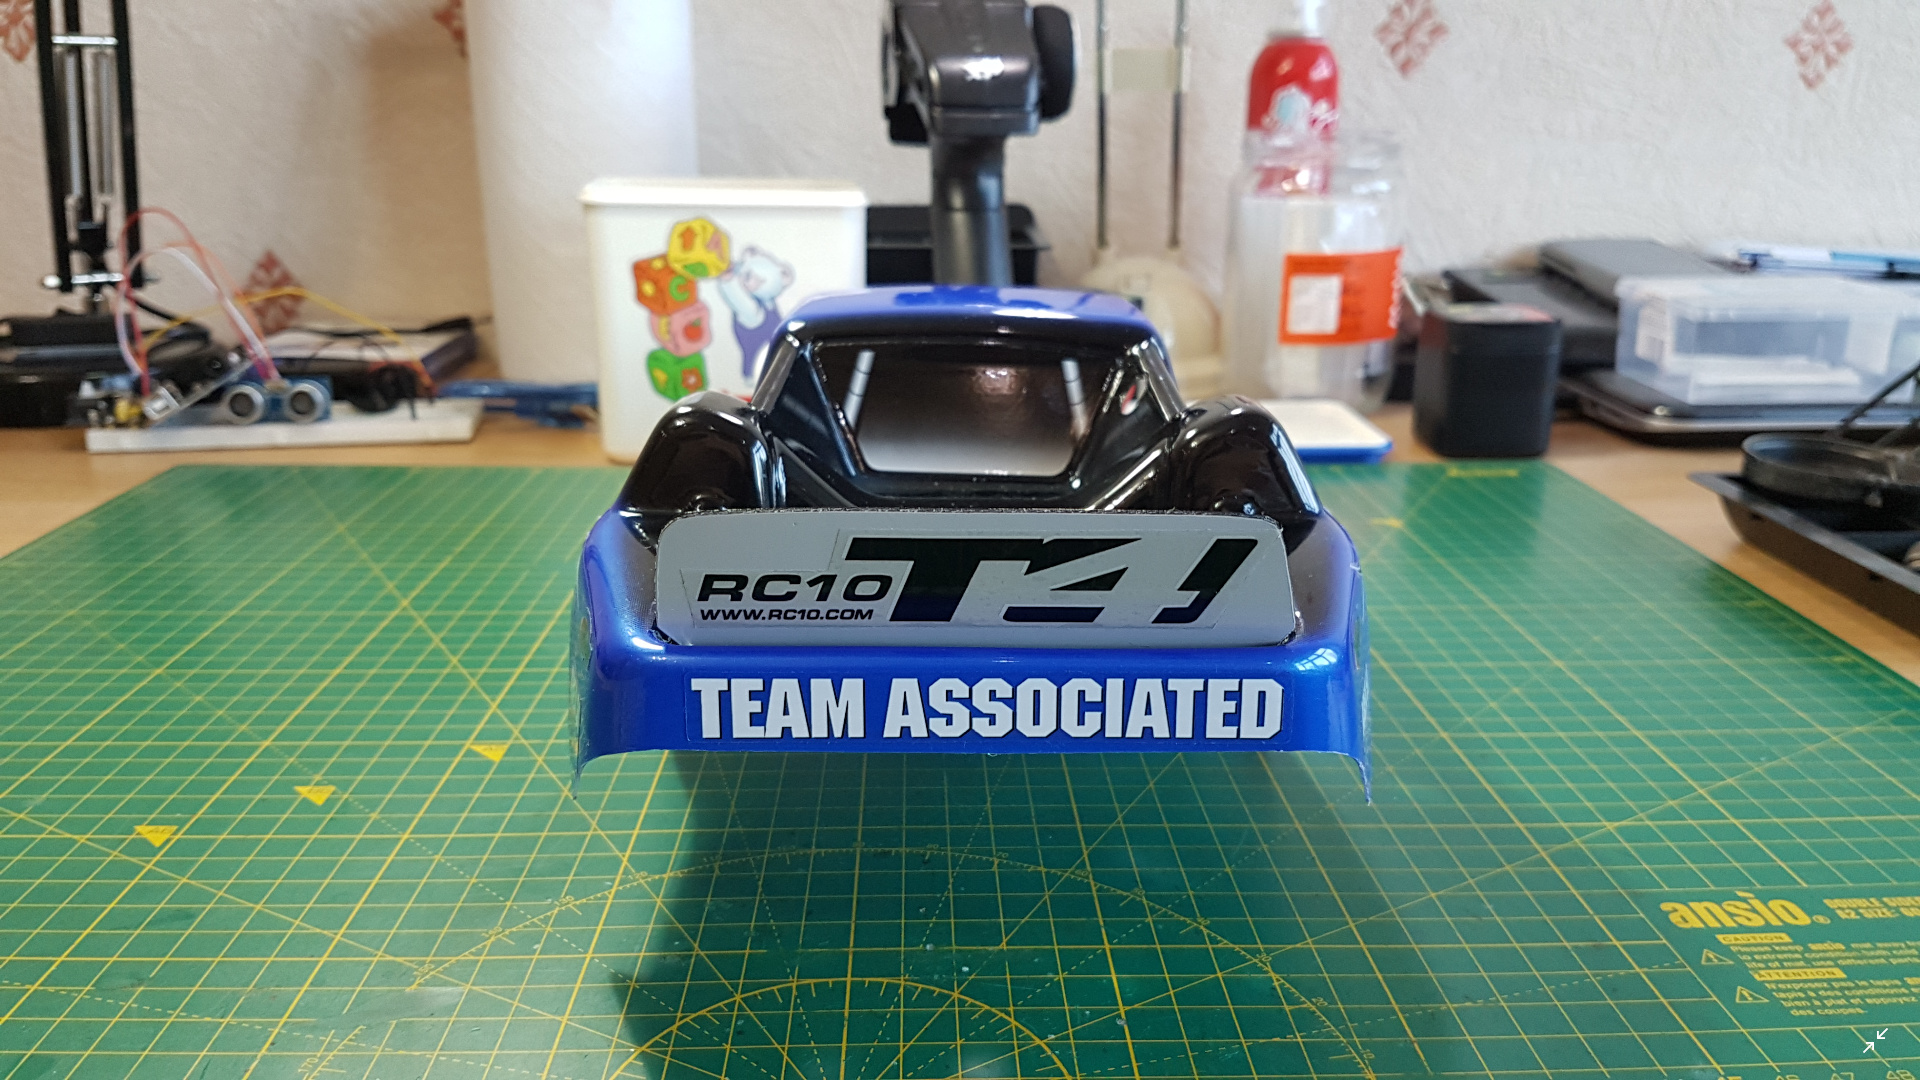
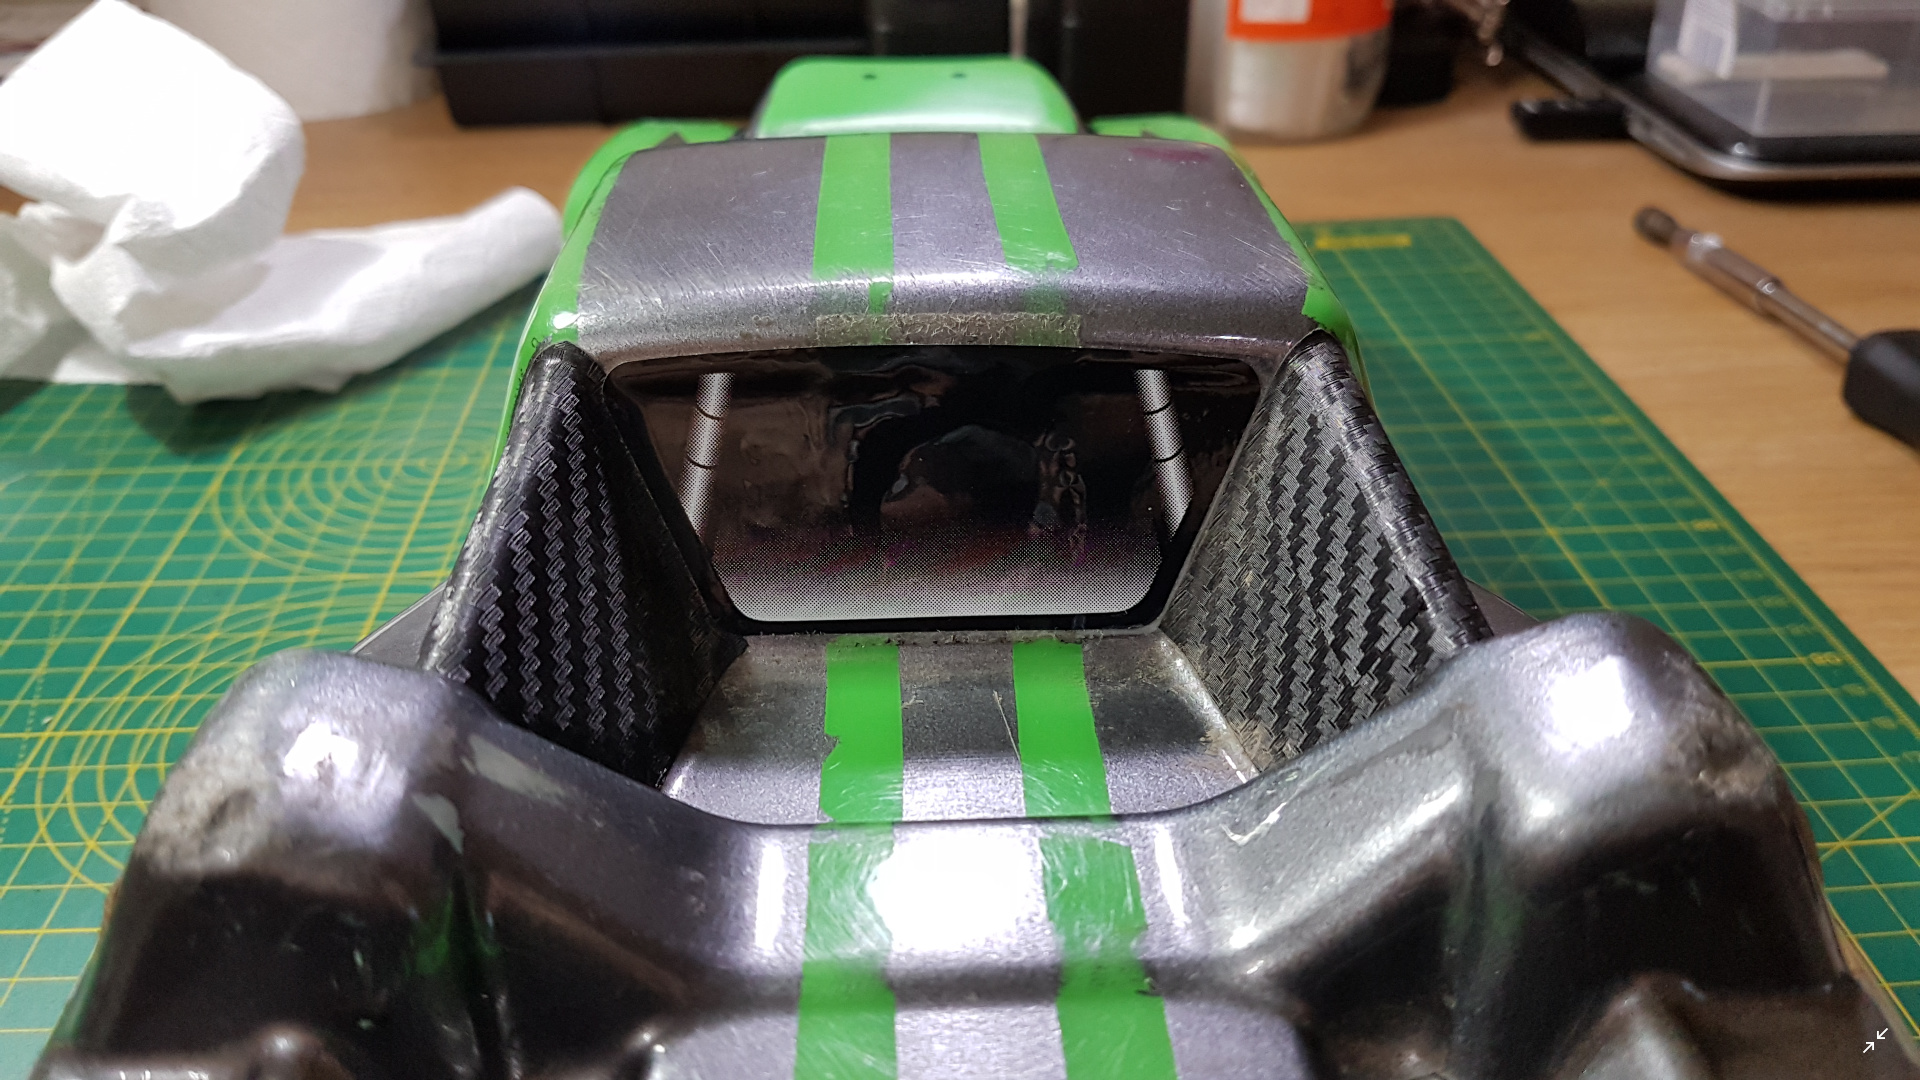
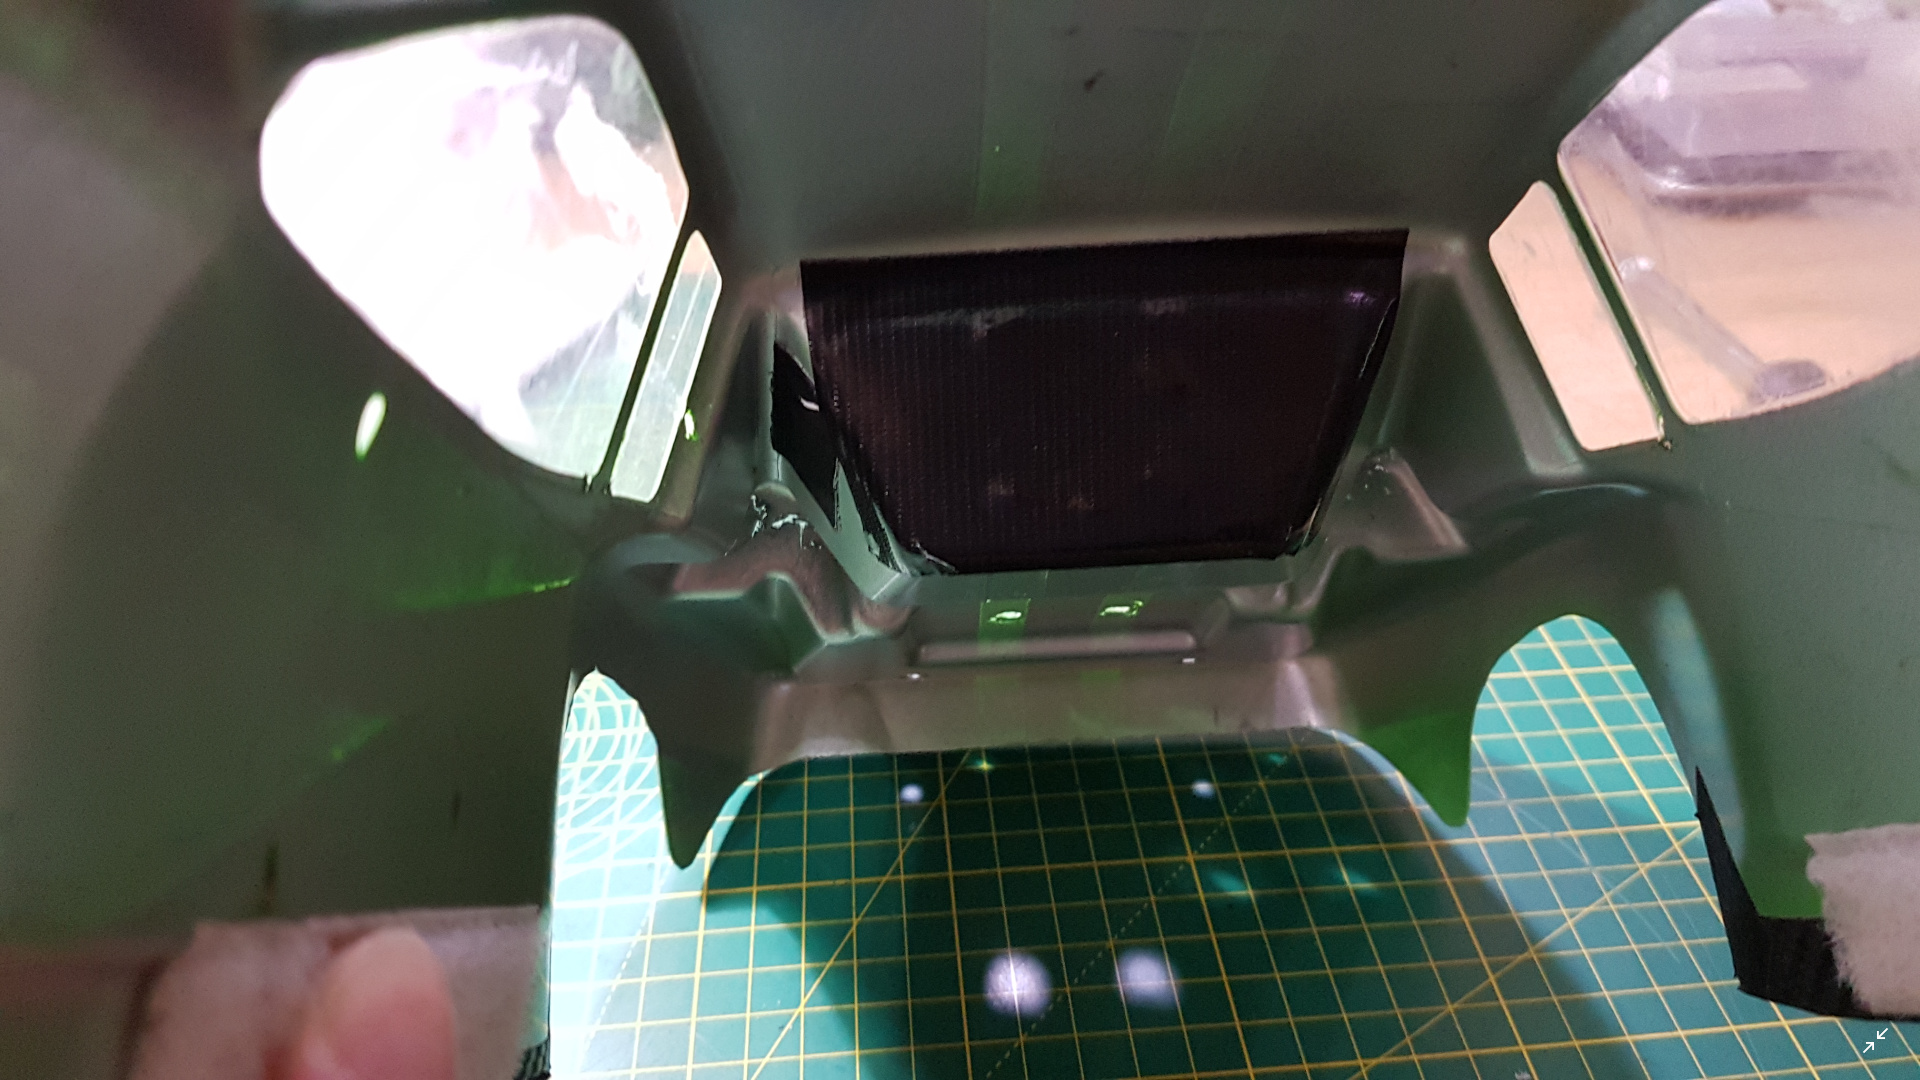
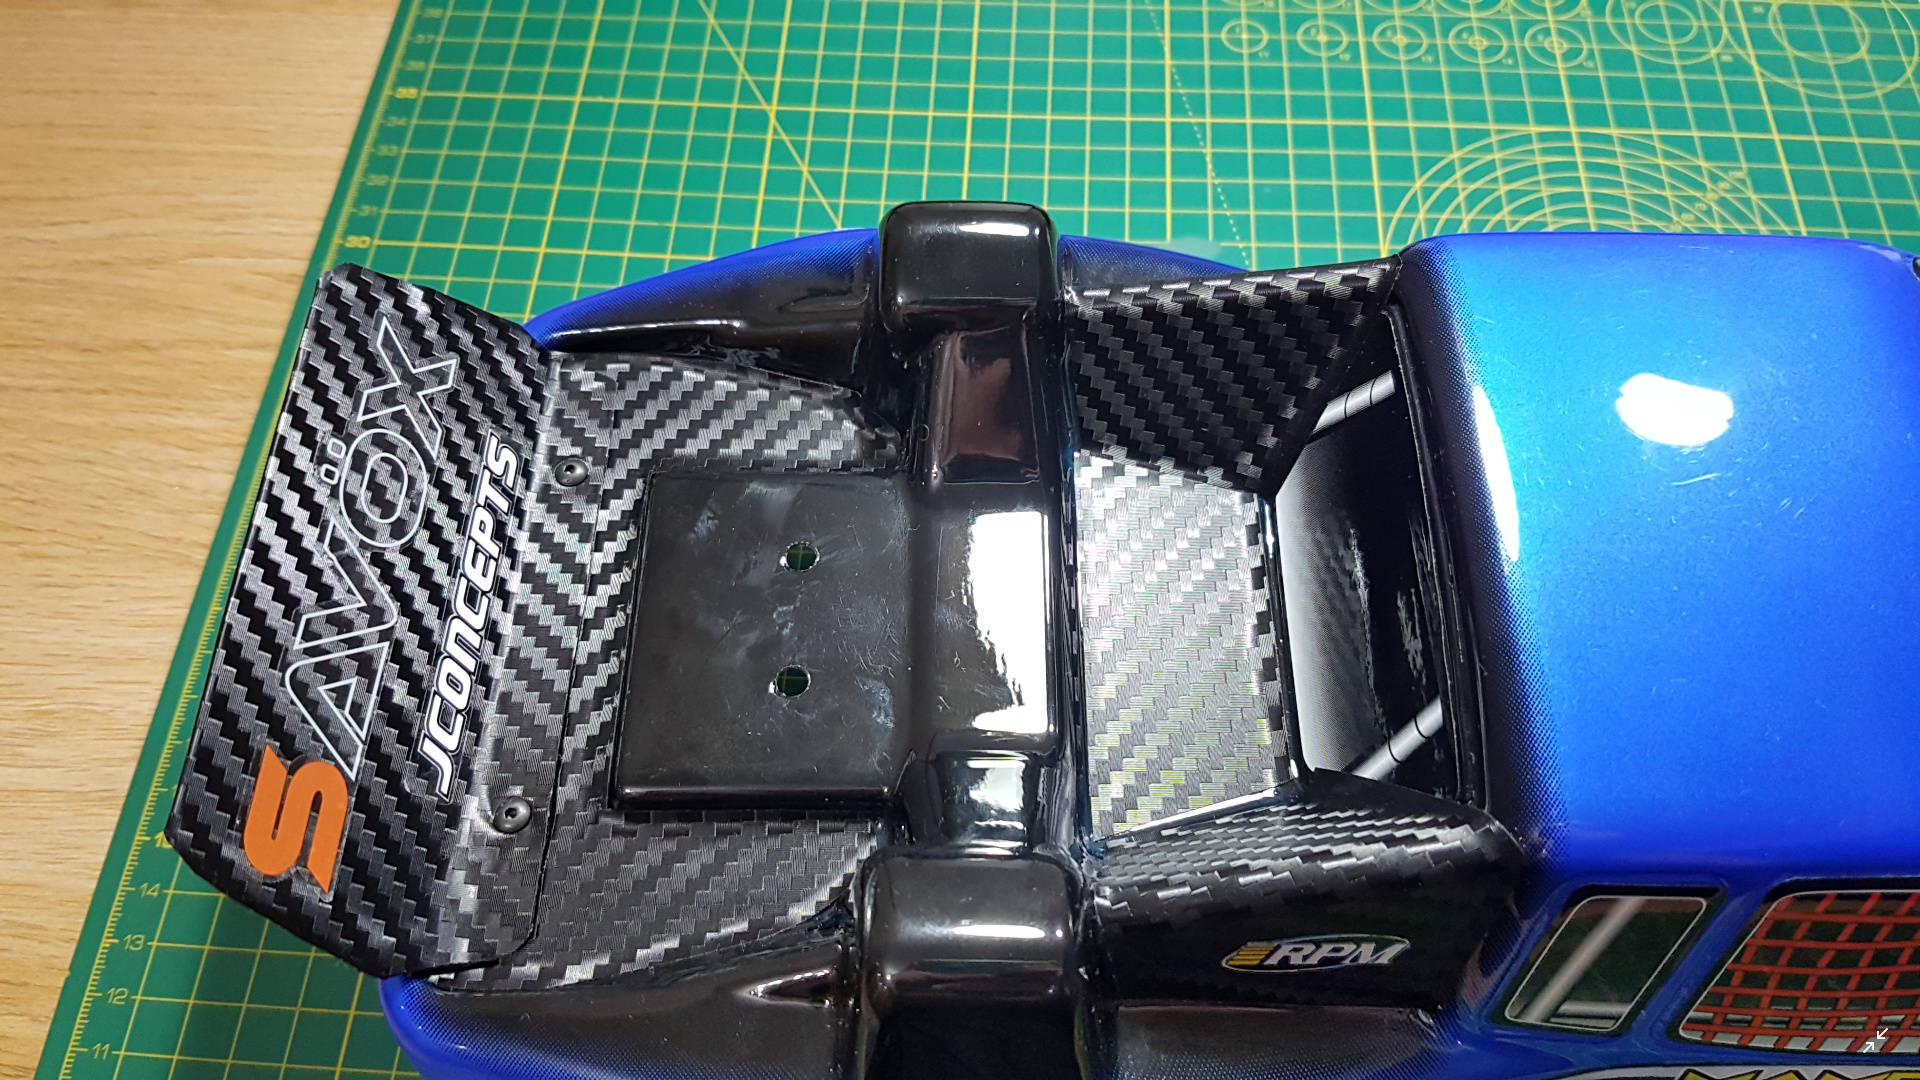
I spent Sunday fitting the new electronics and putting stickers on the new body I have waiting (as well as a couple on the current body), I still need to drill the LED bar and action cam mounting holes. I stripped the lighting system and cooling fan from the current body and gave it a wash. As I was putting them back on, I realised that the front 6 LEDs didn’t actually do anything other than ruin the looks of the truck, weaken the front and add even more wires. So, with that in mind, I won’t be fitting those to the new body (the bar will still be there as that actually works).
I won’t be fitting the body shell fan either as it is totally pathetic, adds wires and can’t be run even if I wanted to due to the cooling system elimination. With that said, I took it off of the current body and covered up the hole with a sticker on the outside and gaffer tape on the inside. The elimination of the body fan means that I need to find new mounting points for the body clip retainers, for now I’ve temporarily mounted them to the spoiler screws.
With all of these upgrades and changes, I’m going to say that the Banshee is now in the Mod V8 phase, I didn’t think I’d do anything significant enough to it to warrant a Mod phase change, but alas, I have. My next course of action would be to do a few baseline runs on 3S and then take it for a 4S run and pray that the tyres don’t explode or that the motor doesn’t melt (I doubt it will come to that as the ESC has a thermal cut-off). I really want to try and set off a speed camera on Xmas day when the roads are empty, but I can’t think of one on a road with a surface that won’t smash the suspension to pieces.
Here are some pics from the past couple of days.
New stickers on the current body (the red Mamba and the one over the rear wheel arch):
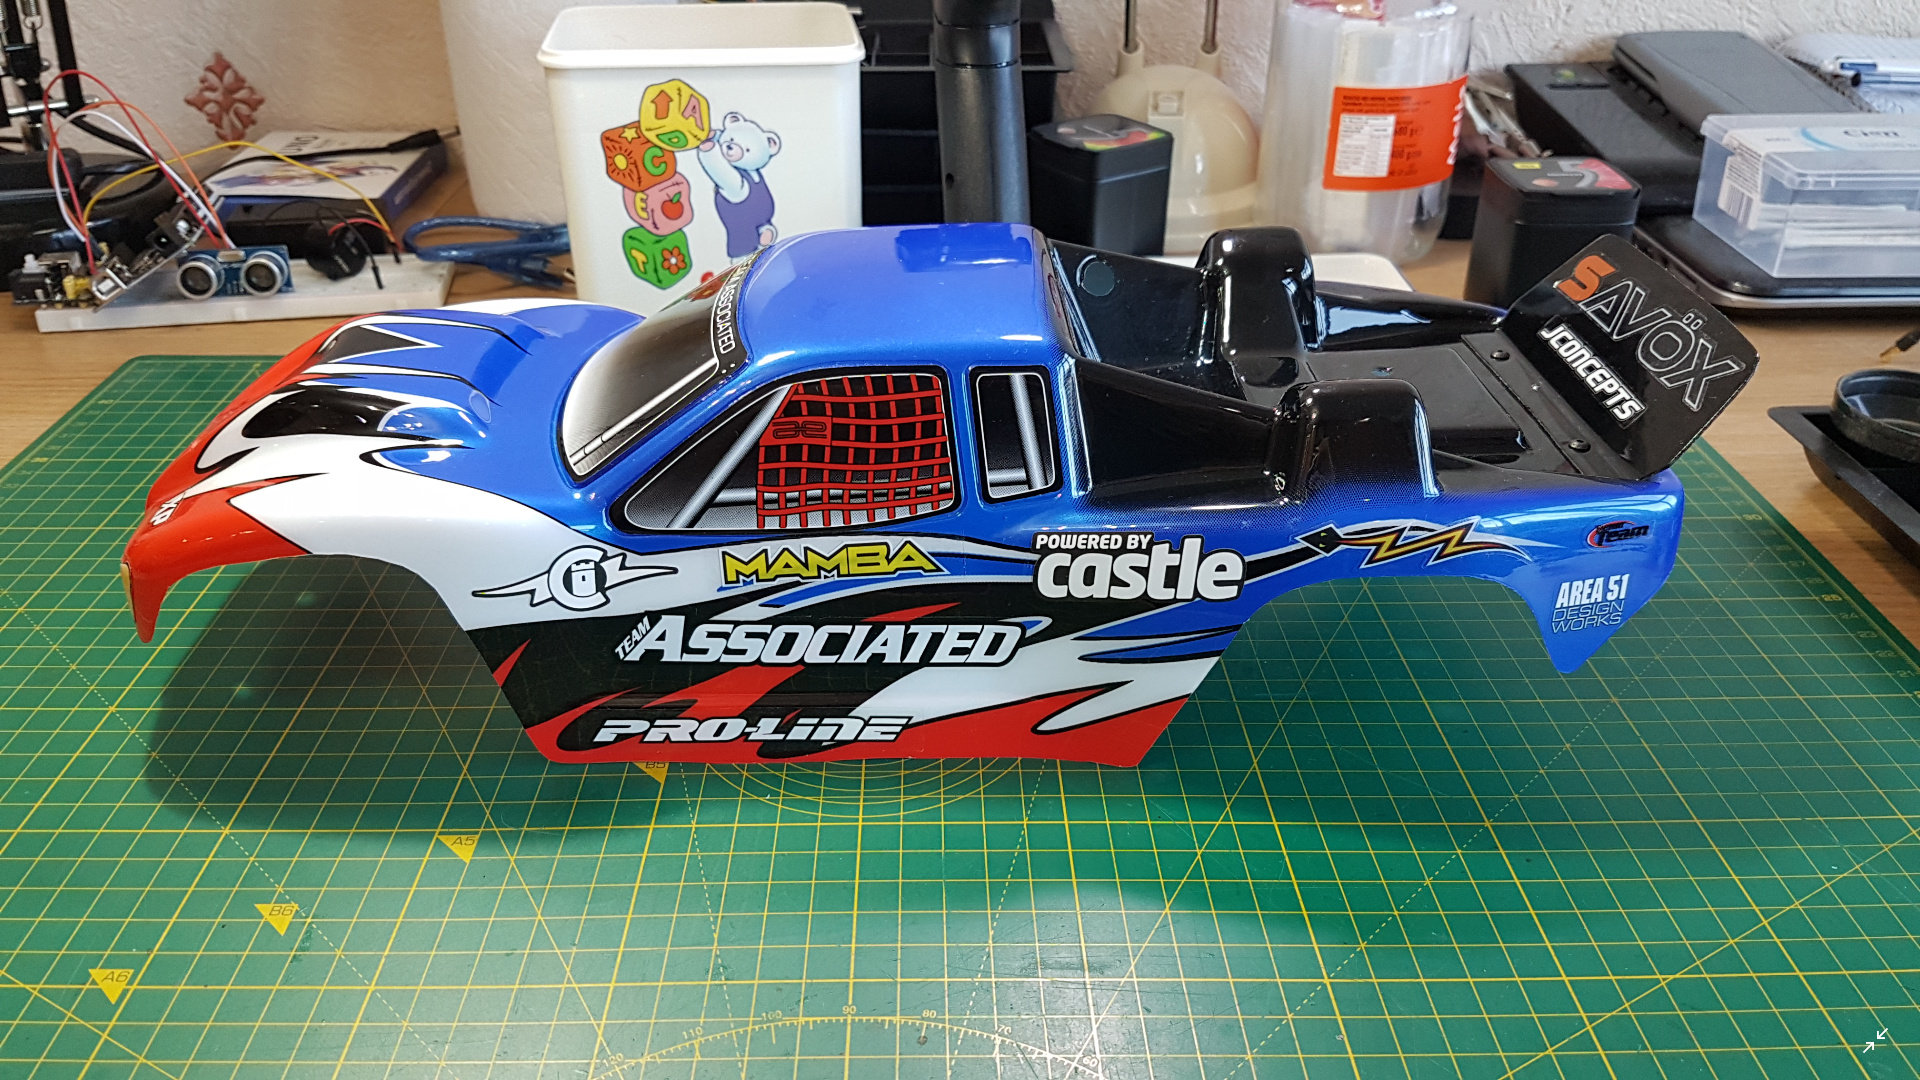
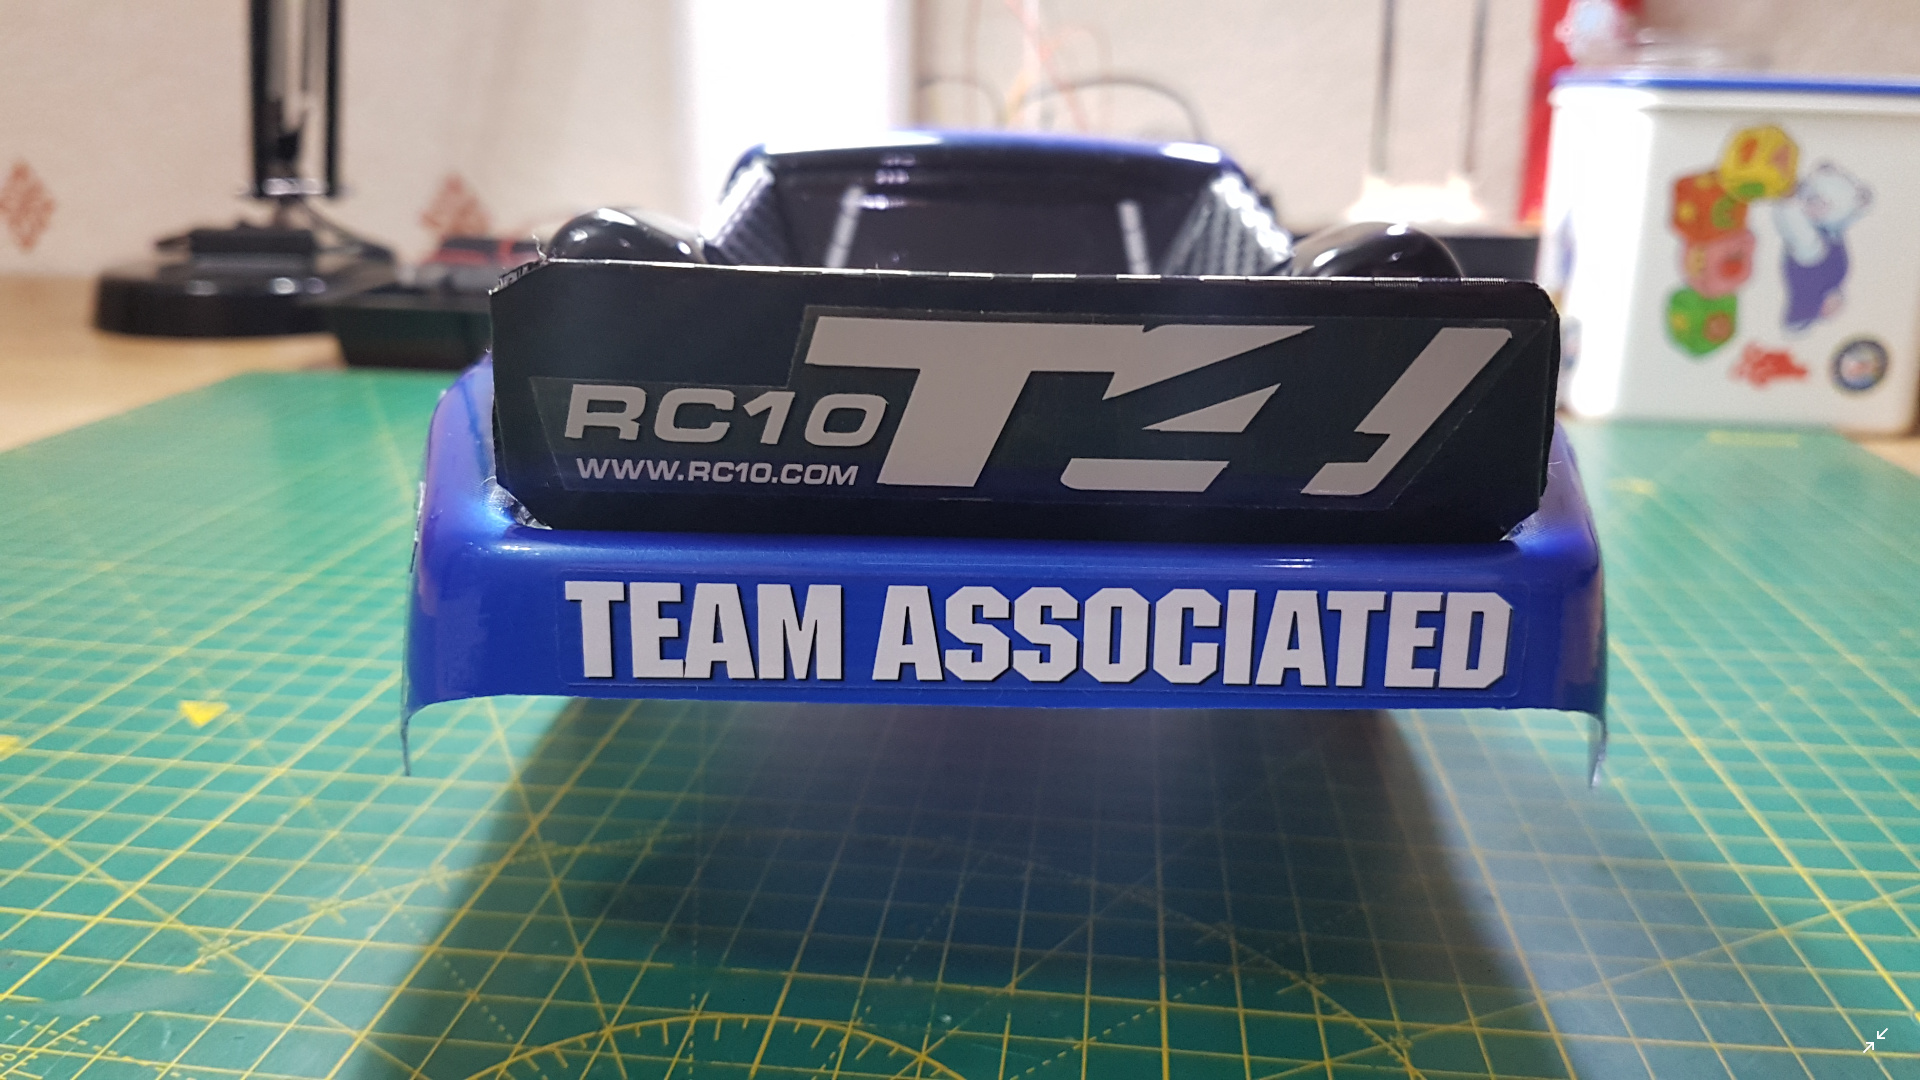
The new body (I didn’t paint it):
The Y lead that turned out to be unnecessary:

New plug on the cooling system:
New battery (the gaffer tape is there for waterproofing):
Old (left) vs new (right) motor:
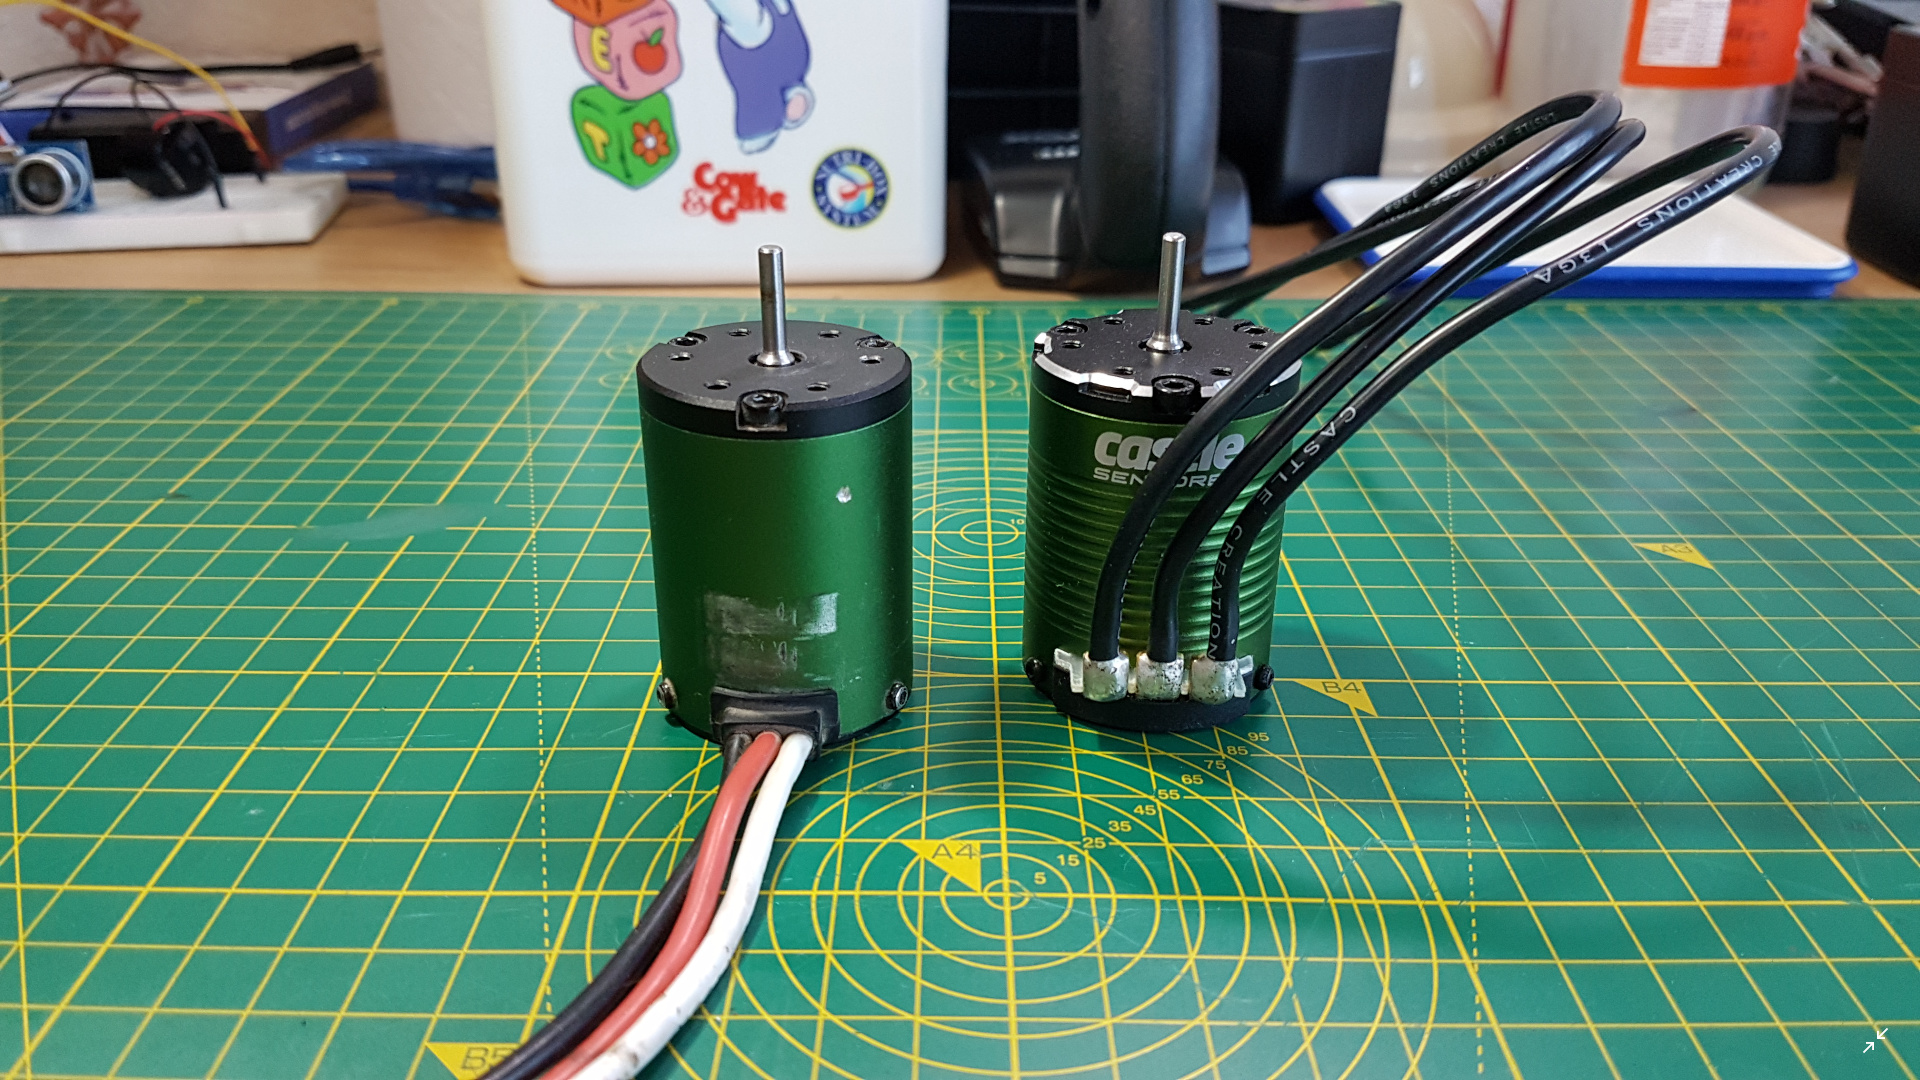
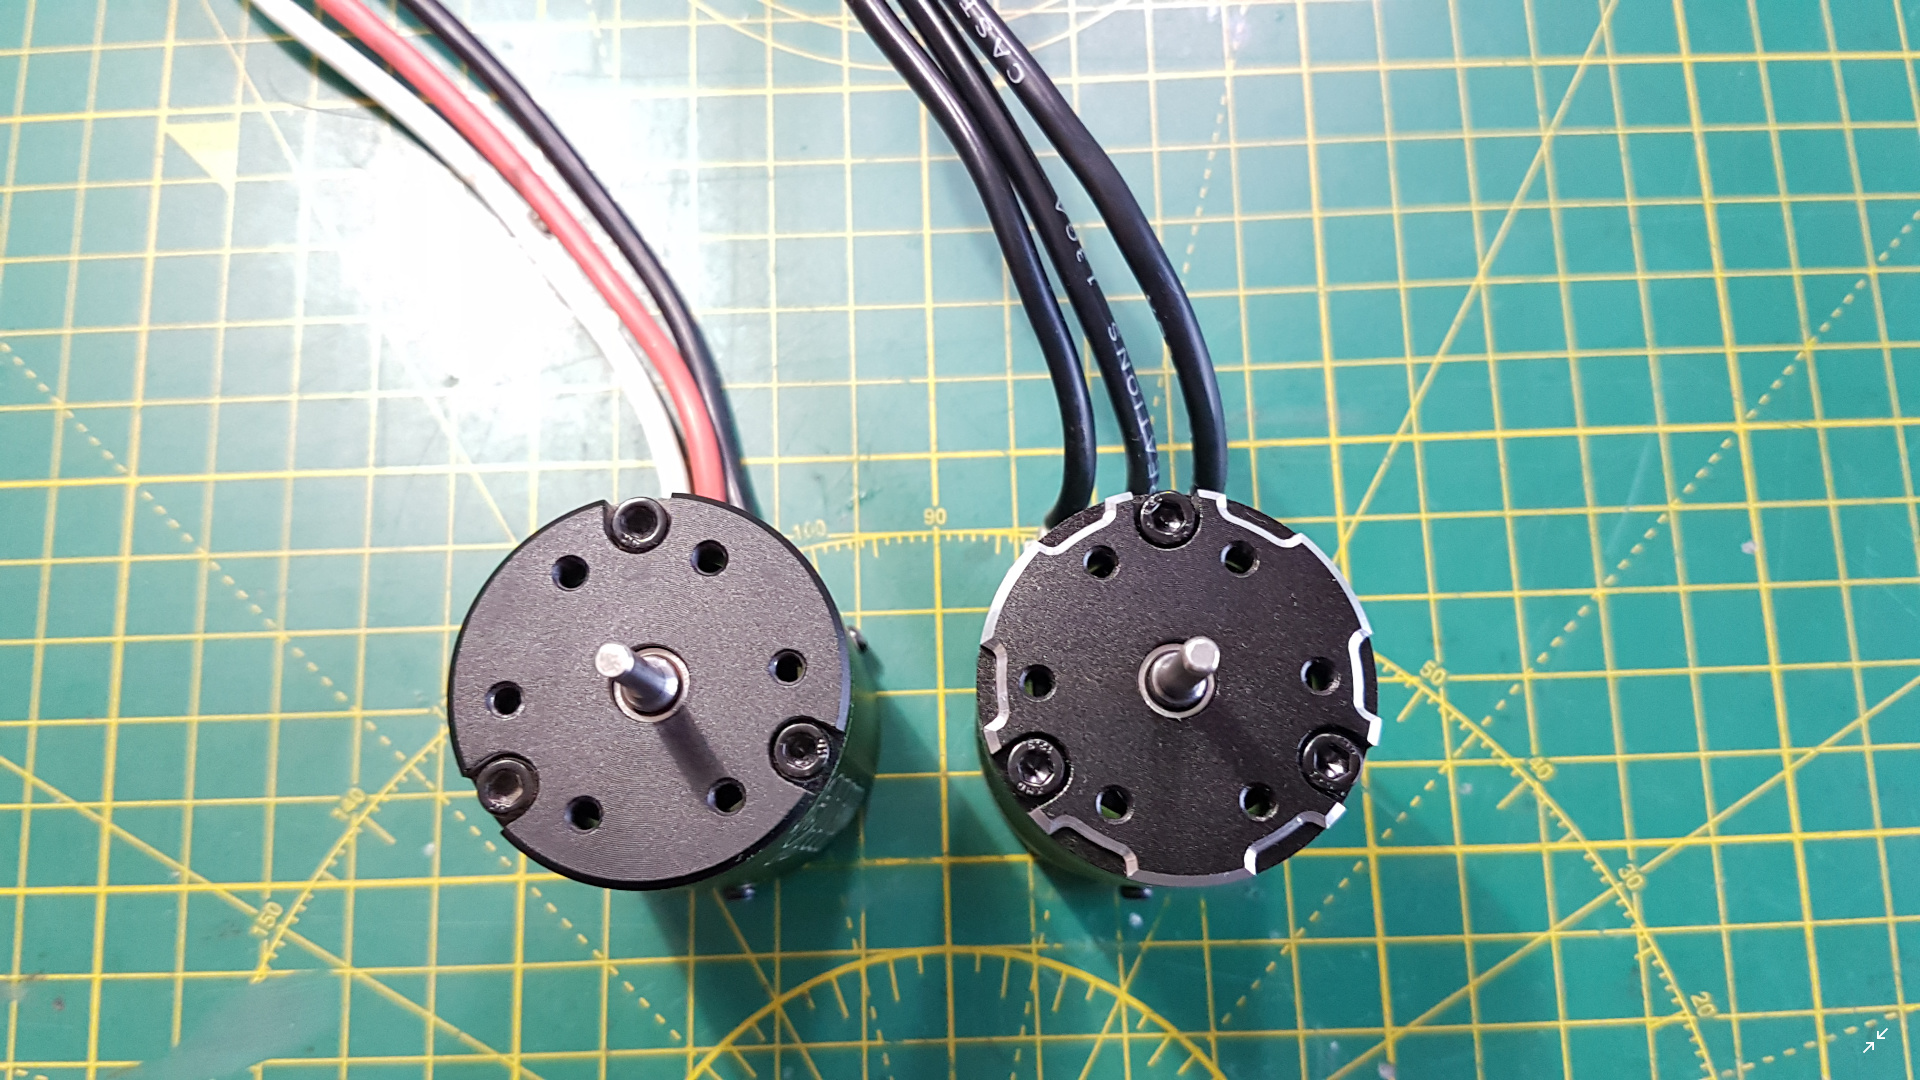
The old one has quite a few scuffs and scratches, but works perfectly well:
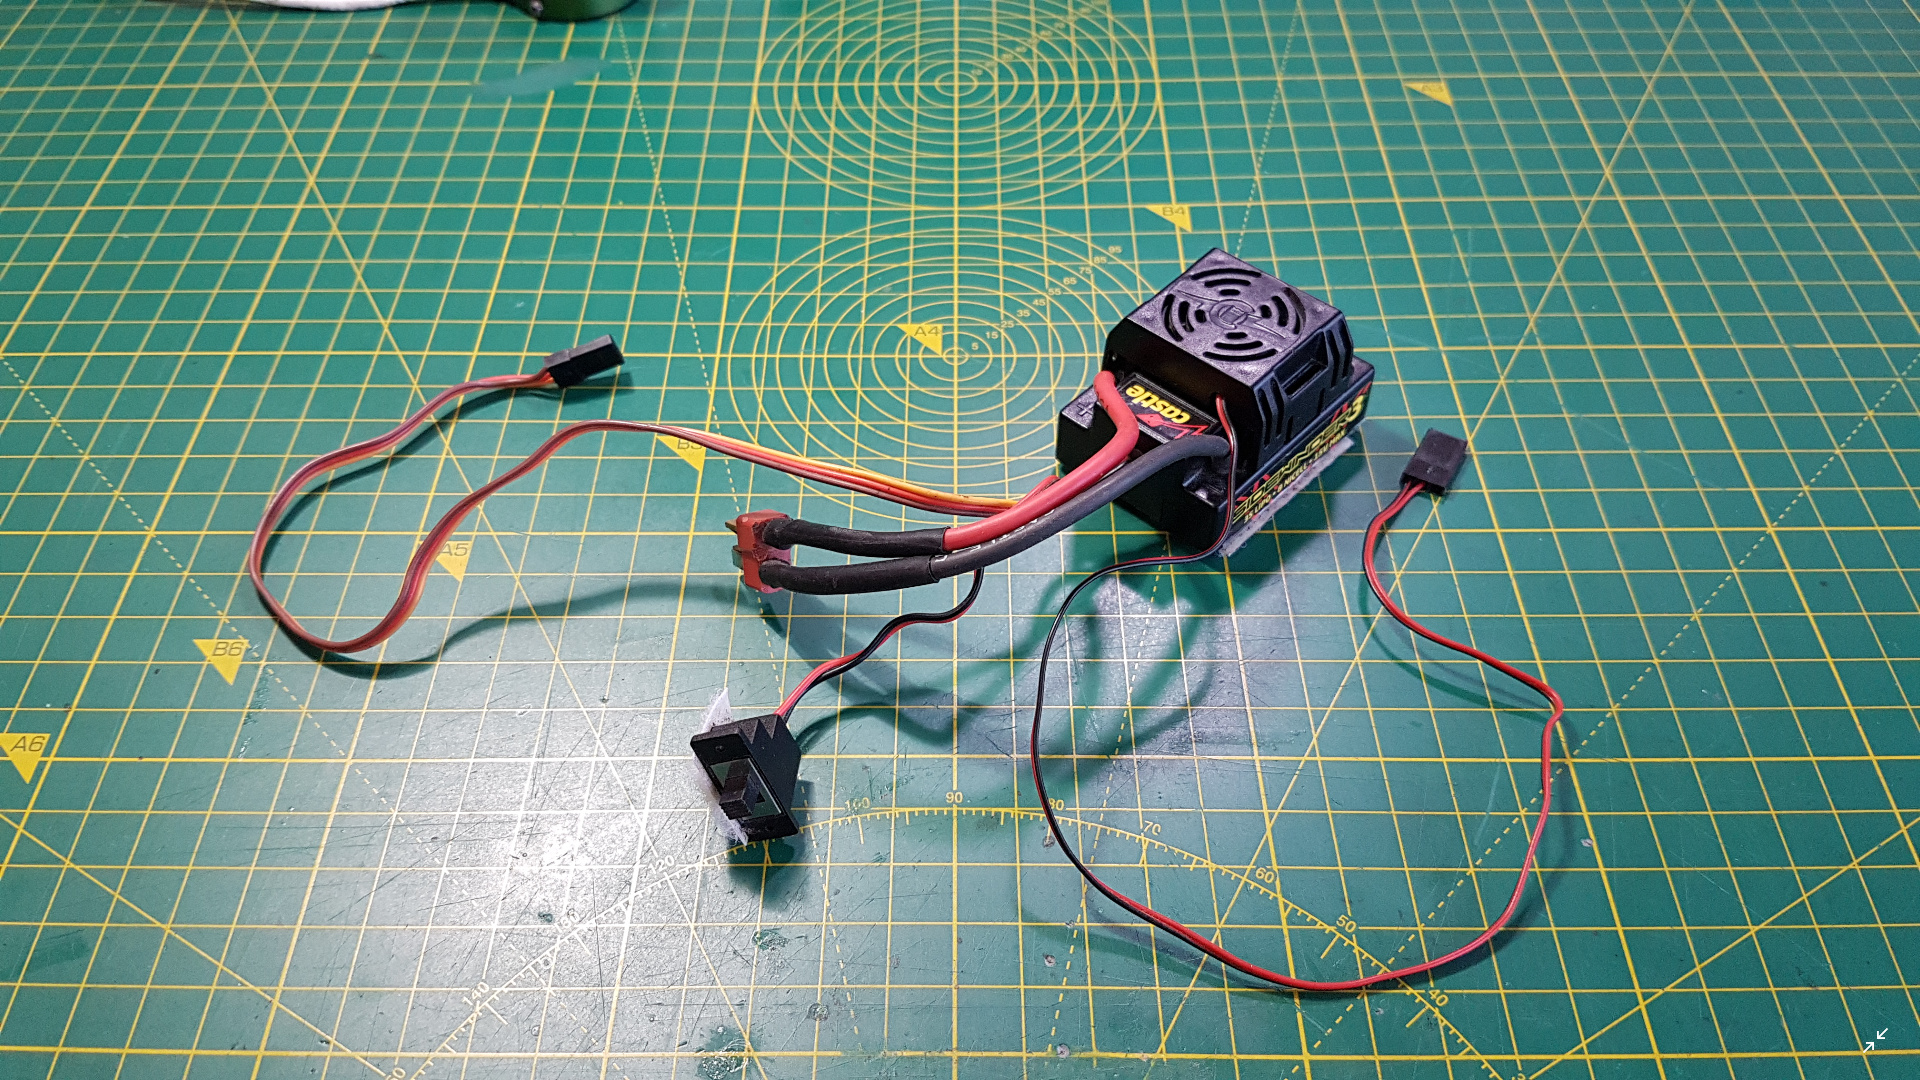
The old Sidewinder 3:
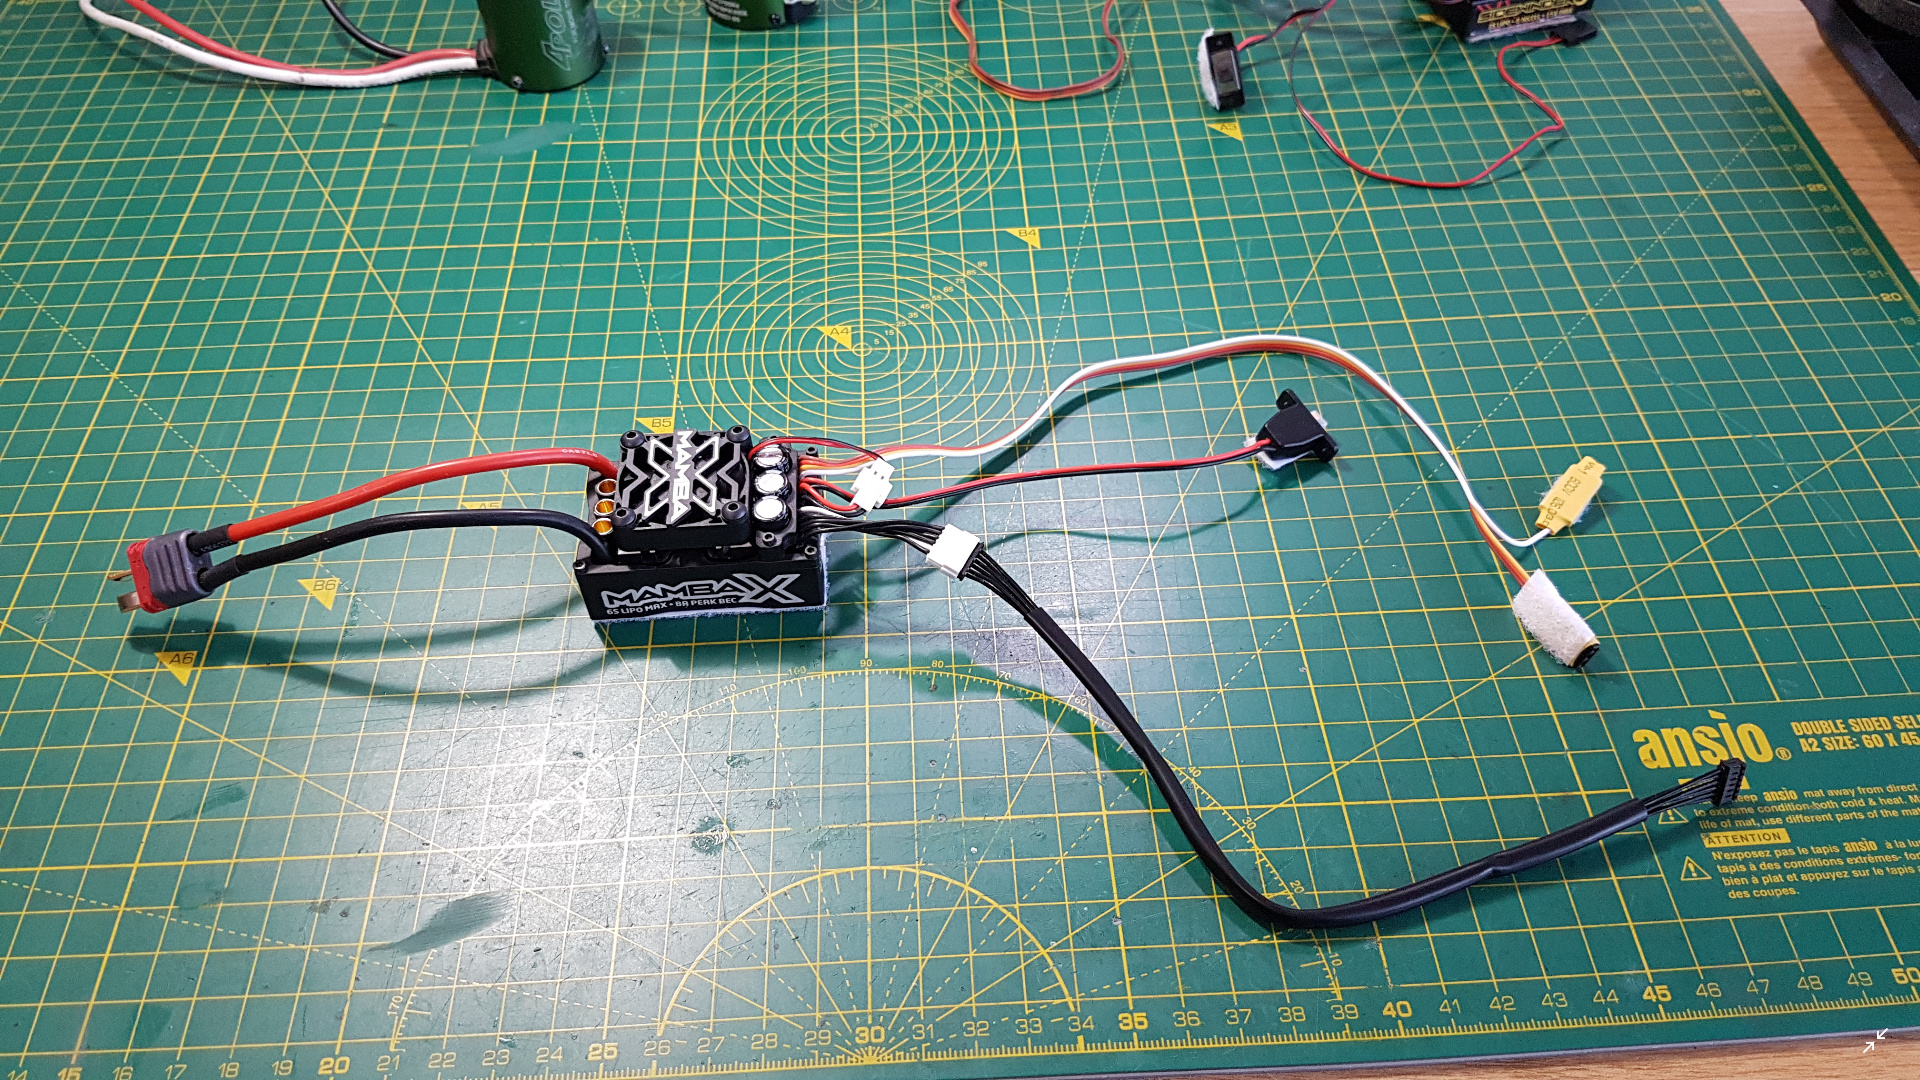
The new Mamba X:
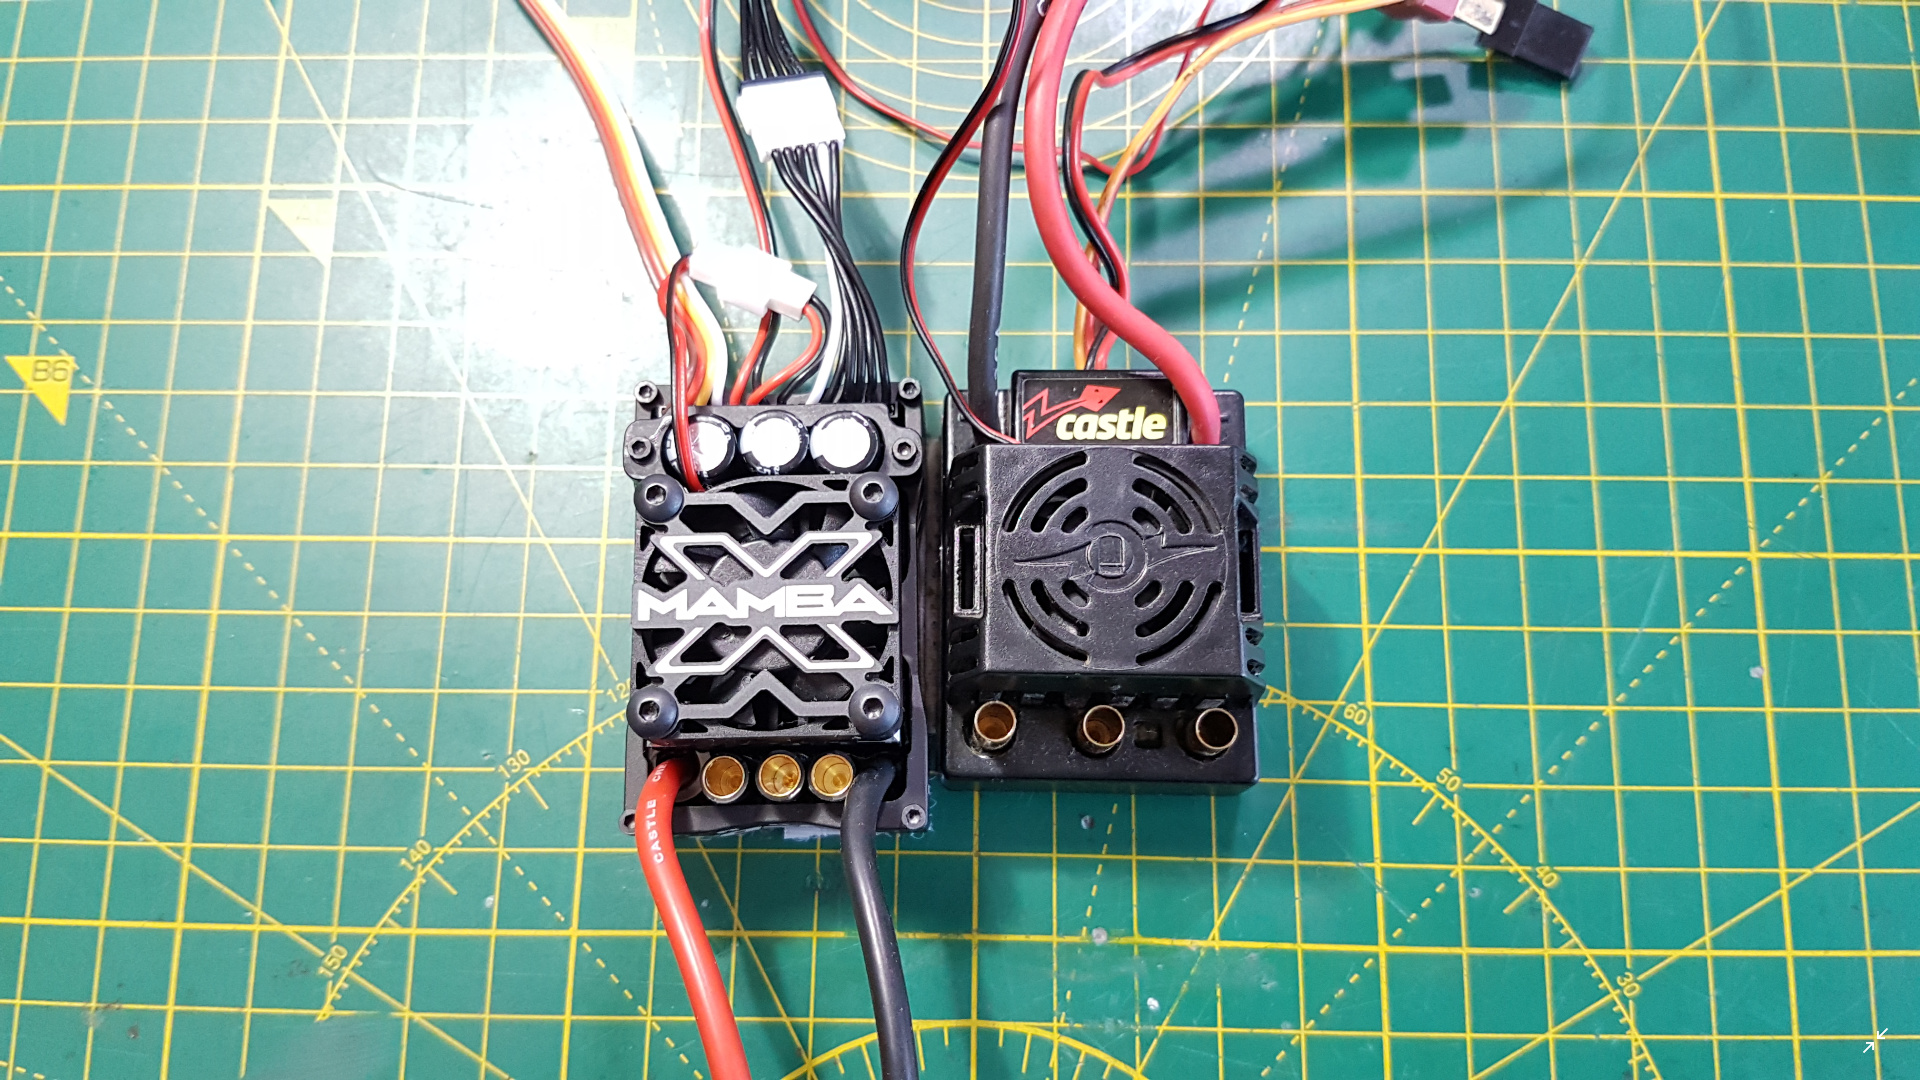
The MX is longer, but narrower:
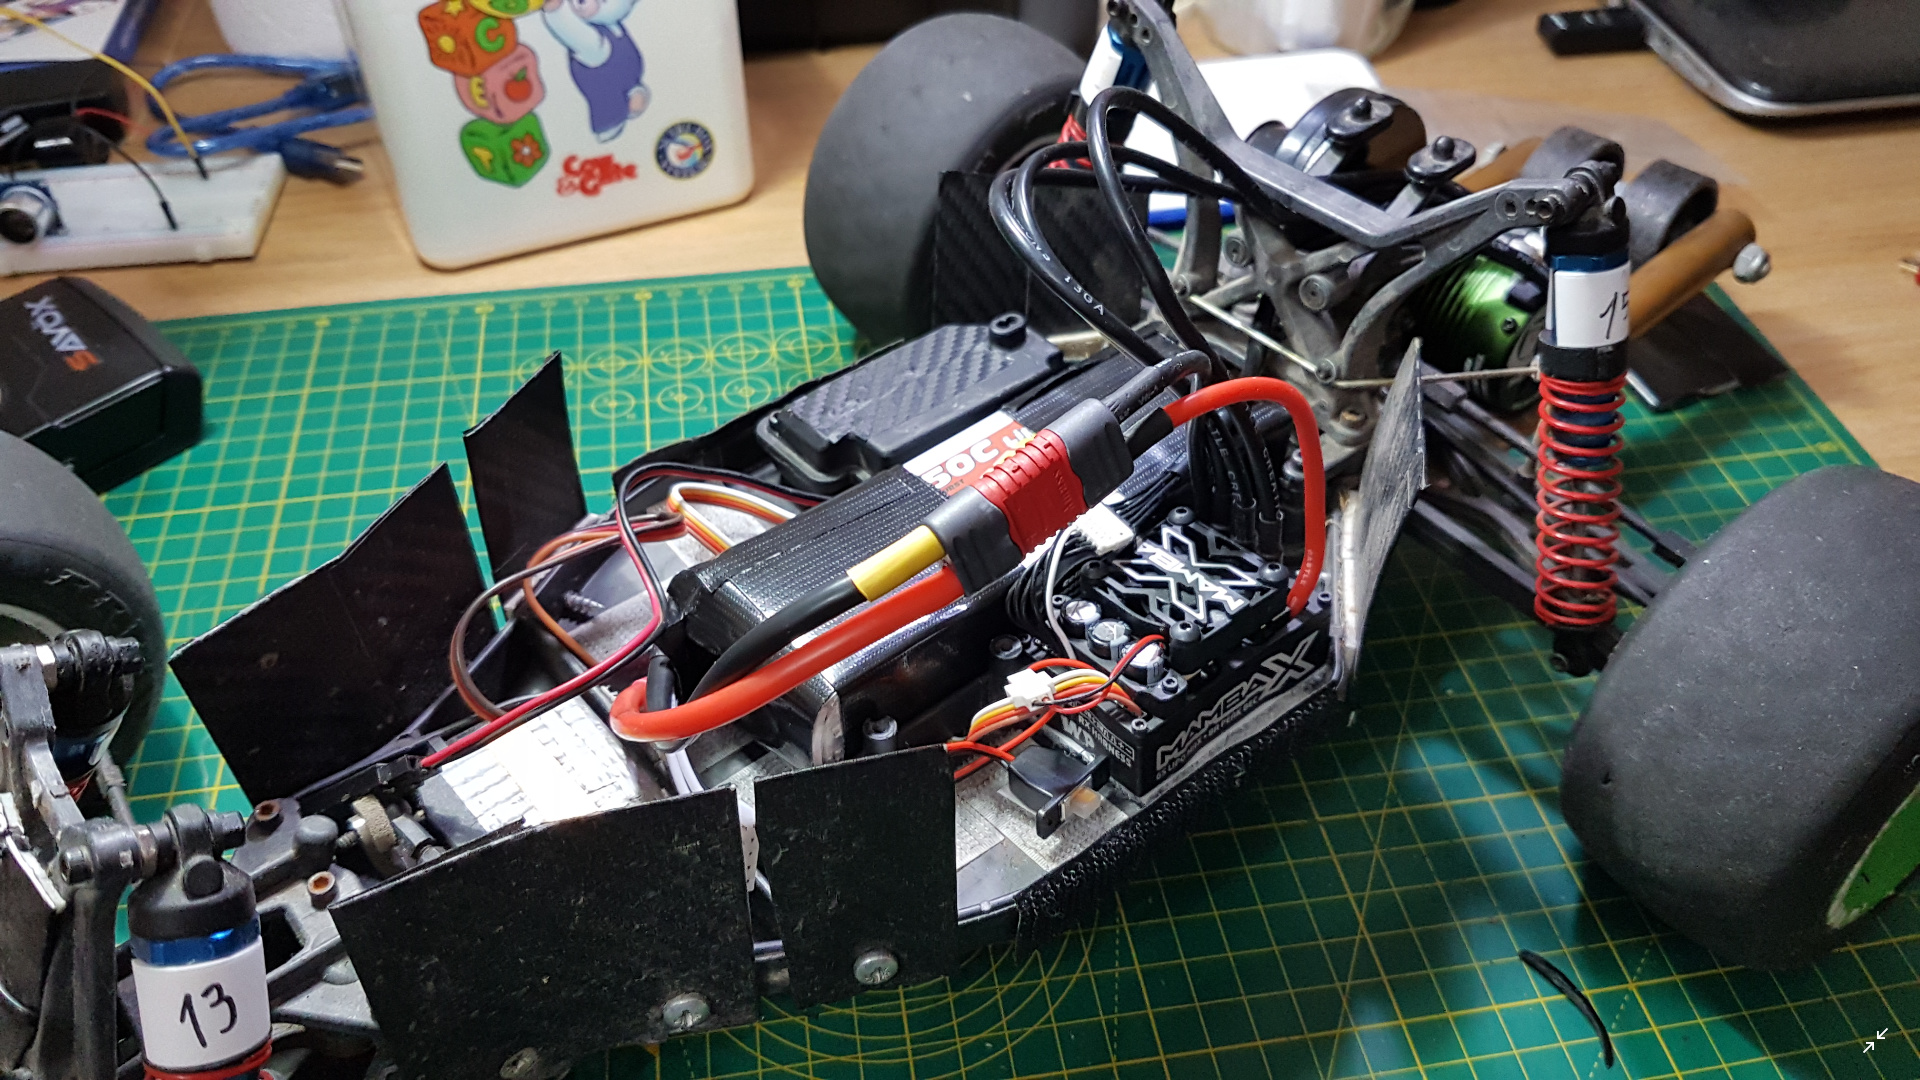
This is why I can’t fit my motor fans:

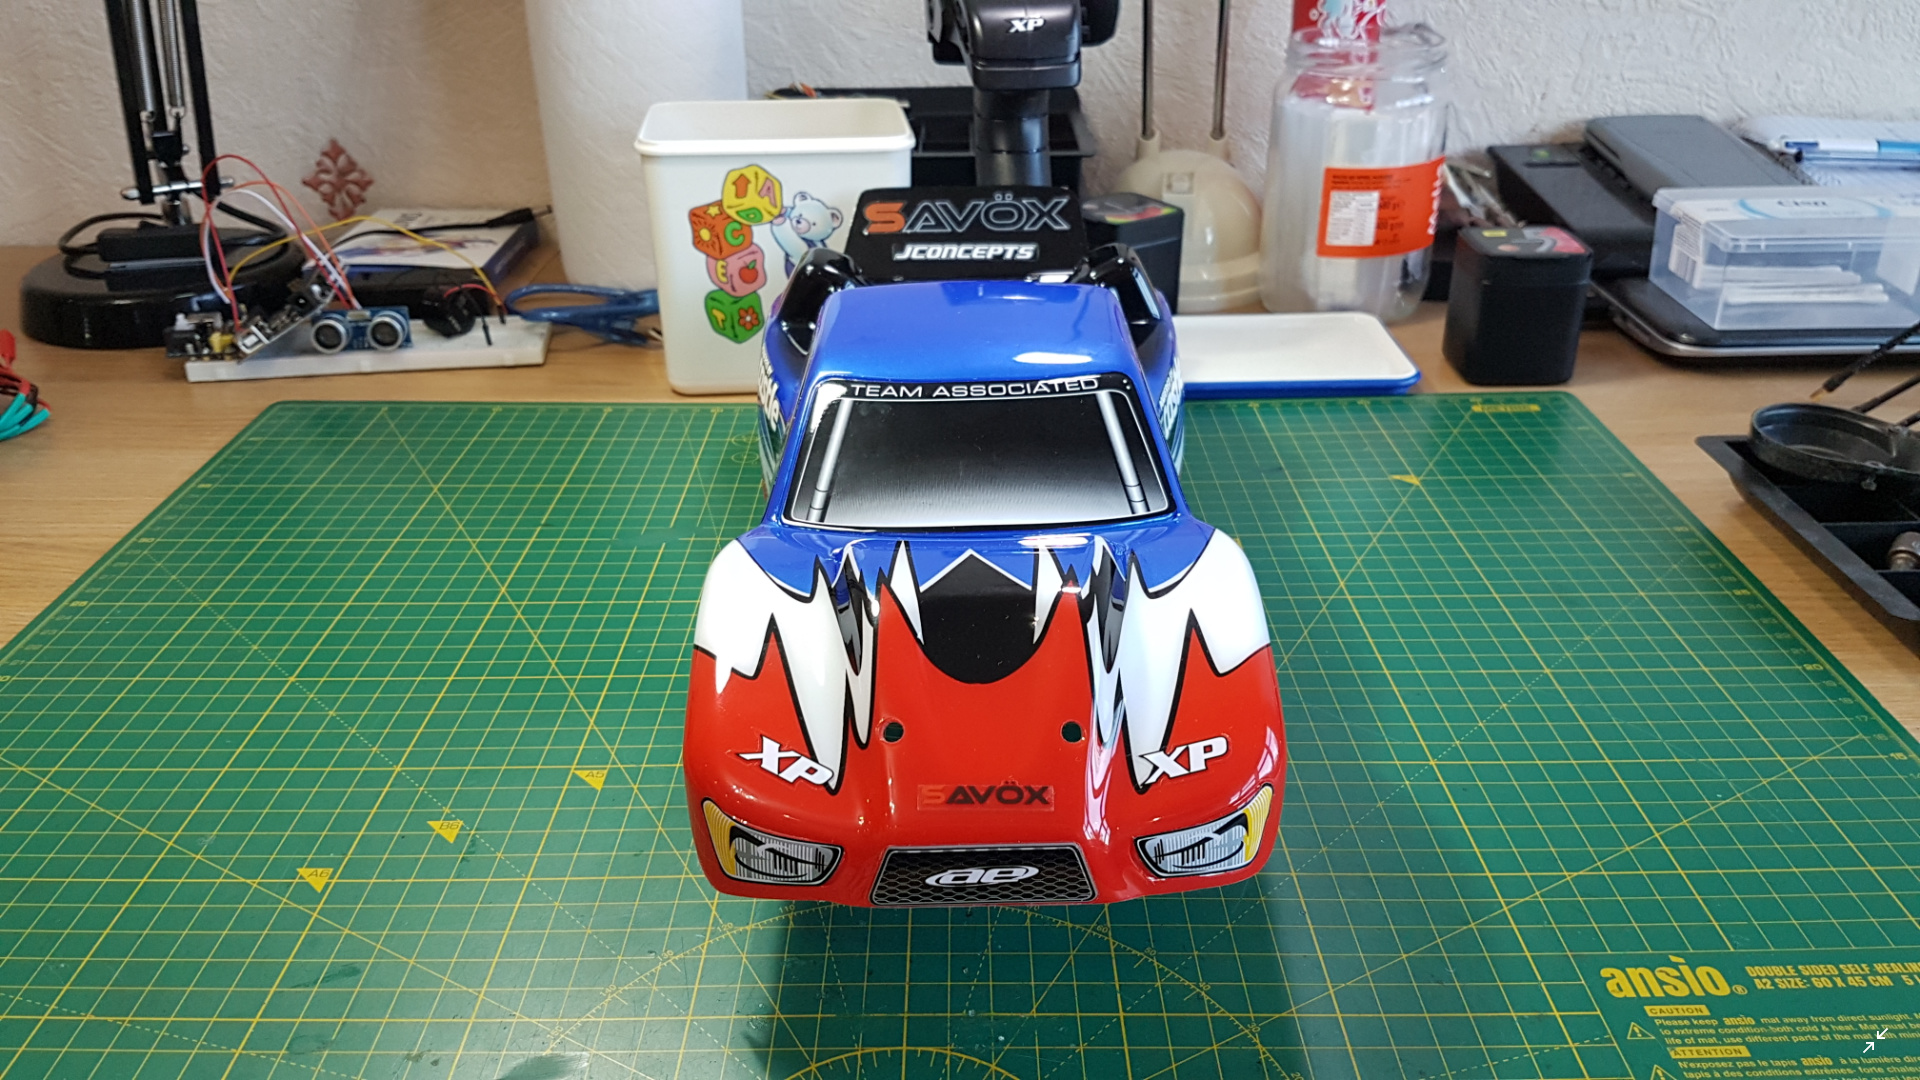
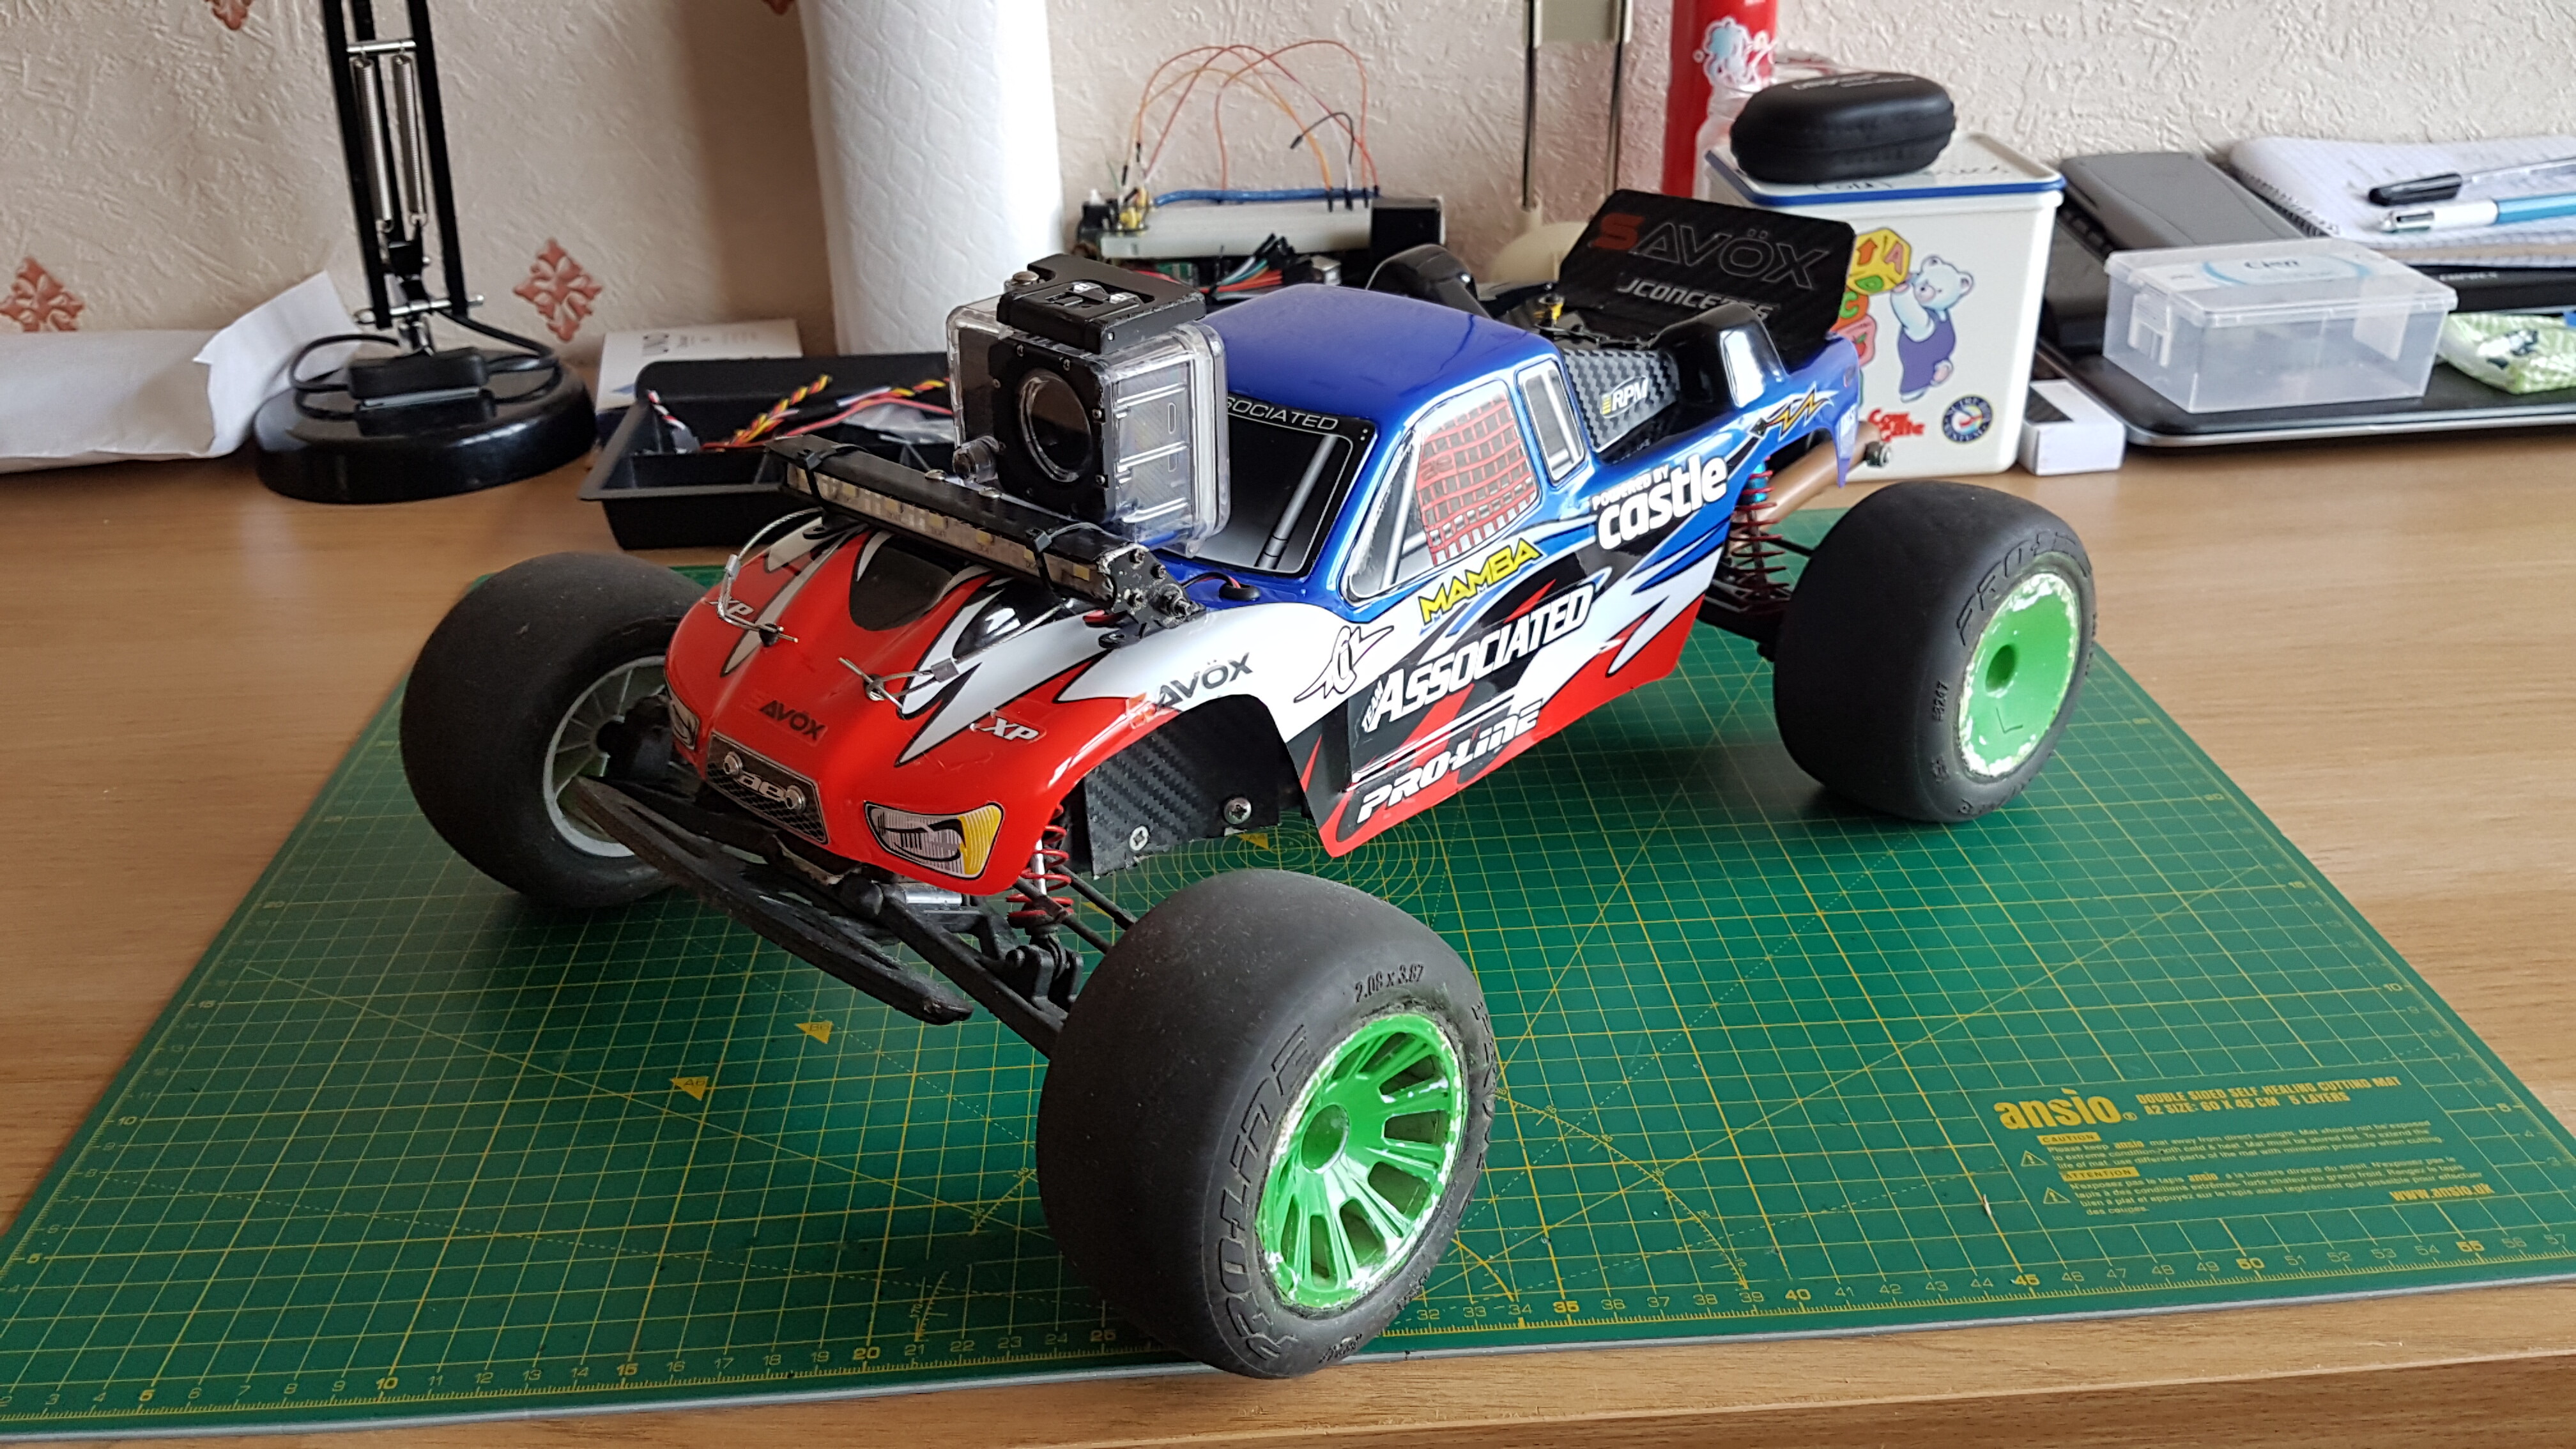
New body without the LED bar or action cam:
Old body, rear window cover:
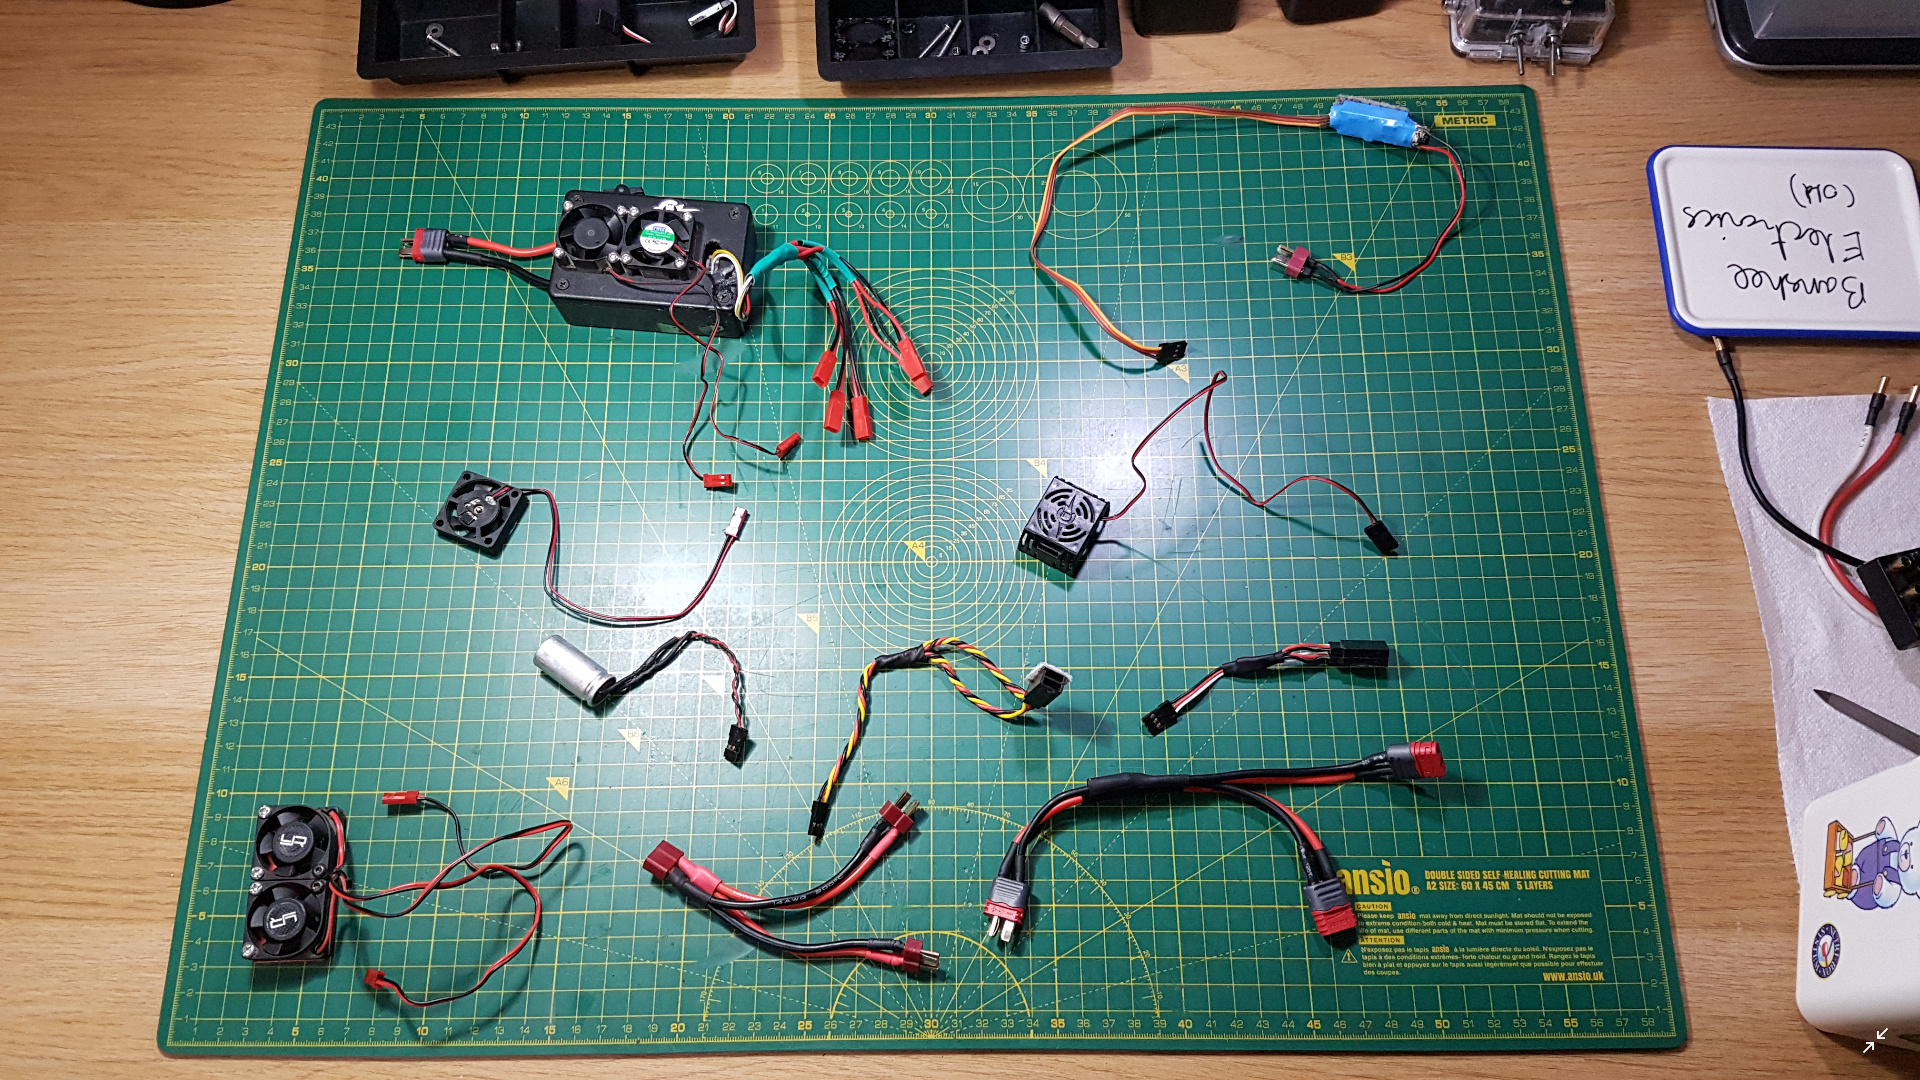
All the wires that have been eliminated (not including the 6 LEDs that will be eliminated with the new body):
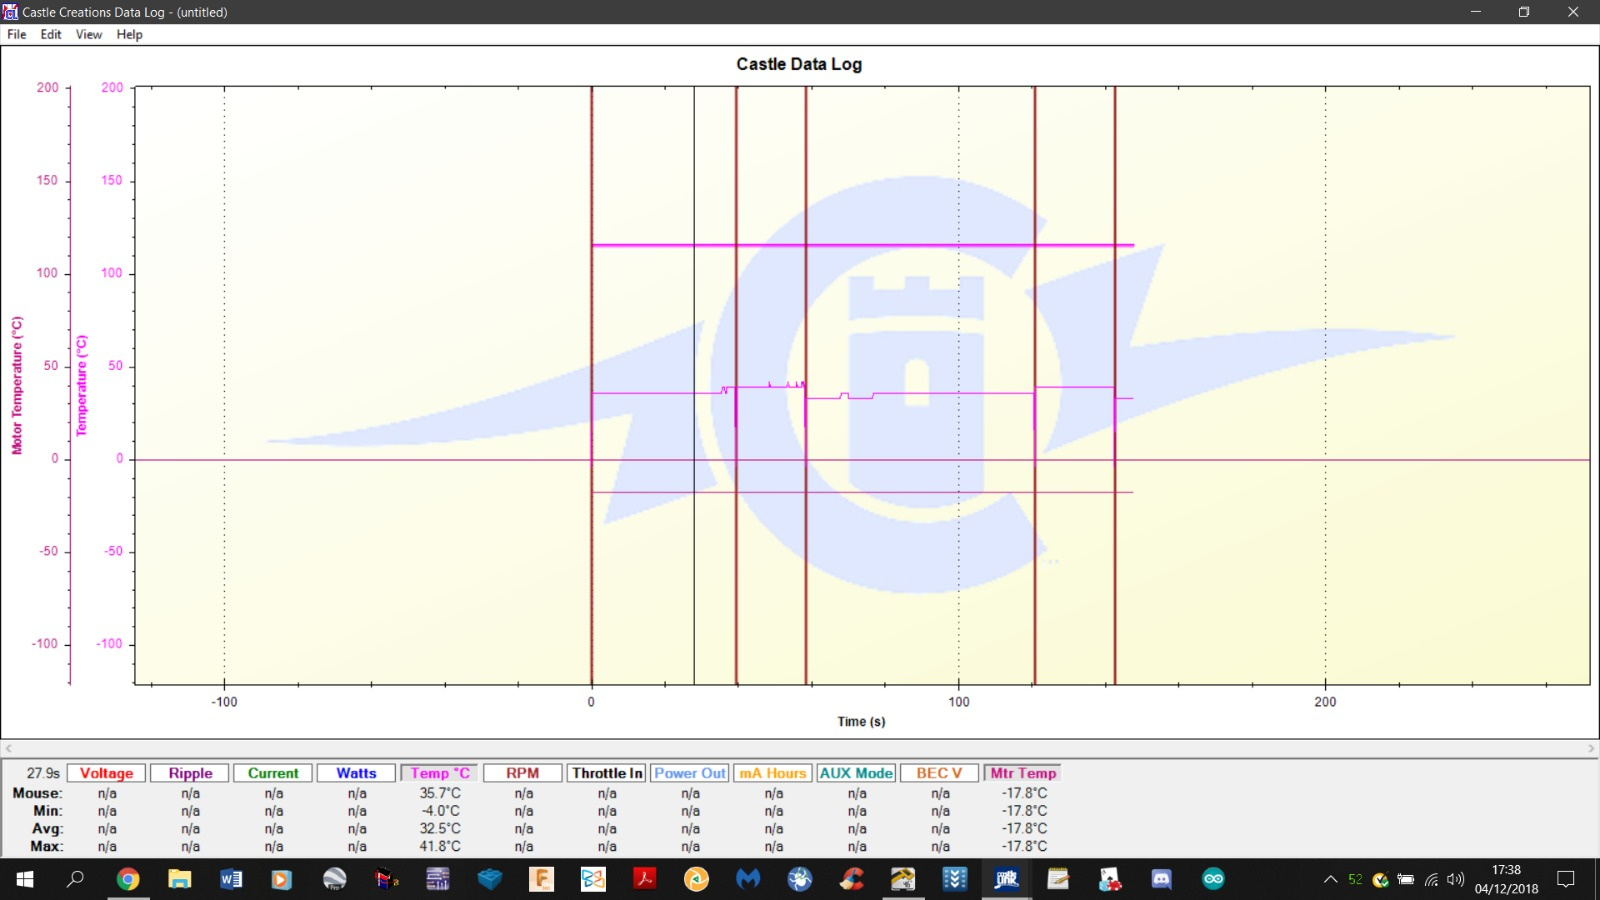
This was on the ESC’s memory when I first plugged it in to program it, I’m assuming it was some kind of quality control testing before they packaged it.
4 Likes
Woah that’s a massive post
Lots of upgrades I see, good job! Gonna go for a test round soon?
2 Likes
Some time after this week finishes.
2 Likes
Quick update:
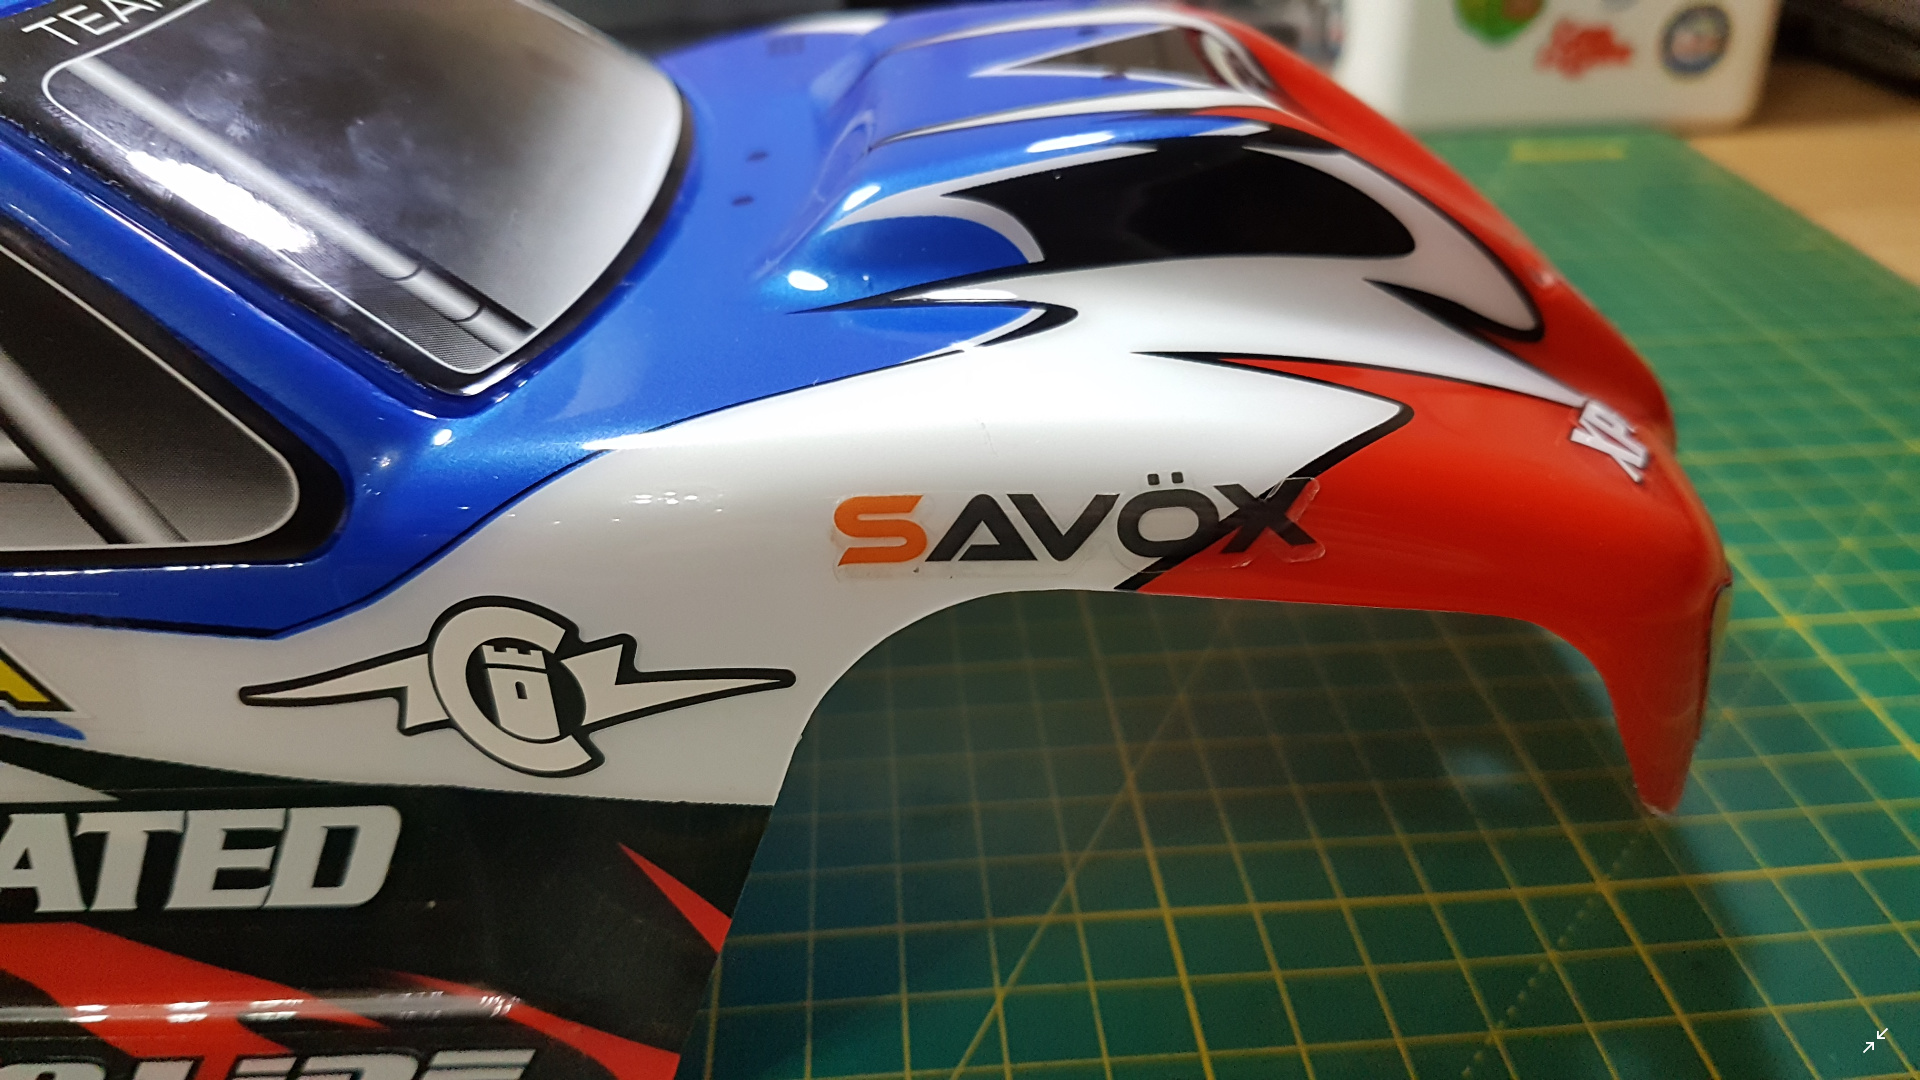
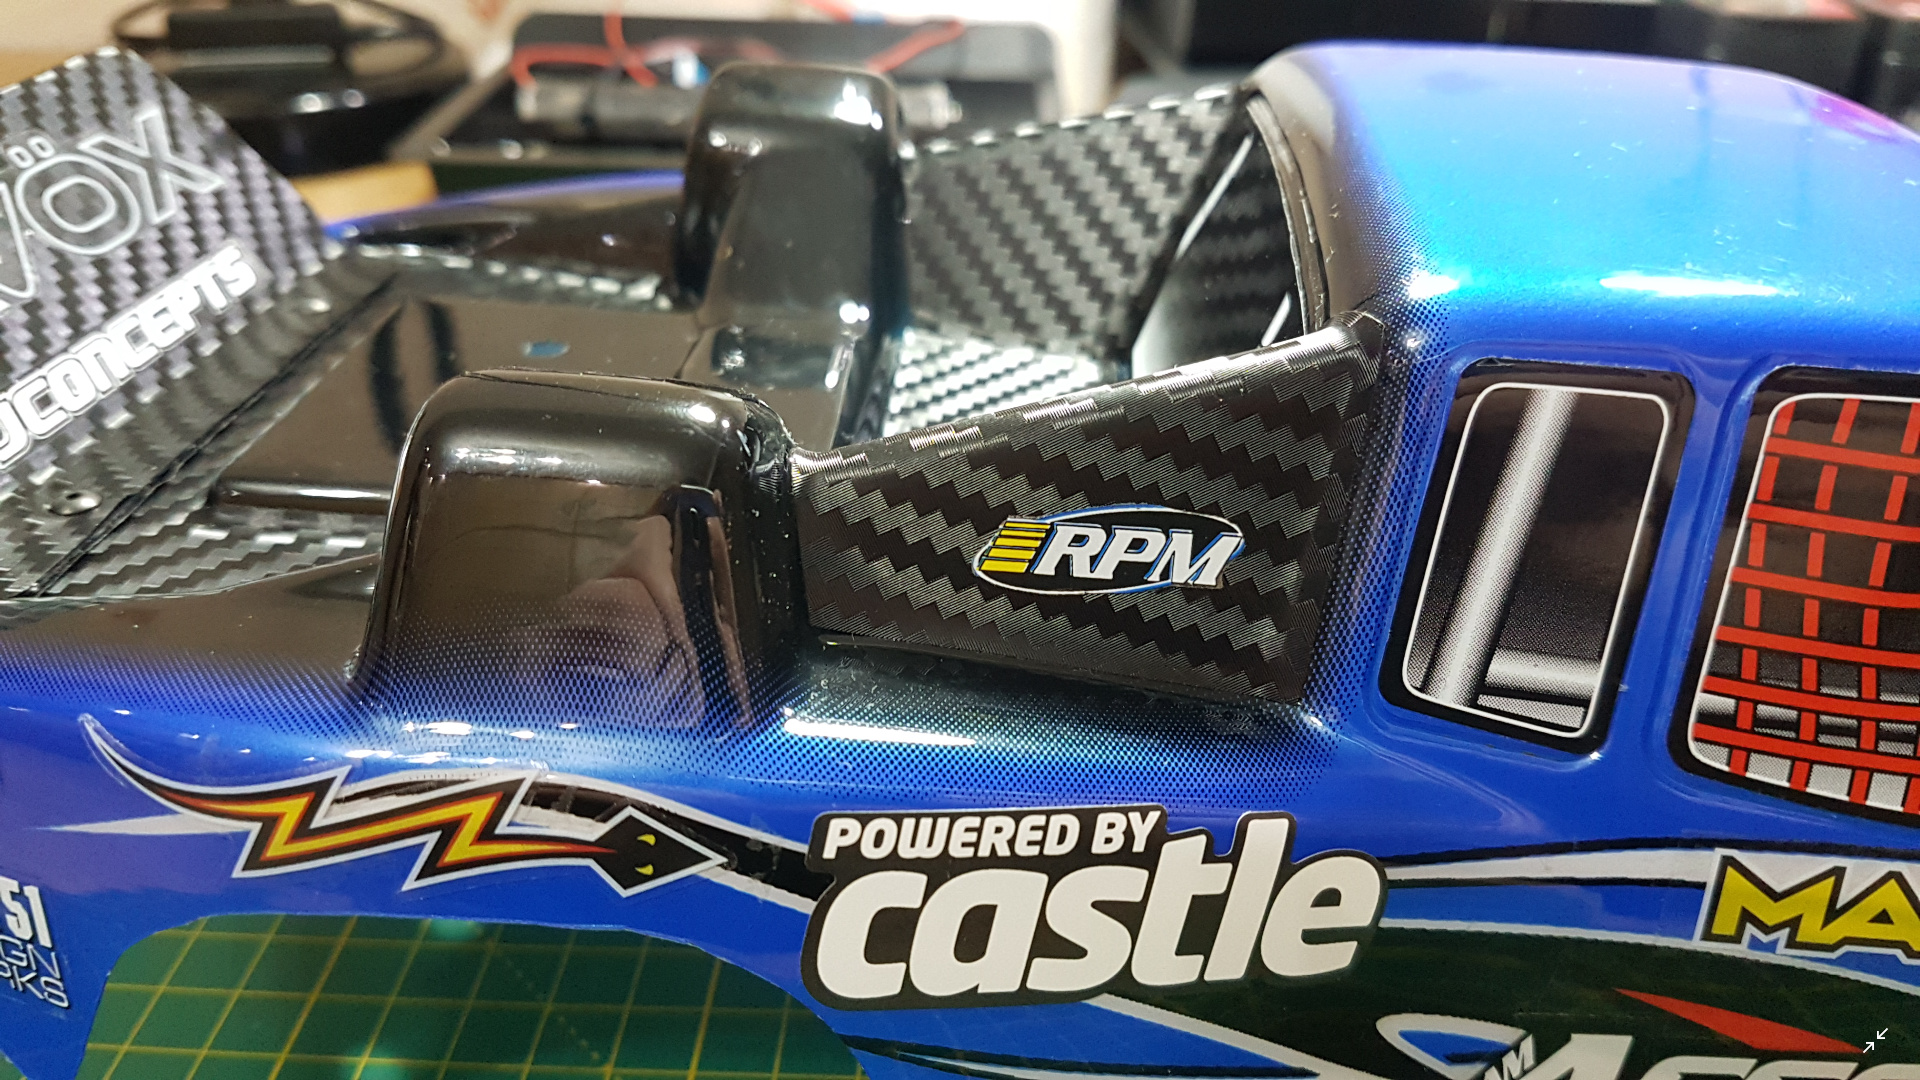
I put some fake carbon fiber on the bed and spoiler (like on the current body) and transferred the Savox and RPM stickers from the current body to the new one. I also borrowed a heatsink from the autonomous car project I’m leading in uni. If I’m not mistaken, I ordered one that is the same. If it’s not the same I’ll just keep this one and then give the one that I bought to the autonomous car project, it’s a win/win either way. The good news is that this heatsink fits.
2 Likes
WOOOOOW 
 that’s incredible - she - it
  - looks like a race-spark racecar! And it’s absolutely amazing how Banshee is growing and changes with your growing knowledge and ability to turn your ideas into reality!! And- most of all: She- it - talks to you!! It’s such a big step to get all this data monitored- just wow - for you as the engeneer: I really feel your passion for what you create and develop there- and then the - how’ve you said? Positively idiotic 93 MPH?!! You need a driving license for this beast now.
All in all, great thread- great project and she - it , looks absolutely beautiful with her new outfit- and the wing at the back… absolutely curious about the vids from the first run 


4 Likes
The 93 is strictly theoretical. As for the first run, it will be nothing spectacular as it’ll be a baseline run with the usual 3S.
Another Banshee update:
I drilled the new body yesterday and fitted the light bar, camera, internal front bumper and rear body clip retainers. My initial plan was to use the new body shell when I destroy my custom painted one, but I couldn’t help myself and have decided to run the new one and preserve the custom one (despite it now looking terrible). I’ve also ordered parts that will allow me to reporgram the ESC and get the telemetry data without having to get into the receiver box every time.
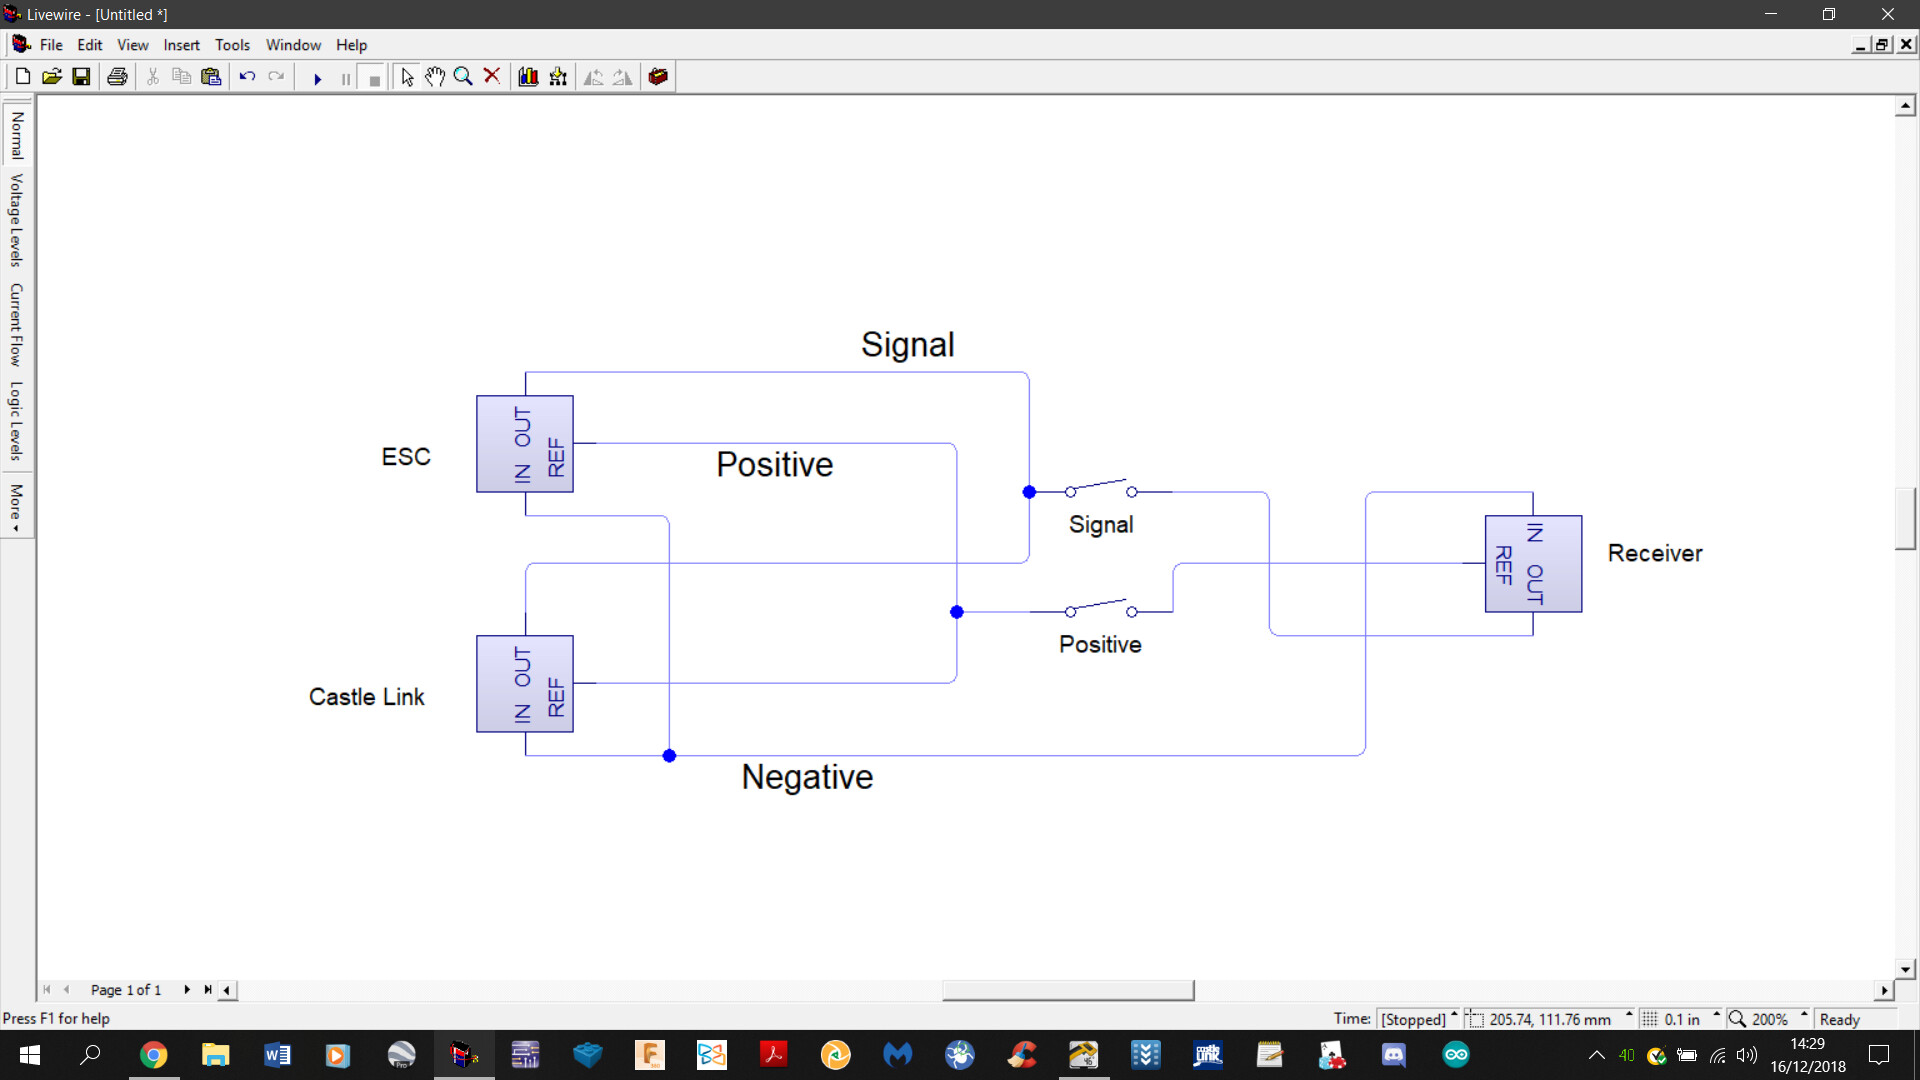
The contraption is essentially a JR Y-lead with switches to open the signal and positive lines on the receiver side. This is because I can’t just use a plain JR lead as the receiver interferes with the programmer. Castle sell a special type of wire with a module that lets you do exactly that, but I’m not paying £20 for it when I can pay less than £10 for my own solution.
I initially wanted to use a single DPST switch with a missile cover (for sole the reason that it would look awesome), however, there were a couple of problems. The first is that the switch is enormous for what it is (they didn’t sell it in smaller sizes). The second is that the missile cover meant that the switch was open (off) when the cover was down, I needed it to be the other way and modding it would be more effort than it’s worth. And the third is price, going for the switch with the cover meant the price would be close to the actual Castle product.
So I went for two small SPST switches and a smaller project box as a casing. I’ll now be able to just plug the USB directly into the truck as the programmer will permentantly be part of the truck and I won’t have to get into the receiver box after every single run. I’m just waiting for the components to arrive now.
Here’s a rough diagram in case my description wasn’t clear. Ignore that I’m using voltage regulators, they’re supposed to represent the ESC, Castle Link (programmer) and Receiver.
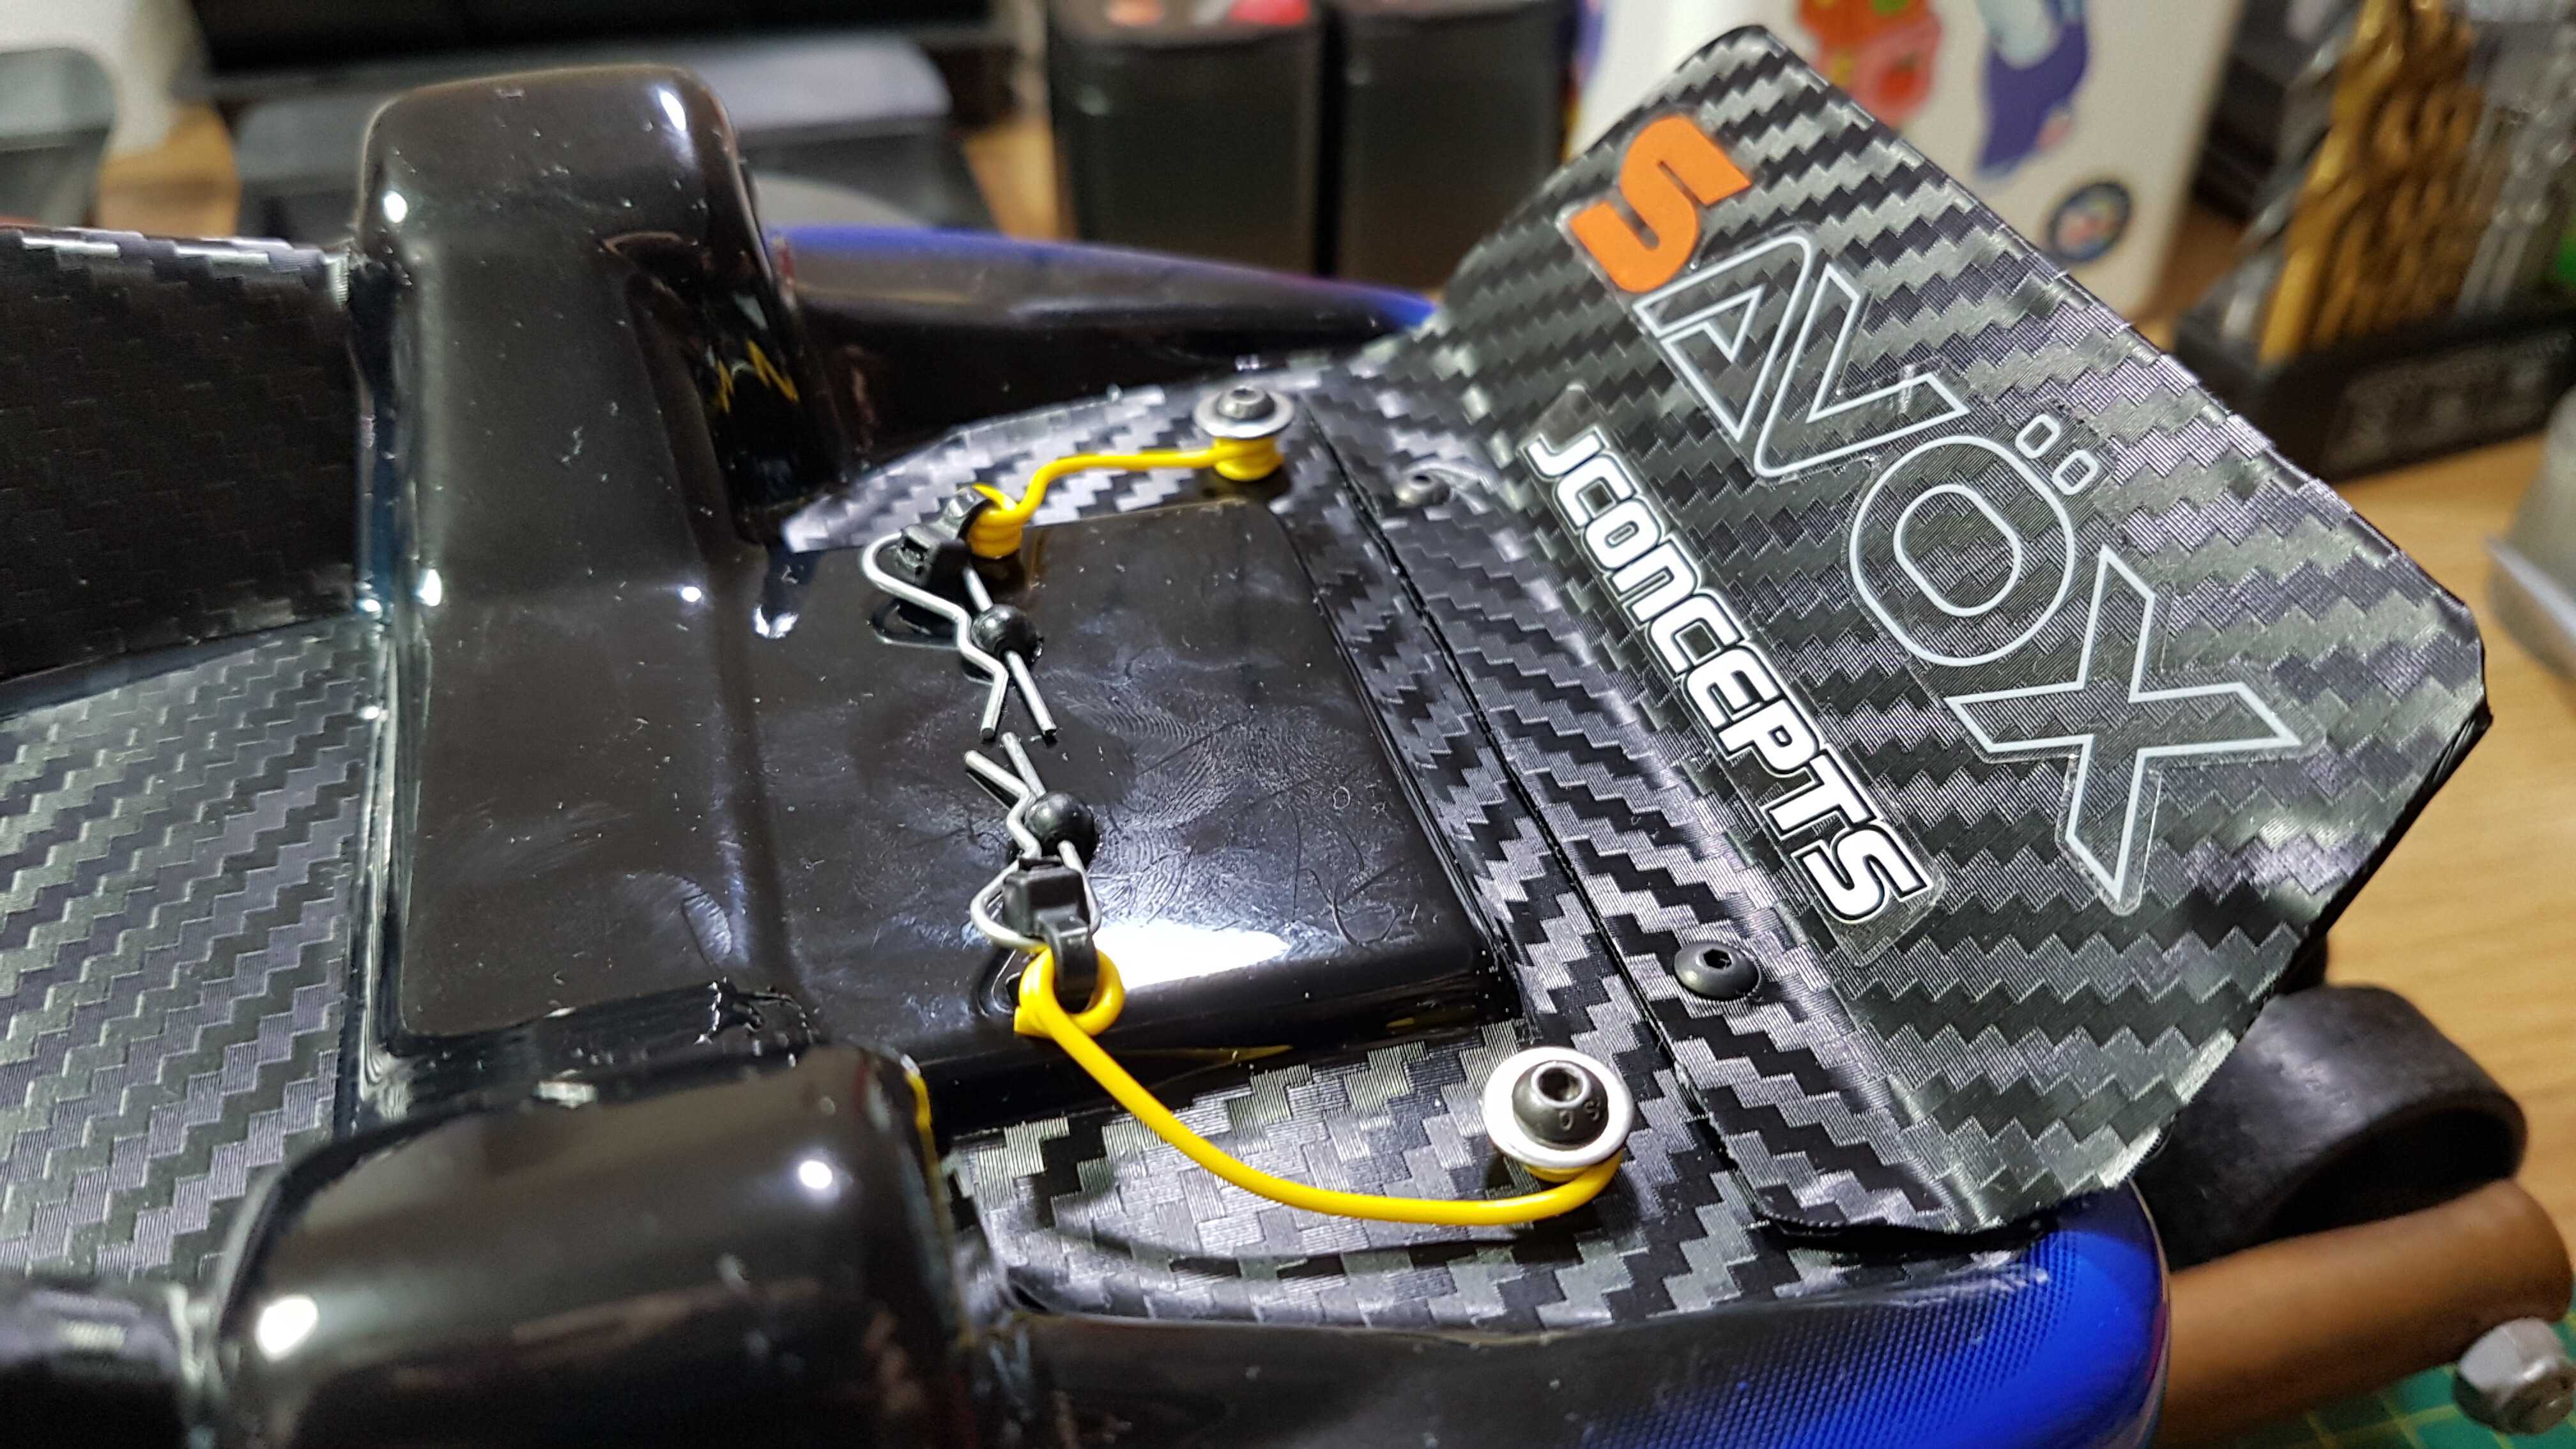
The body clip retainers:
5 Likes