Drawing (with tutorials)

So tomorrow is grocry shopping I will buy the stuff, pencils and everything else looking nice in the creativity shop, the cool on your leesens @coon is, that I can take it if I got time, and tomorow I have time, sooo, first lesson for me and looking fwd to the next, I´ll show my first trys sure here guys, get ready to

Lol I believe - you will have good drawings :smiley:

Part 2
Now we consider the definition of the volume. What is it, why do we see the volume? The volume consists of light, shade and all in between (halftone - halflight, halfshadow).
Let’s draw a circle. Inside it we will draw a few circles of different sizes. The largest one, after the main, we shade the darkest color. We need to make a smooth transition to the smallest circle, because this one is the highlight on our ball, that means, the most lighted area.
http://2.firepic.org/2/images/2016-02/06/hdr2ql2p4lfw.jpg
We can do it as in the previous exercise, or we can use the circle lines, as the guide-lines that show the edge of the next tone. The more circles, the more tones, hence the more volume in an image. Eventually, your drawing should succeed to a ball.

I’ll tell you a secret - I love balls very much. Of a different kind: glass, metal, plastic, rubber, because each material will have a different highlight and its own light and shadow relations. Different materials have varying degrees of reflectivity. The matte surface does not have such a highlight, as a ball of glass. I make sketches of balls - I indicate the location of the highlight, which depends on the distance from the ball, and the highlights intensity and balls location in space, mark the border of light and shadow.
This can be done from photographs from the internet and just looking around the room. For example: light bulb partly consists of a ball; the glass of the photo lens is also round; it can be a vase or plastic eye of a plush toy etc. Sketches of the different materials are very useful and can be required in further work.


http://2.firepic.org/2/images/2016-02/06/vmfcawrq7em2.jpg
Fullsize- here

1 Like

Wow I’ m on grocery Shopping Even the material Part two Looks awesome ca later @coon

1 Like

The next part will be even more interesting :relaxed:

1 Like

Part 3
Let’s draw a cylinder - it is a parallelepiped with a circle in cross-section. Divide it in your mind in half lengthwise - it will be a border of shading, which you can not cross.
And now, hatch the cylinder with lines, parallel to the circle, do not forget about the border. The border has an interesting feature - it can be moved. We can make it longer or wider, shift to any edge or to the center. Experimenting with kinds of hatching, you can achieve interesting results. For example, if you do not use the cross hatching (not hatch parallel to the circle). In such way, many comic artists copy the surface of the metal. By the way, there are many different books on the study of comics-style, and they describe methods of hatching to simulate different textures.


Now, let’s draw a little more complex picture. Draw a snake. Primitive, like a worm. Mark the border of the hatching inside of it with a pencil. It will turn into a snake in a snake, which repeats its outline. Inscribe in its head a circle as we did in the cylinder. Draw a few circles on the entire length of the body. These will be our reference points to define the direction of hatching. And we begin to hatch our snake from the outer line TO the border of hatching, paying attention to the guiding line. This exercise is the most important part of the drawing. When you learn how to hatch according to the guide lines, you can create a volume in your drawings.

Try to draw another snake, but this time without guiding lines. I mean, we need a line art, in which we mark the hatching border and hatch in one direction only, as we did in the previous lesson, with the basic schemes of hatching. As you can see, this snake doesn’t have such a volume, as that one drawn with the guide lines.

Small life-hack: use the spring. Inside each form you can put a spring, which will guide the direction of hatching and helps not to get lost in the volume depicting.


1 Like

WOW even interessting and motivating again, and I ever thought, they can draw cause they´ve the talent, but it´s even technique also…lol thankx again, you are a very nice tutor, :relaxed:

1 Like

My Birthday


Pic for my daughters Birthday Tom

2 Likes

Your daughter’s birthday is Phoenix’s birthday (Feb 8)? My birthday is Mike’s birthday (Feb 11).

1 Like

How funny is thaat? [twice I met Mike, he speaks always a long “a” in words like thaat…so we mmake an interims birthdaaypaarty, and Phoenix, born out of the ashes, really nice :heartbeat:

2 Likes

And I on my birthday to draw pictures. I thought that I would paint all day, but I have drawn it within 2 hours :joy:

1 Like

Wait so when is your bday @Coon?

soon - 18 april

Part 4
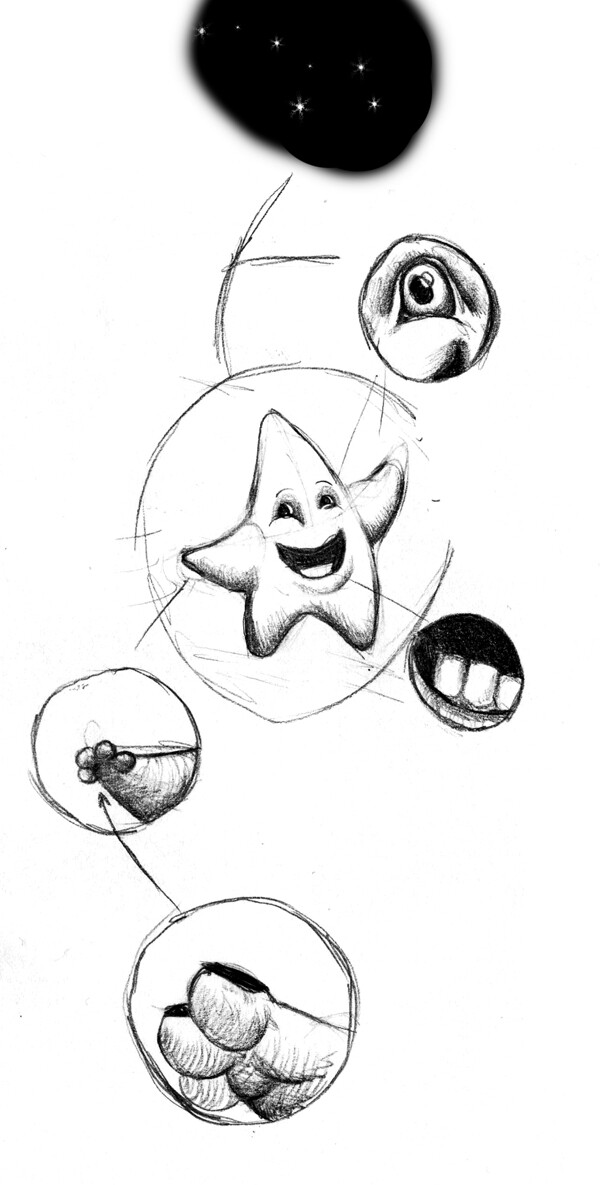
Looking at the night sky, we can see stars. We can draw them like this:


And this will also be a star .Detailing! The whole matter is about the detail. The most complex shape can be simplified to the most primitive. This is the basis of Everything - from drawing to quantum physics.
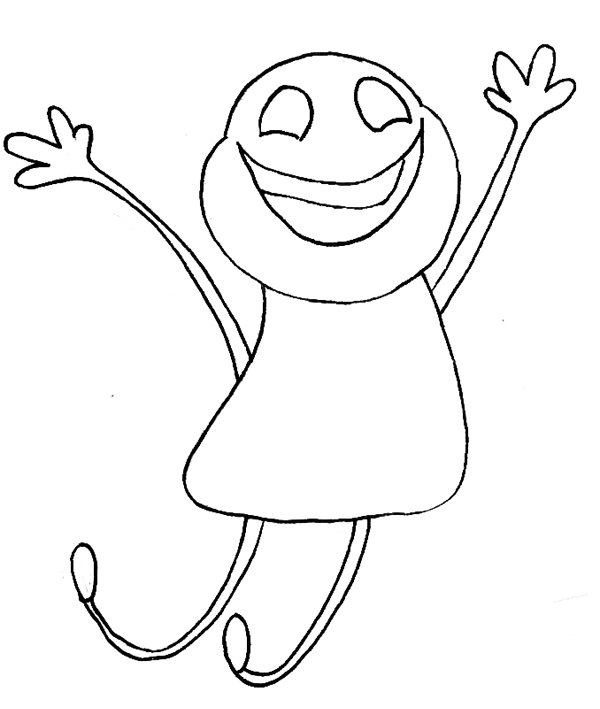
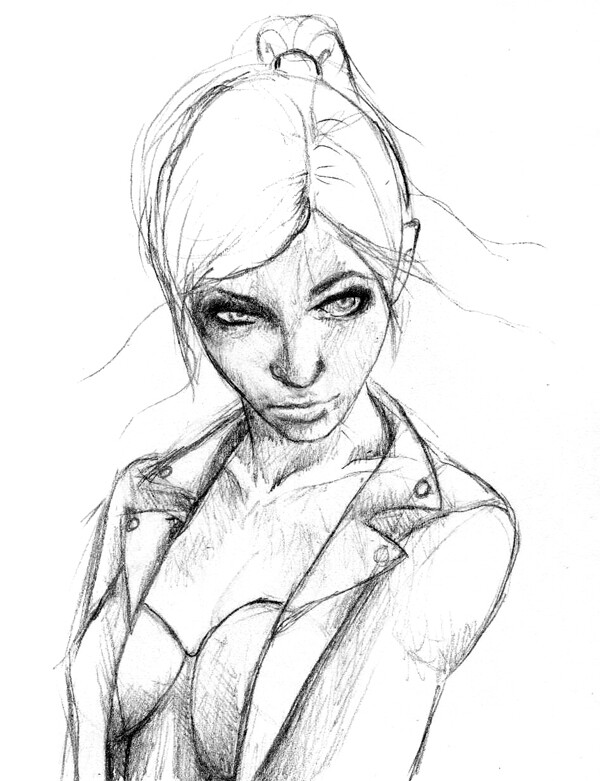
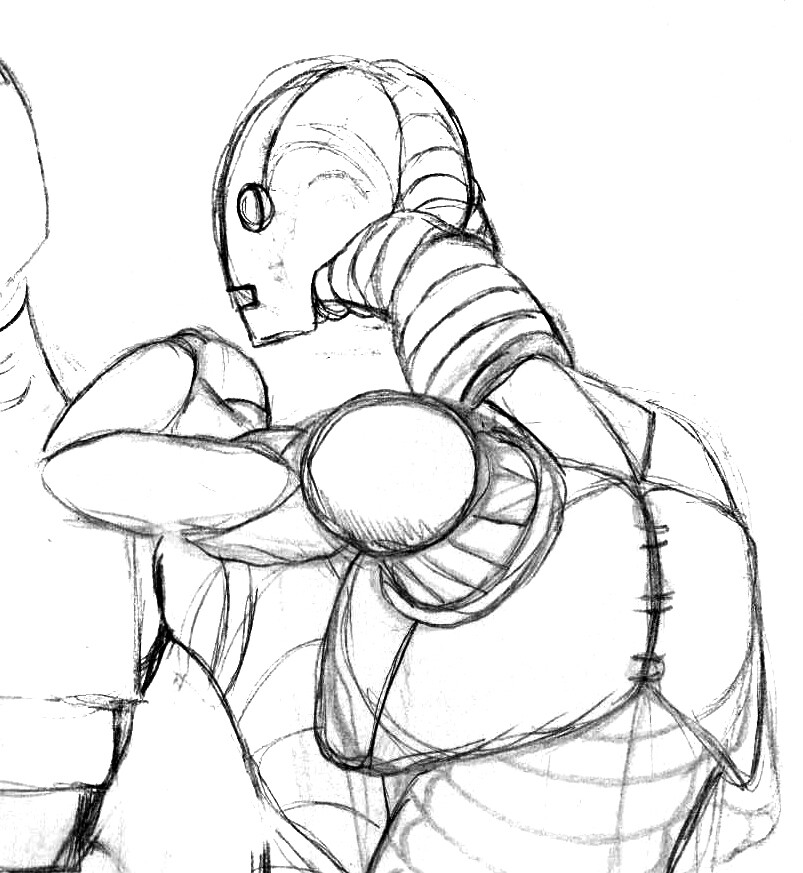
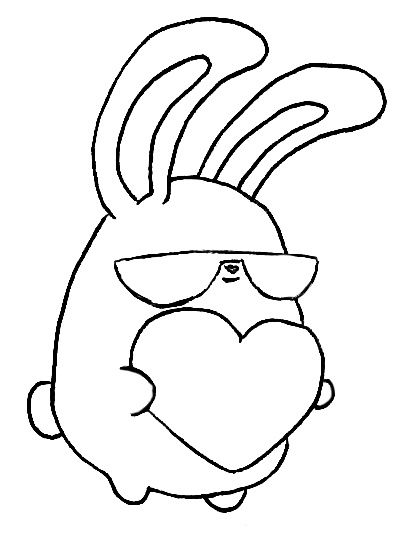
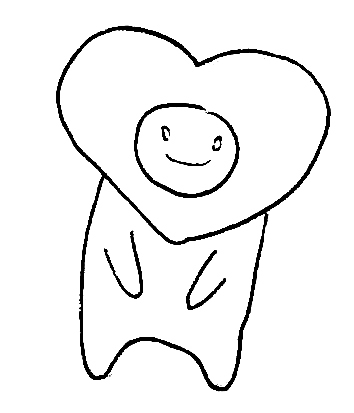
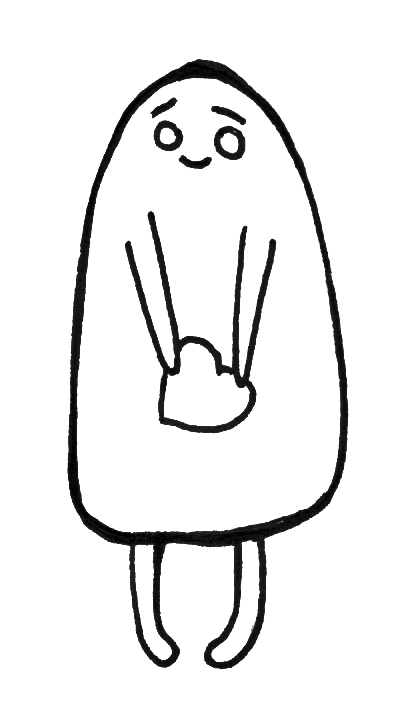
I can draw a man this way:


or that:


but in any case it will be a man. The first one is primitive, and the second one is also primitive, but with the addition of a large number of primitive components.
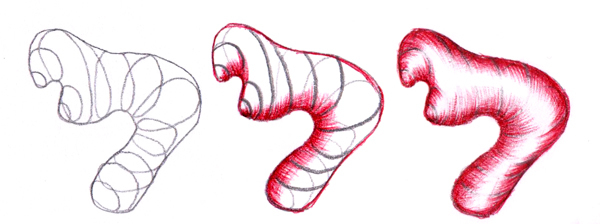
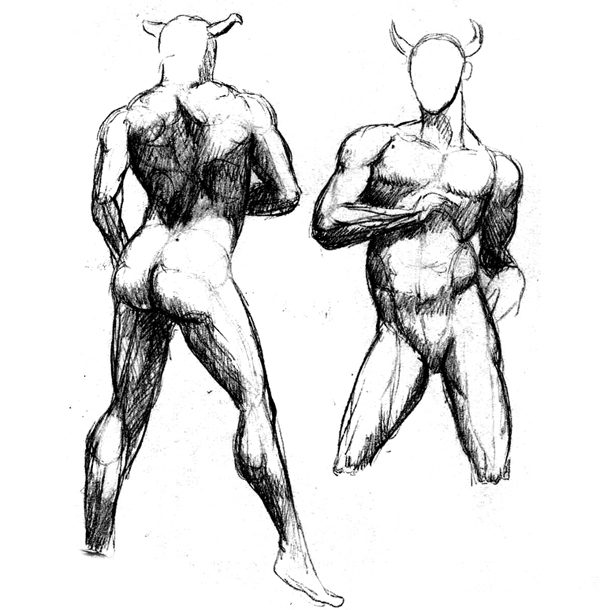
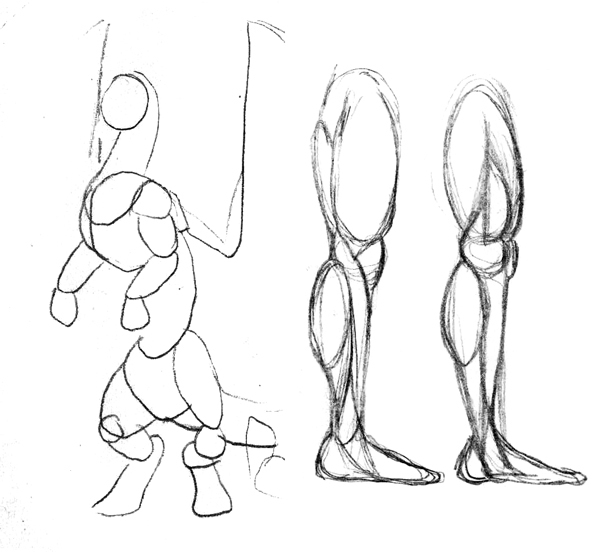
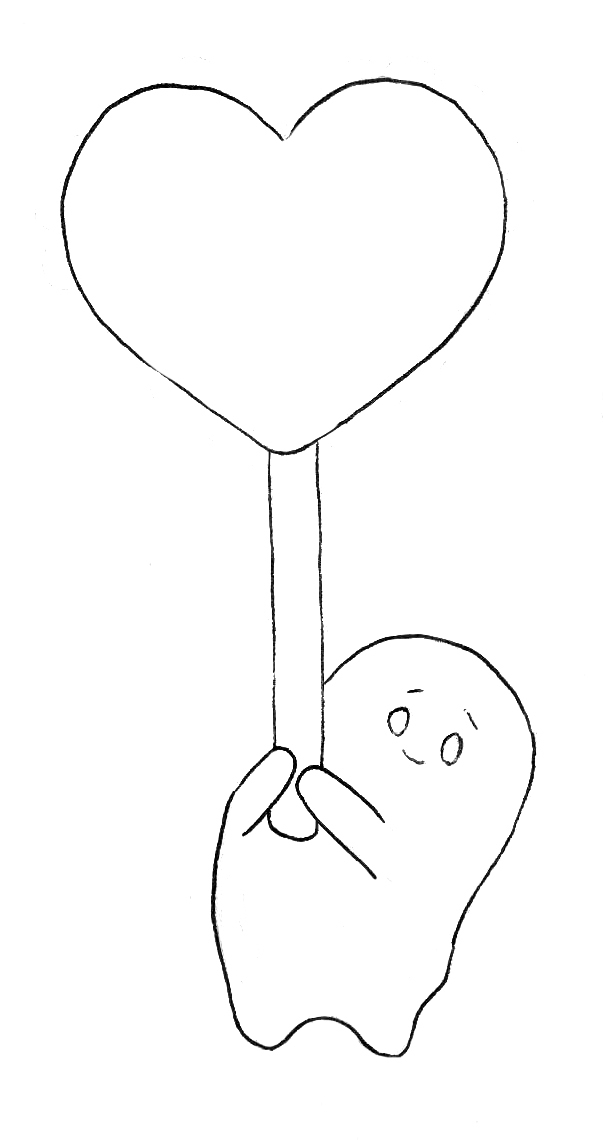
Knowing that everything is made up of simple shapes, we can build anything. It’s due to the separation of any figure on simple forms, we can easier understand how to give it some volume and how it can be built in general. Exactly the details determine originality of the picture.


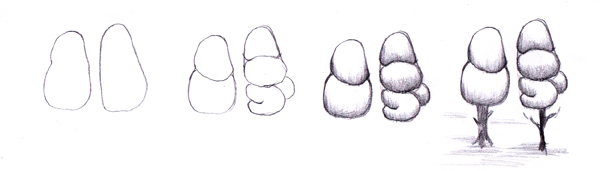
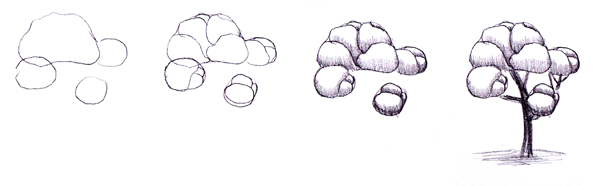
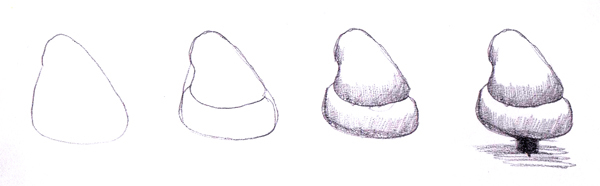
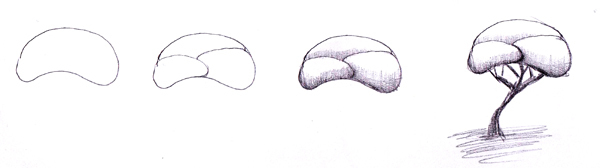
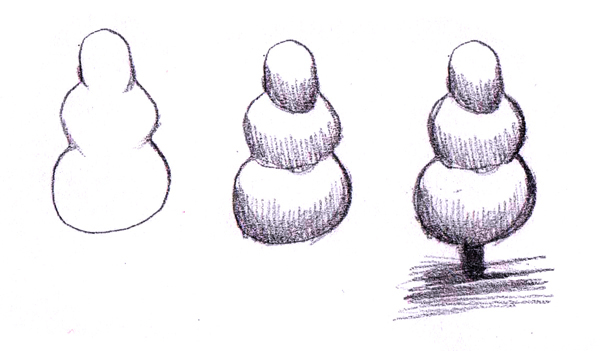
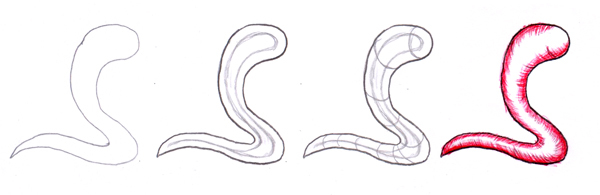
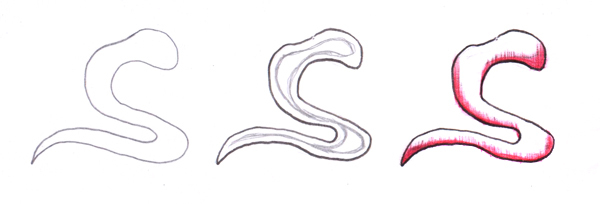
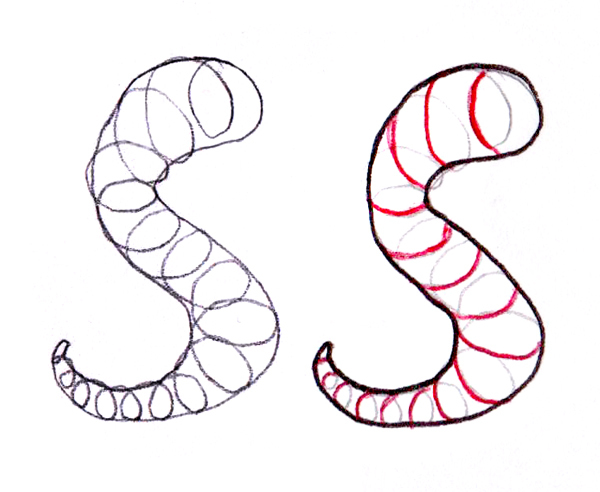
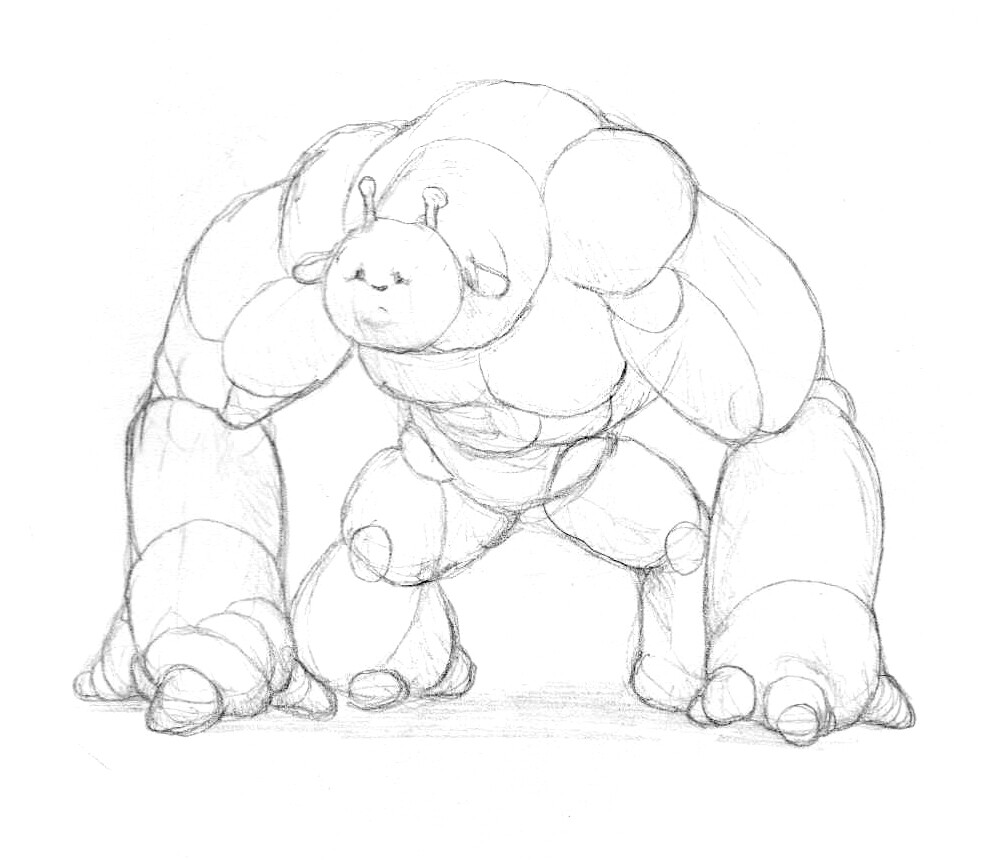
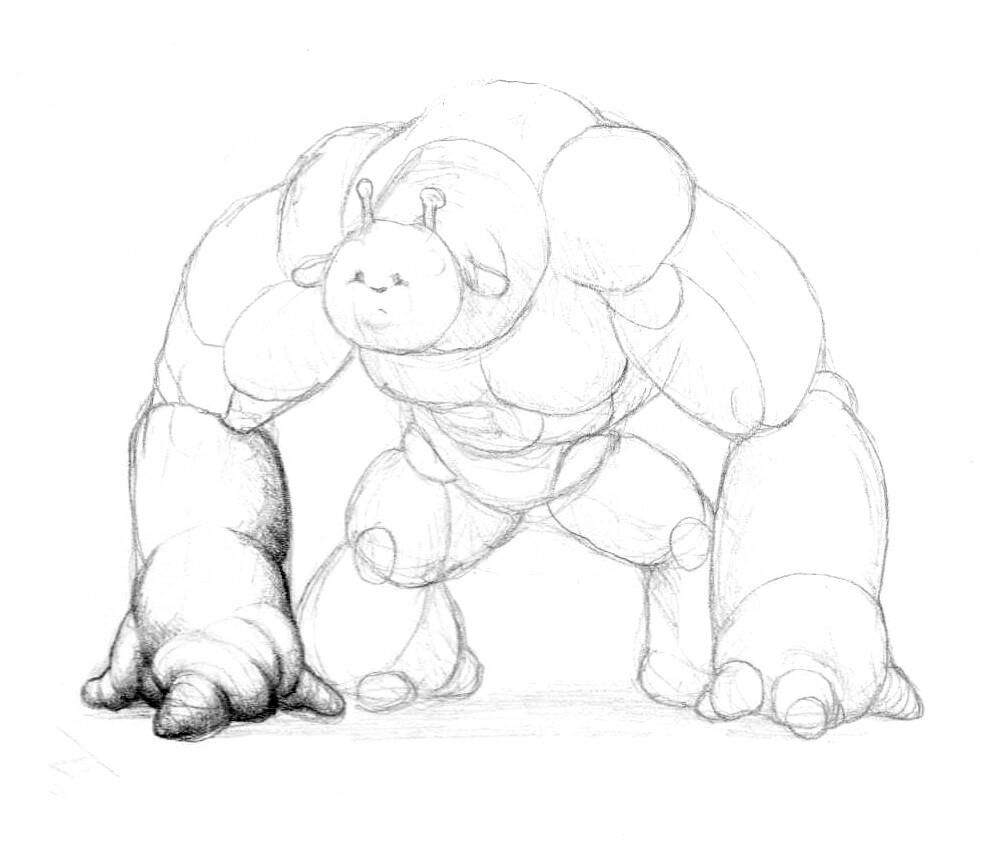
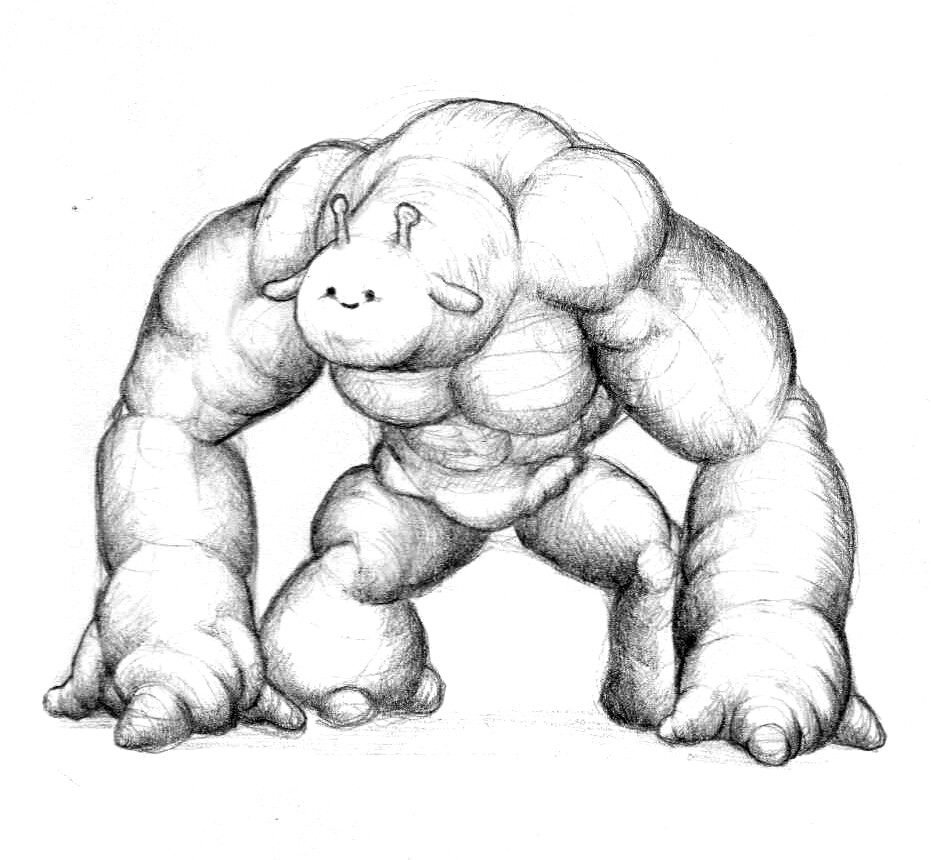
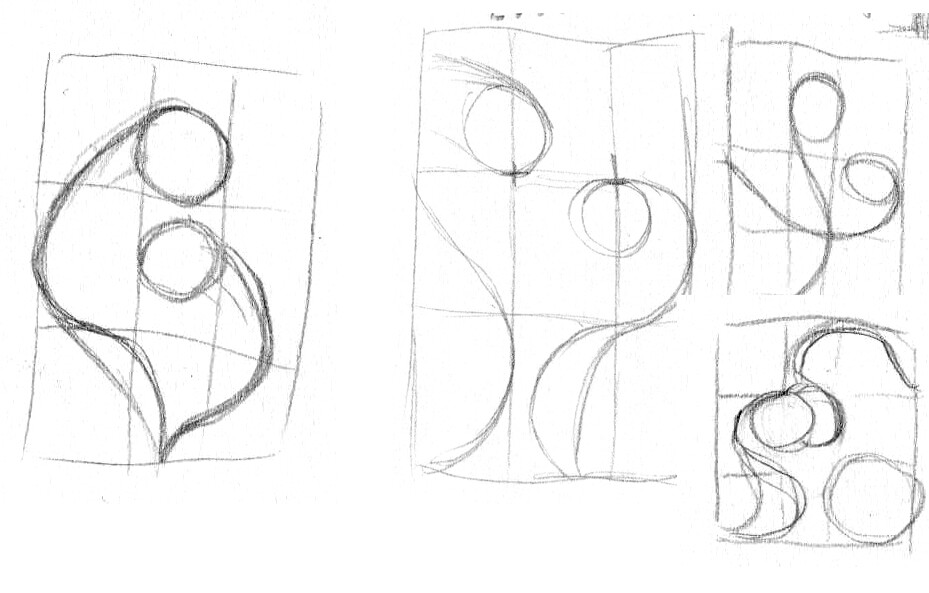
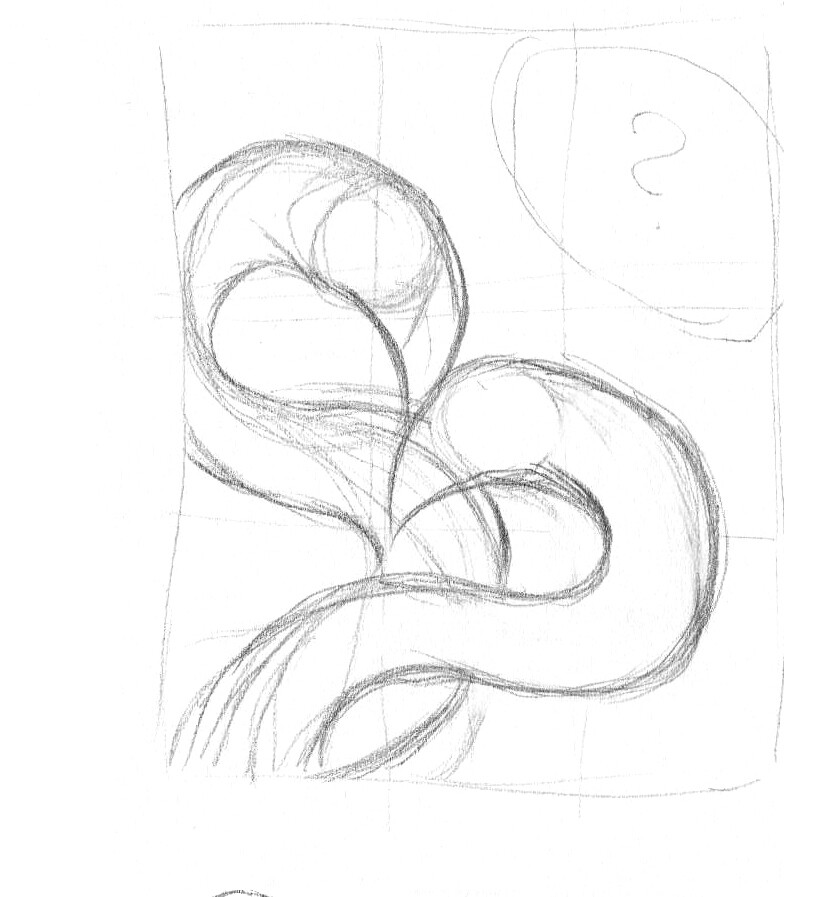
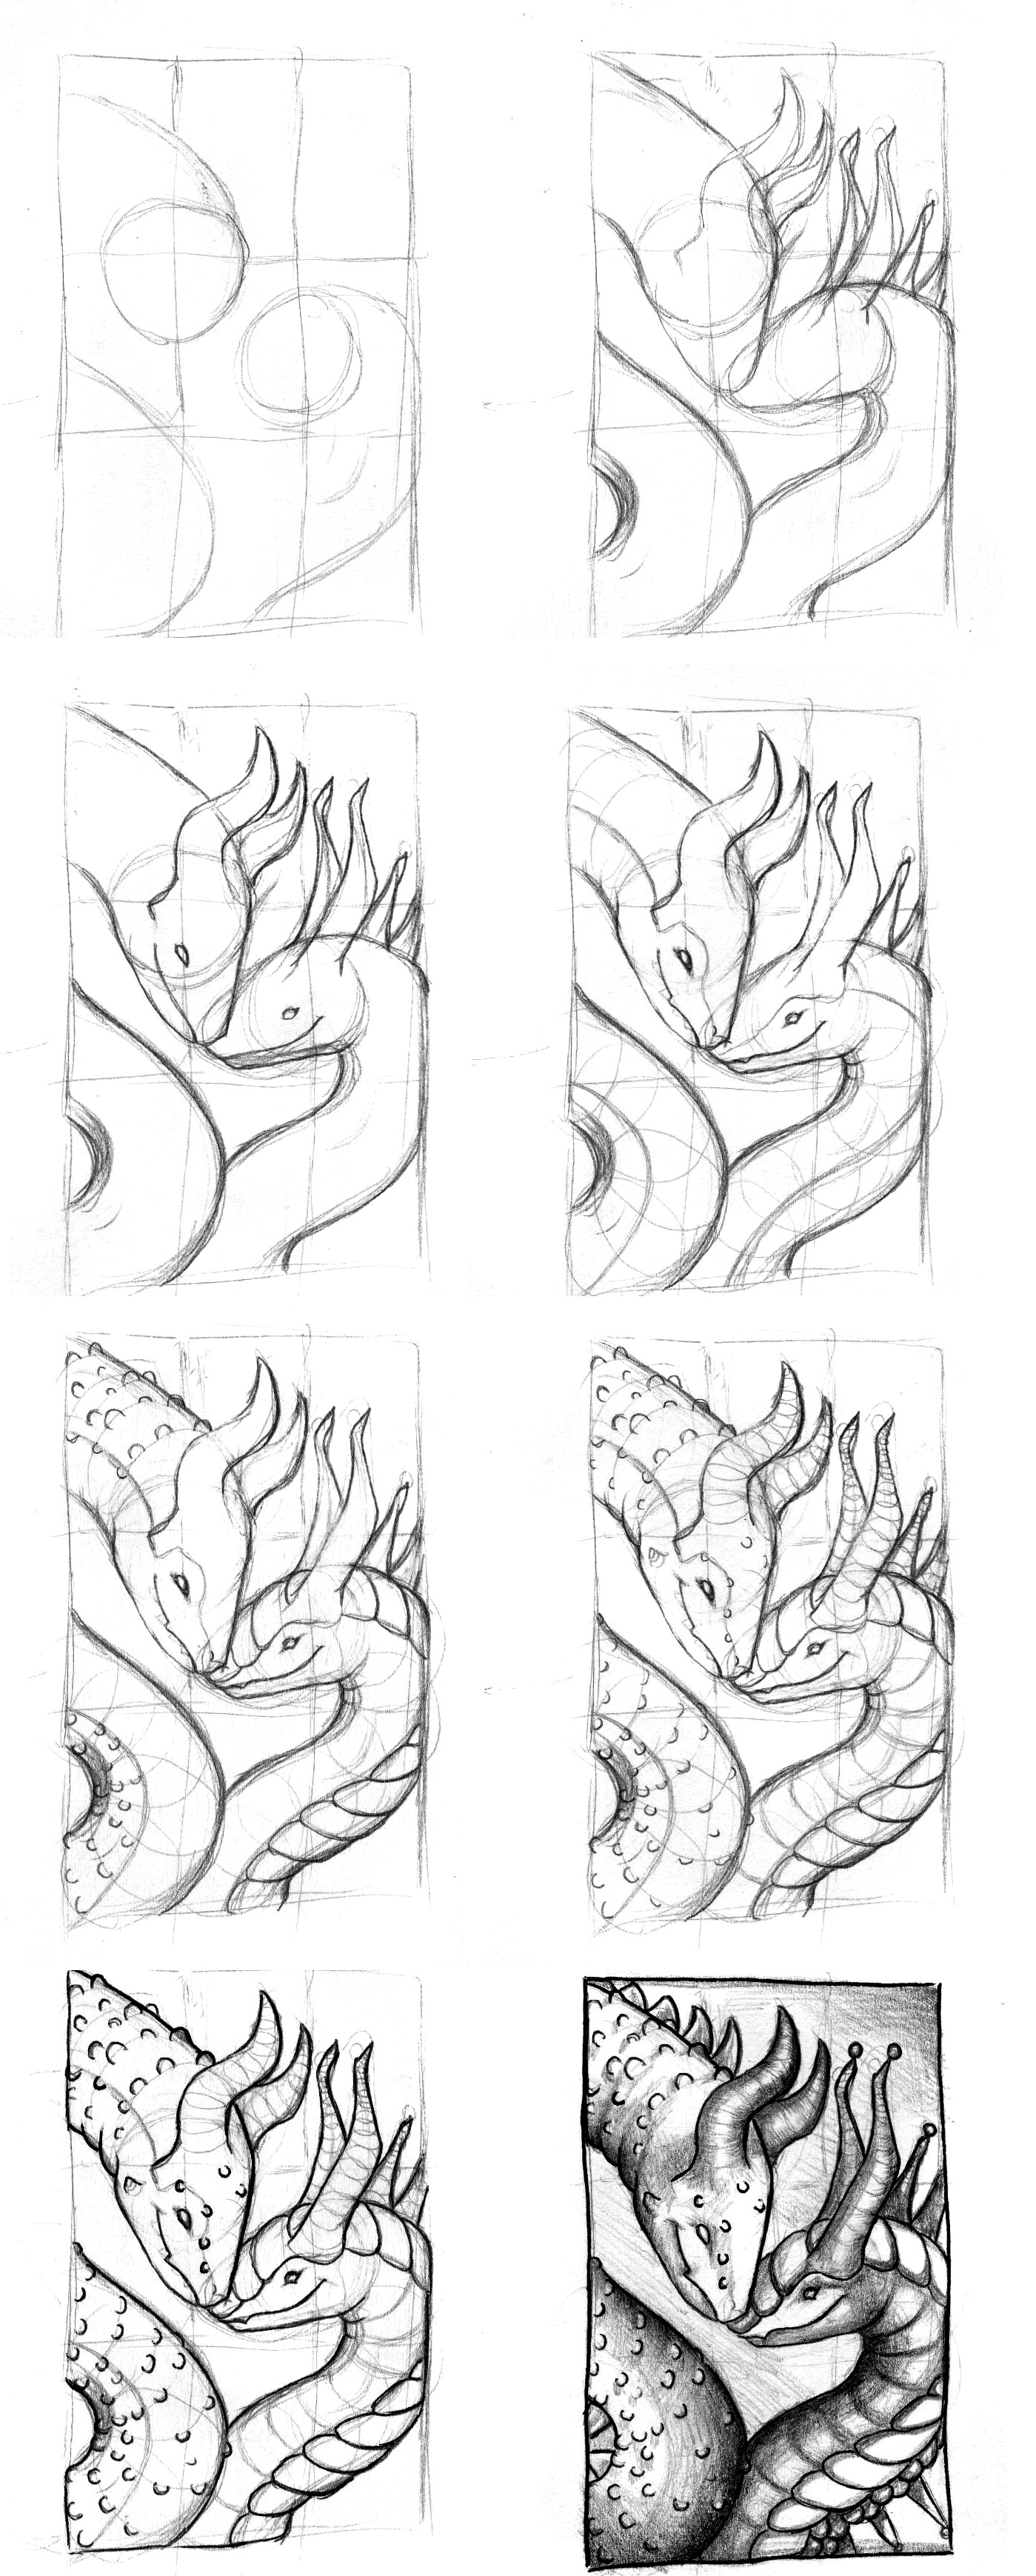
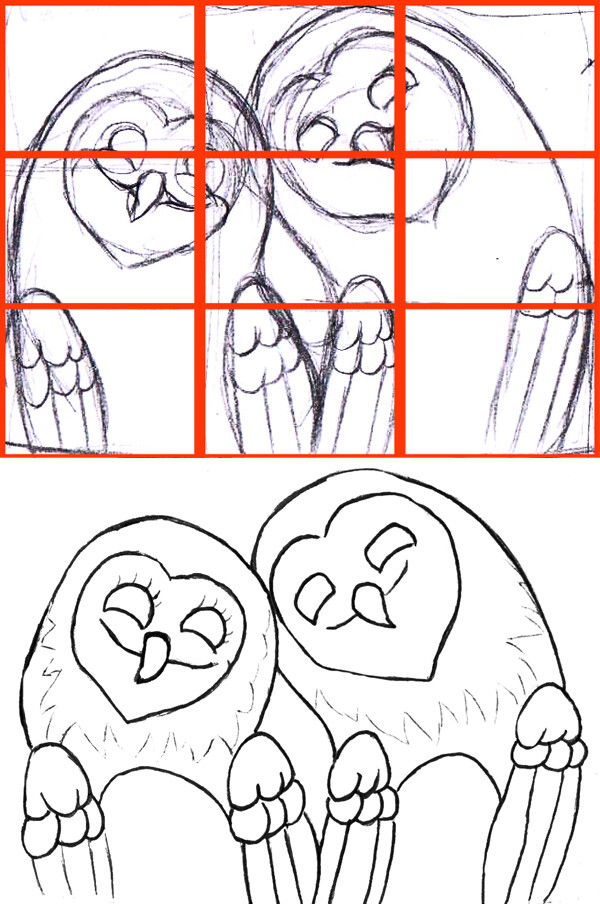
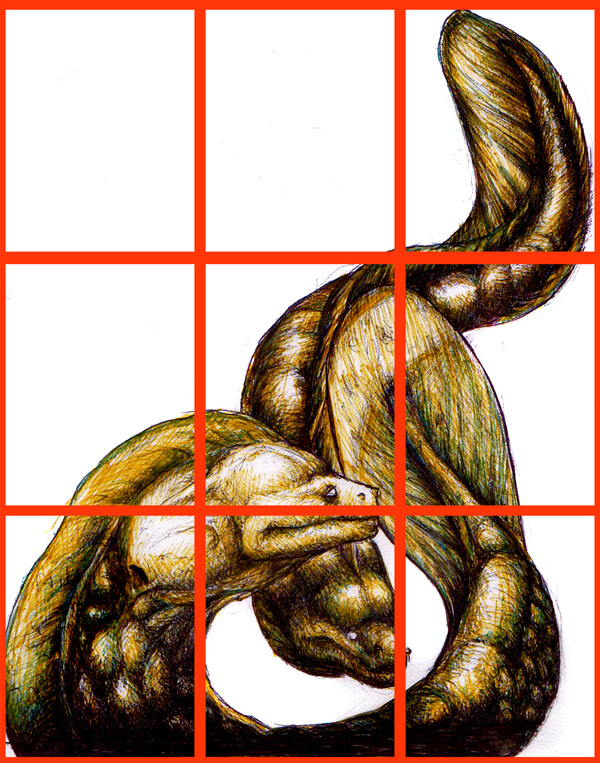
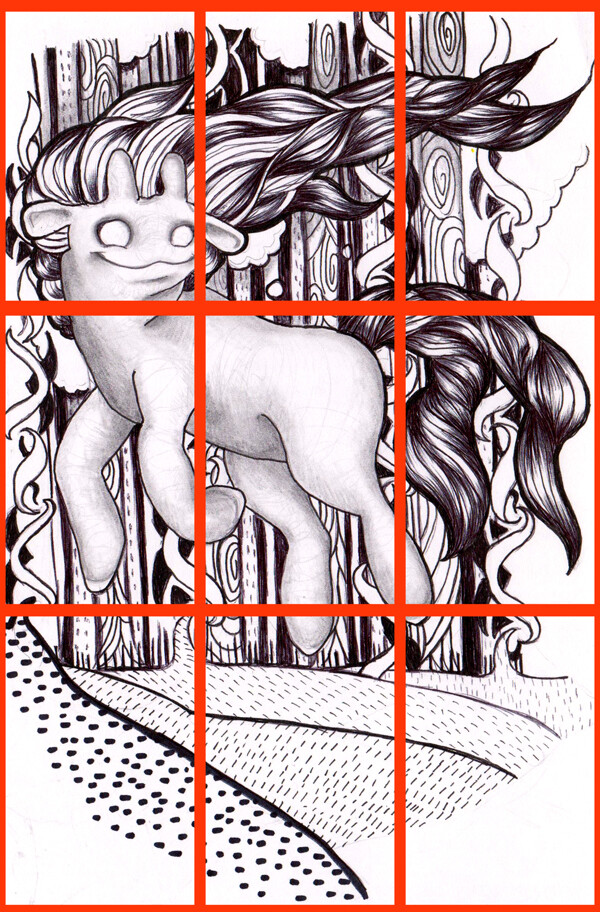
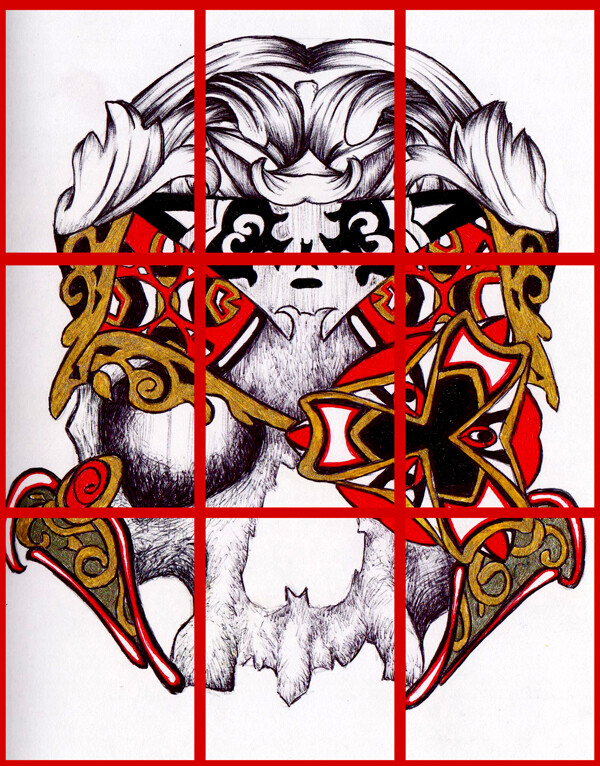
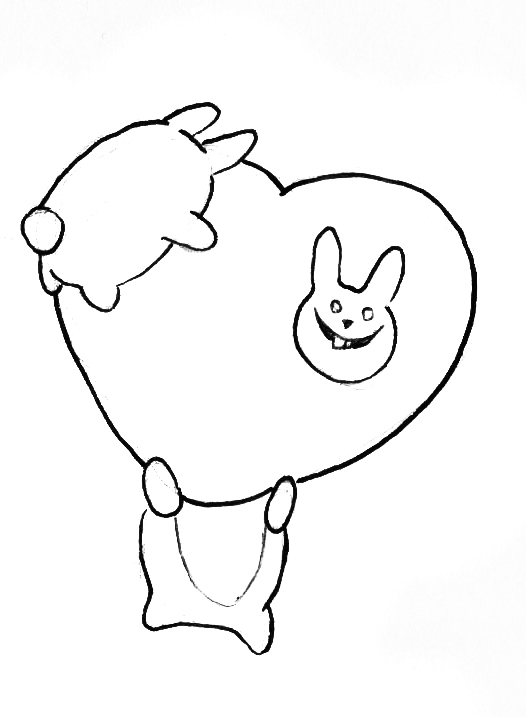
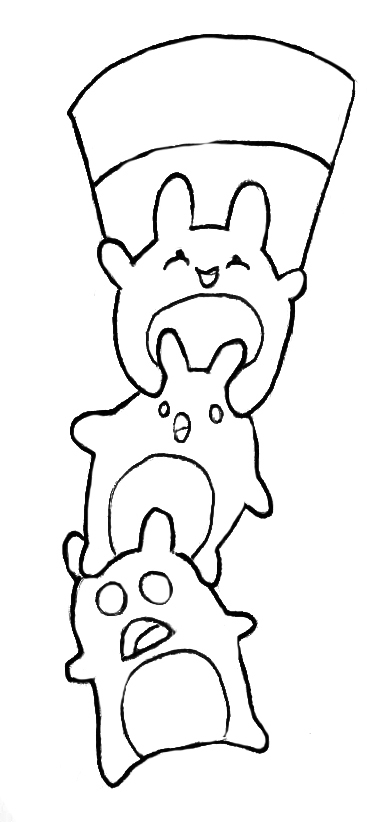
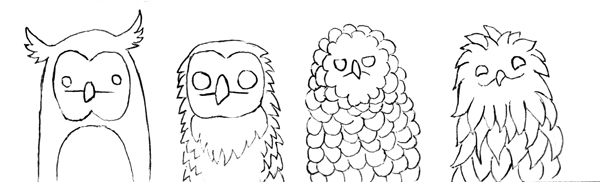
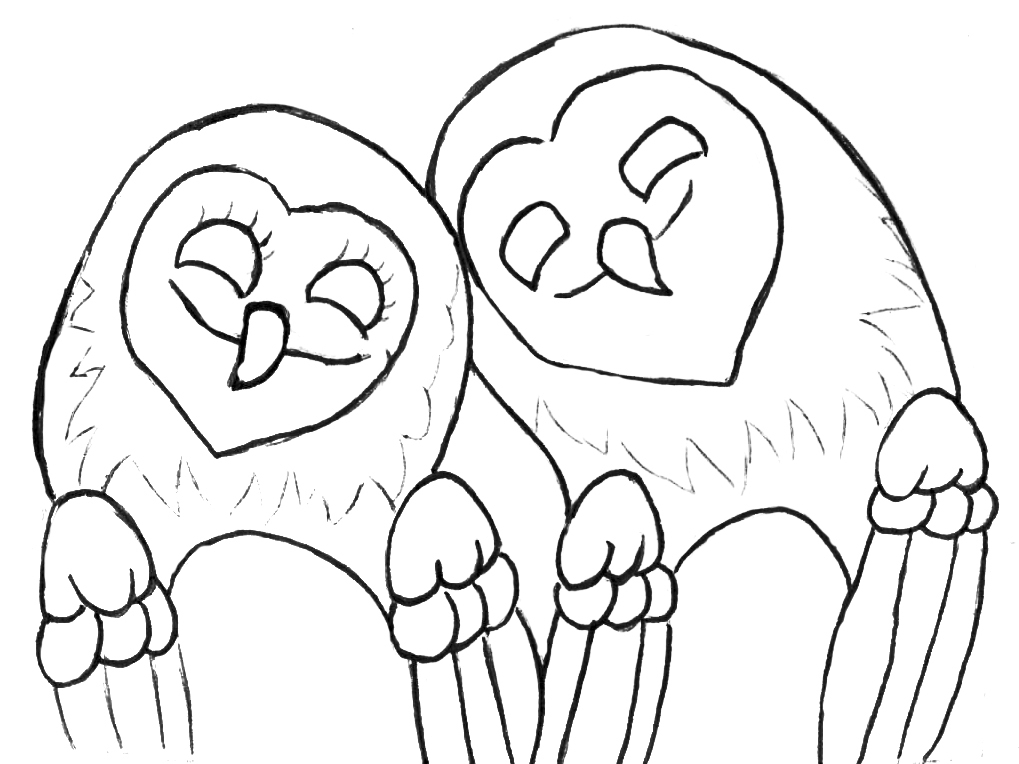
And now it’s gonna be very interesting - we will create a tree of abstract doodles. Try to draw something like a cartoon cloud - a shape with soft edges. Do not draw symmetric - it’s boring. Now, focusing on the edge of your doodle, draw circles, ellipses or something amorphous
inside of it.Break this figure into several small pieces.
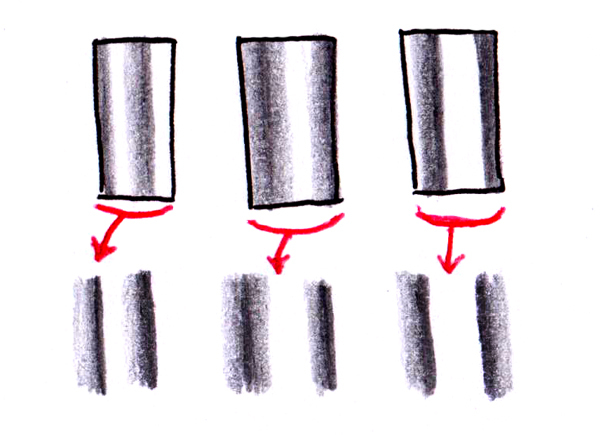
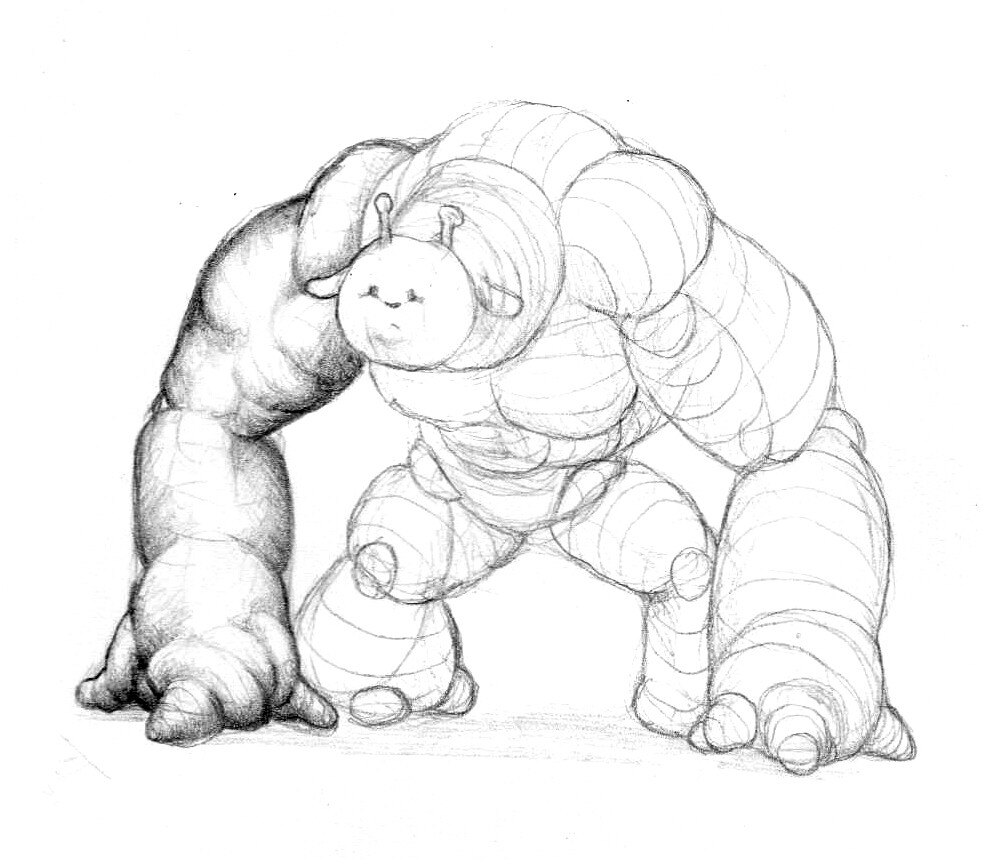
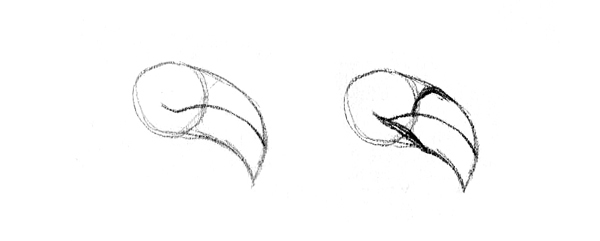
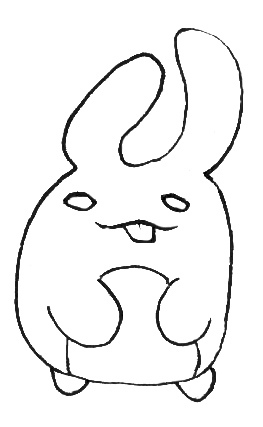
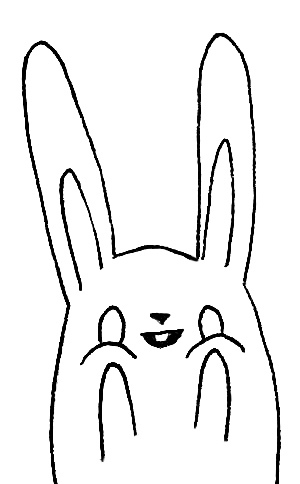
Creating line art, try to give it volume. We will hatch upwards only. Imagine a small hatching-border. Find the lower contour and begin to hatch - only from the bottom up! It’s clear, that we can not hatch vertical lines, because they are also vertical, the same as your hatching. Finished with doodles, draw its trunk - you got an abstract cartoon-tree. Also, in all forms, we can put the spring.


1 Like

Part 5
Now we will try to draw a Valentine’s Day greeting cards.The first one will be with a flamingo.

  1. Take a sheet of paper and mark the required format with a rectangular area. Now’s the fun part - we need to divide this area into 6 equal squares (if you have a square card) or rectangles (if you have a rectangular card). How can this be done? With a ruler, you might say. Yes, that’s an option.But best do it by eye - you’re not going to use a ruler for drawing, are you?
    What is this grid? This is called a compositional grid. It responds for the drawing to be beautiful. If I locate the flamingo in the bottom right corner, it will be a lot of empty space on the card, and it will not look nice. It is considered that the most “interesting” part should be located at the crossing of the lines. We can arrange our flamingo like this or like that:

    Or this way, but in this case there is a lot of empty space out there, and it will look ugly. Our goal is to position the flamingo so that the space was filled evenly. If not, then it is necessary to add something into the remaining space, some element. This may be either a part of the flamingo, that is, the foreground, or a part of the background.

    I chose the composition, in which there will remain free space, which I’m gonna fill with something.
  2. Next, we have to put the necks of our flamingos so, as to have shapes with curves, without any angularity.
  3. Now draw a beak. It’s easy to remember, it is enough to look at the photo of aliving flamingos. But since we do a cartoon flamingo, we will move from reality and make the beak with a bend as if the bird is smiling.

  4. Similarly, according to the reference (original photo of a flamingo), check where the eyes should be located, because all the birds have them set differently.
  5. Add a smooth transition from the form into the other form.
  6. Add the missing element of the composition, to create a balance in the image.


    (colored ballpoint pens)
    Likewise, I created these pictures. Simple forms, a lot of simple forms, which are formed in a complex form.

Owls
Let’s consider an option of drawing owls. The bottom third is filled with wings and body. The upper third is for the head and face. Right owl occupies two-thirds of the picture, and the left one takes one-third. This is called the rule of thirds when the composition is constructed by the grid 3 on 3. Also in the photographing, if you shoot landscapes, with a composition based on the sky, then the sky should take 2/3 of the composition. And if your composition is based on an interesting landscape, the sky will occupy only 1/3 of the pic.
Everything is simple.


1 Like

Line-art


My versions of coloring


1 Like

Wow it has been ages since I drew anything decent but this thread sure is inspiring. Thanks for this.

1 Like

@coon: I´m on my knees, how love-full and inspiring are you? YOU´RE LIKE :heartbeat:

1 Like

I glad to hear it! Drawing from no age limit. If you want to draw, then you need to draw :pencil2::relaxed:

LPU inspires me :heart_eyes:

2 Likes